Spicy Fajita Tacos on the grill.
“Spicy fajitas on the grill?” That was something different for me. Let me tell you how that came about.
Back at work (Lowe’s) in Weslaco, Texas; we were planning our end of the year celebration and we were doing a fajita cook-off to see who had the best fajitas in town, or the store at least. Here is a small recap of that.
DECOR AT LOWE’S
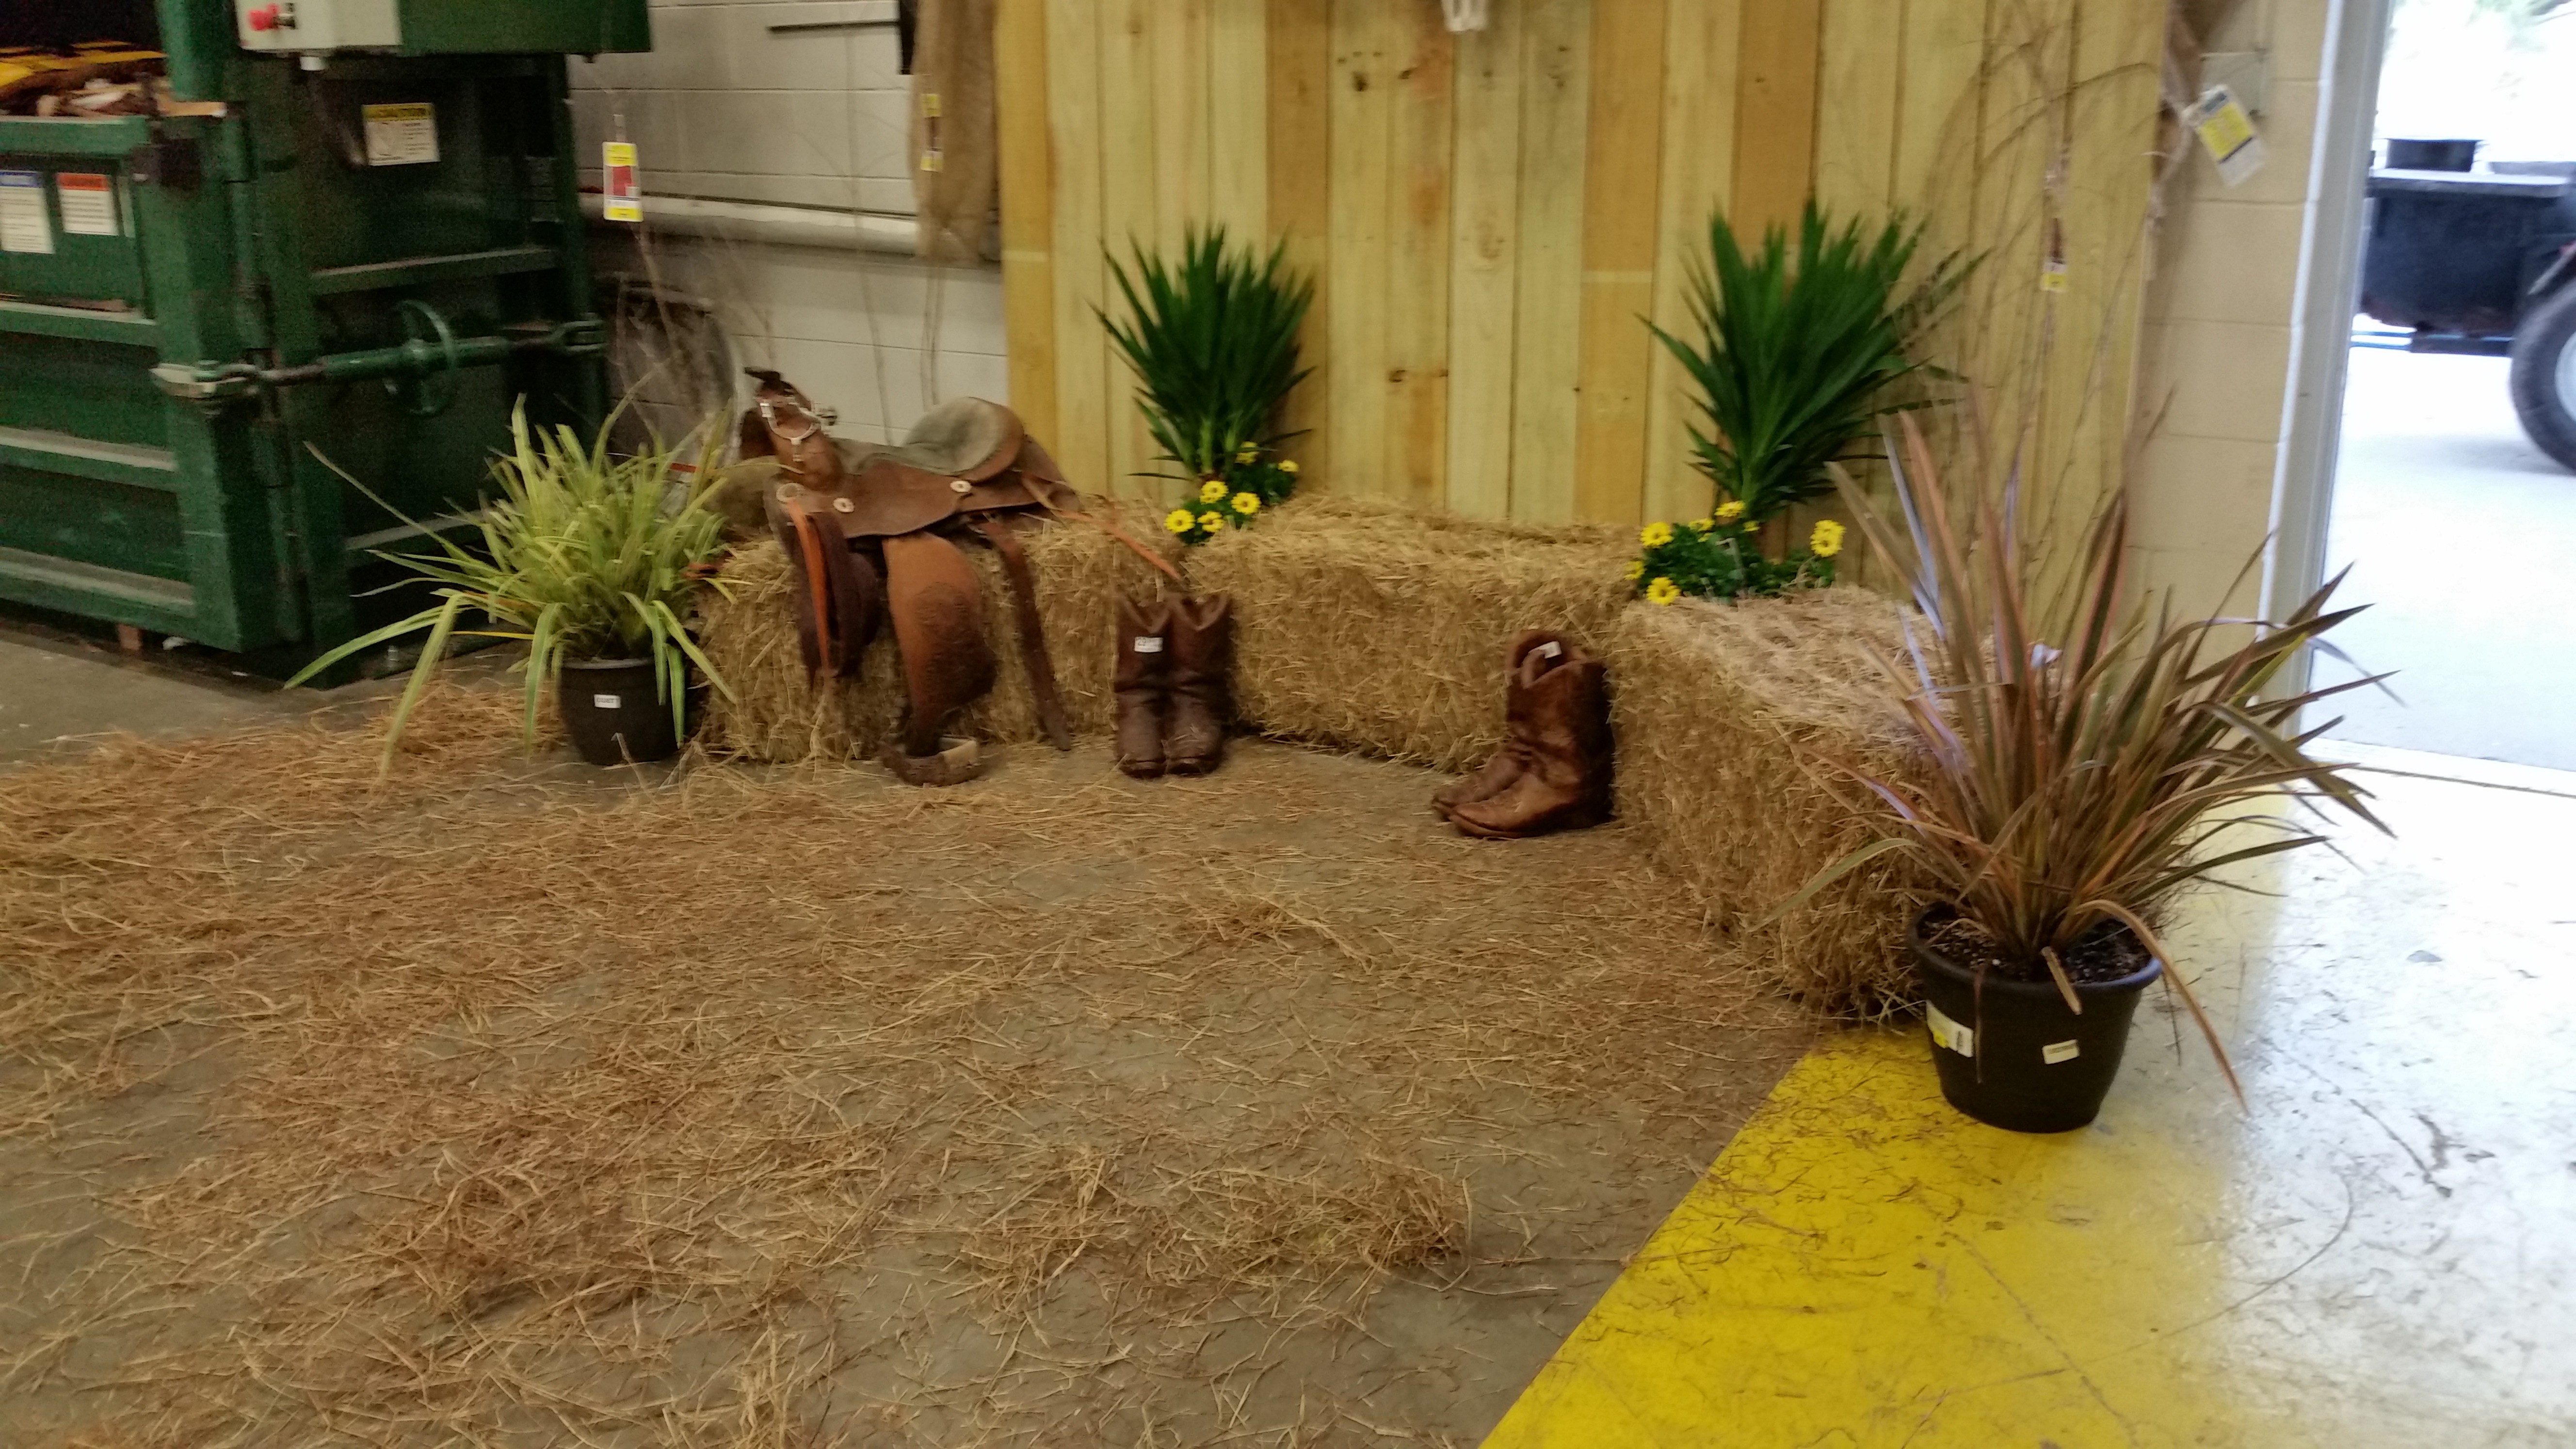
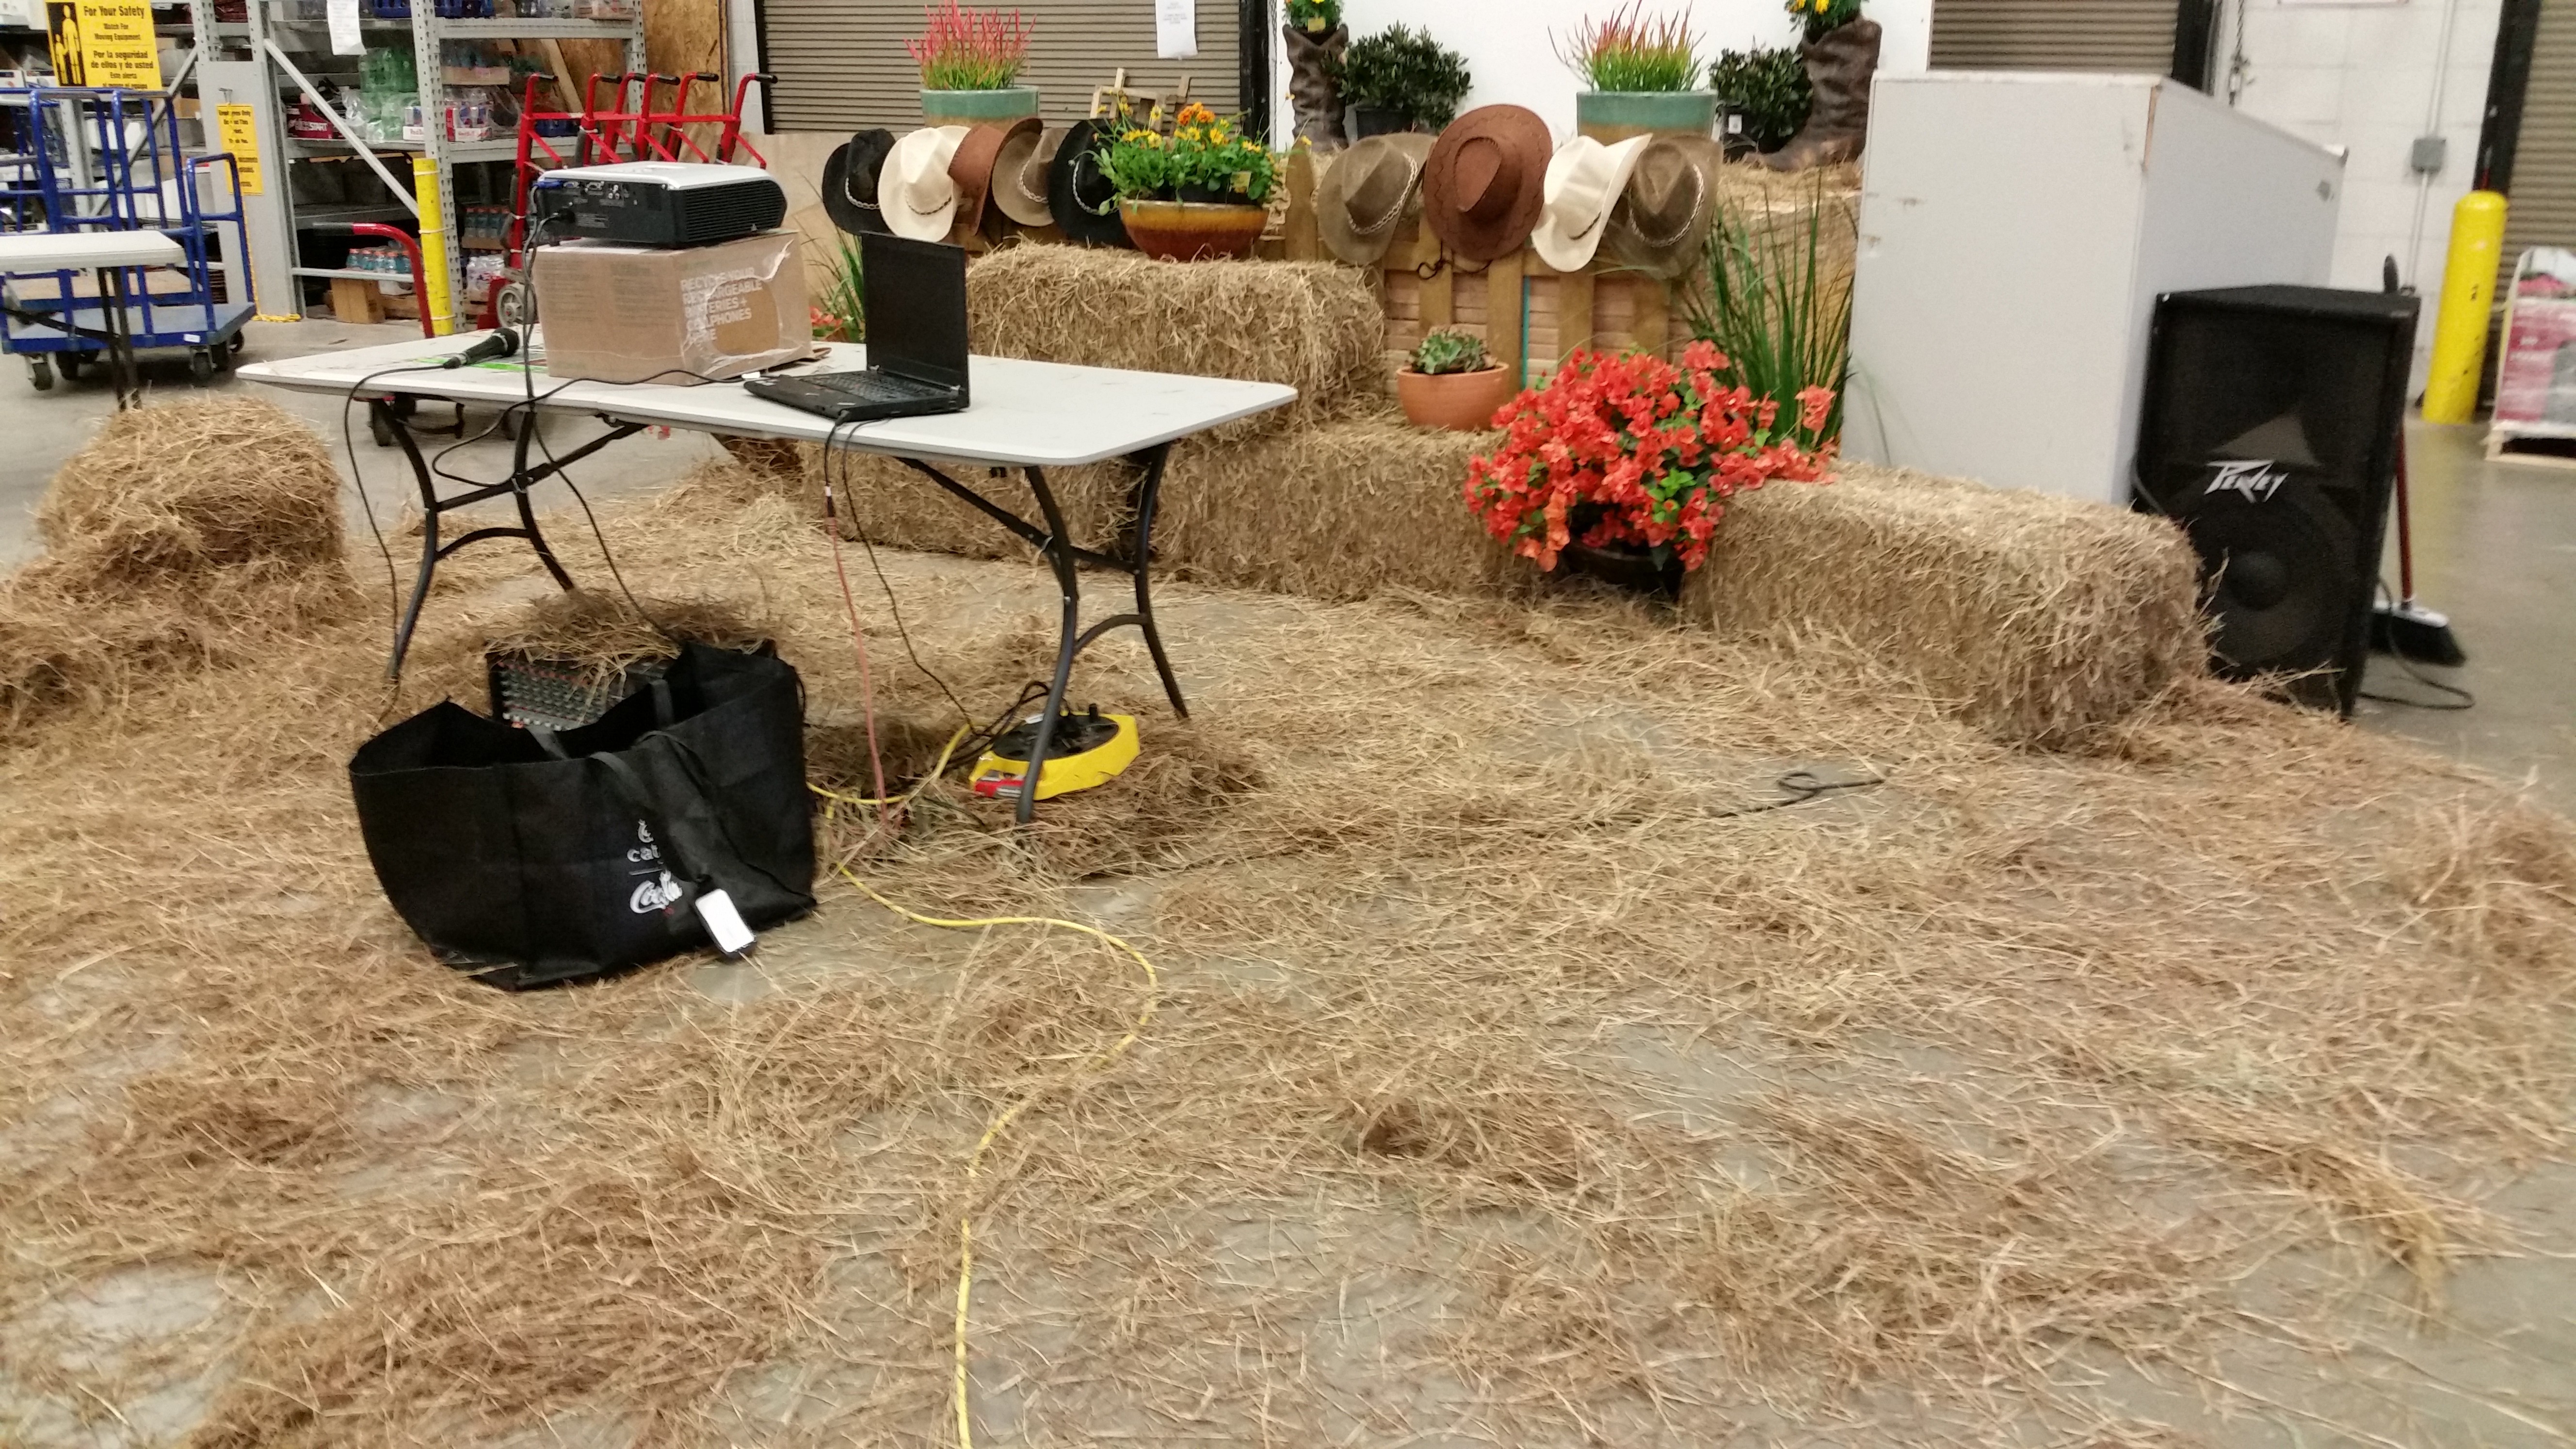
Whoever decorated sure did a good job, but I had to run and light up the grill and what not. The outdoors beckoned at me, it was time to have some fun.

“Yeah-yeah, it is a fake mustache! And yep! No chest hairs fell anywhere since I don’t have any!” As for the mustache, it never had a chance hanging around that big hot grill, it was fun while it lasted though.
THE COWBOY
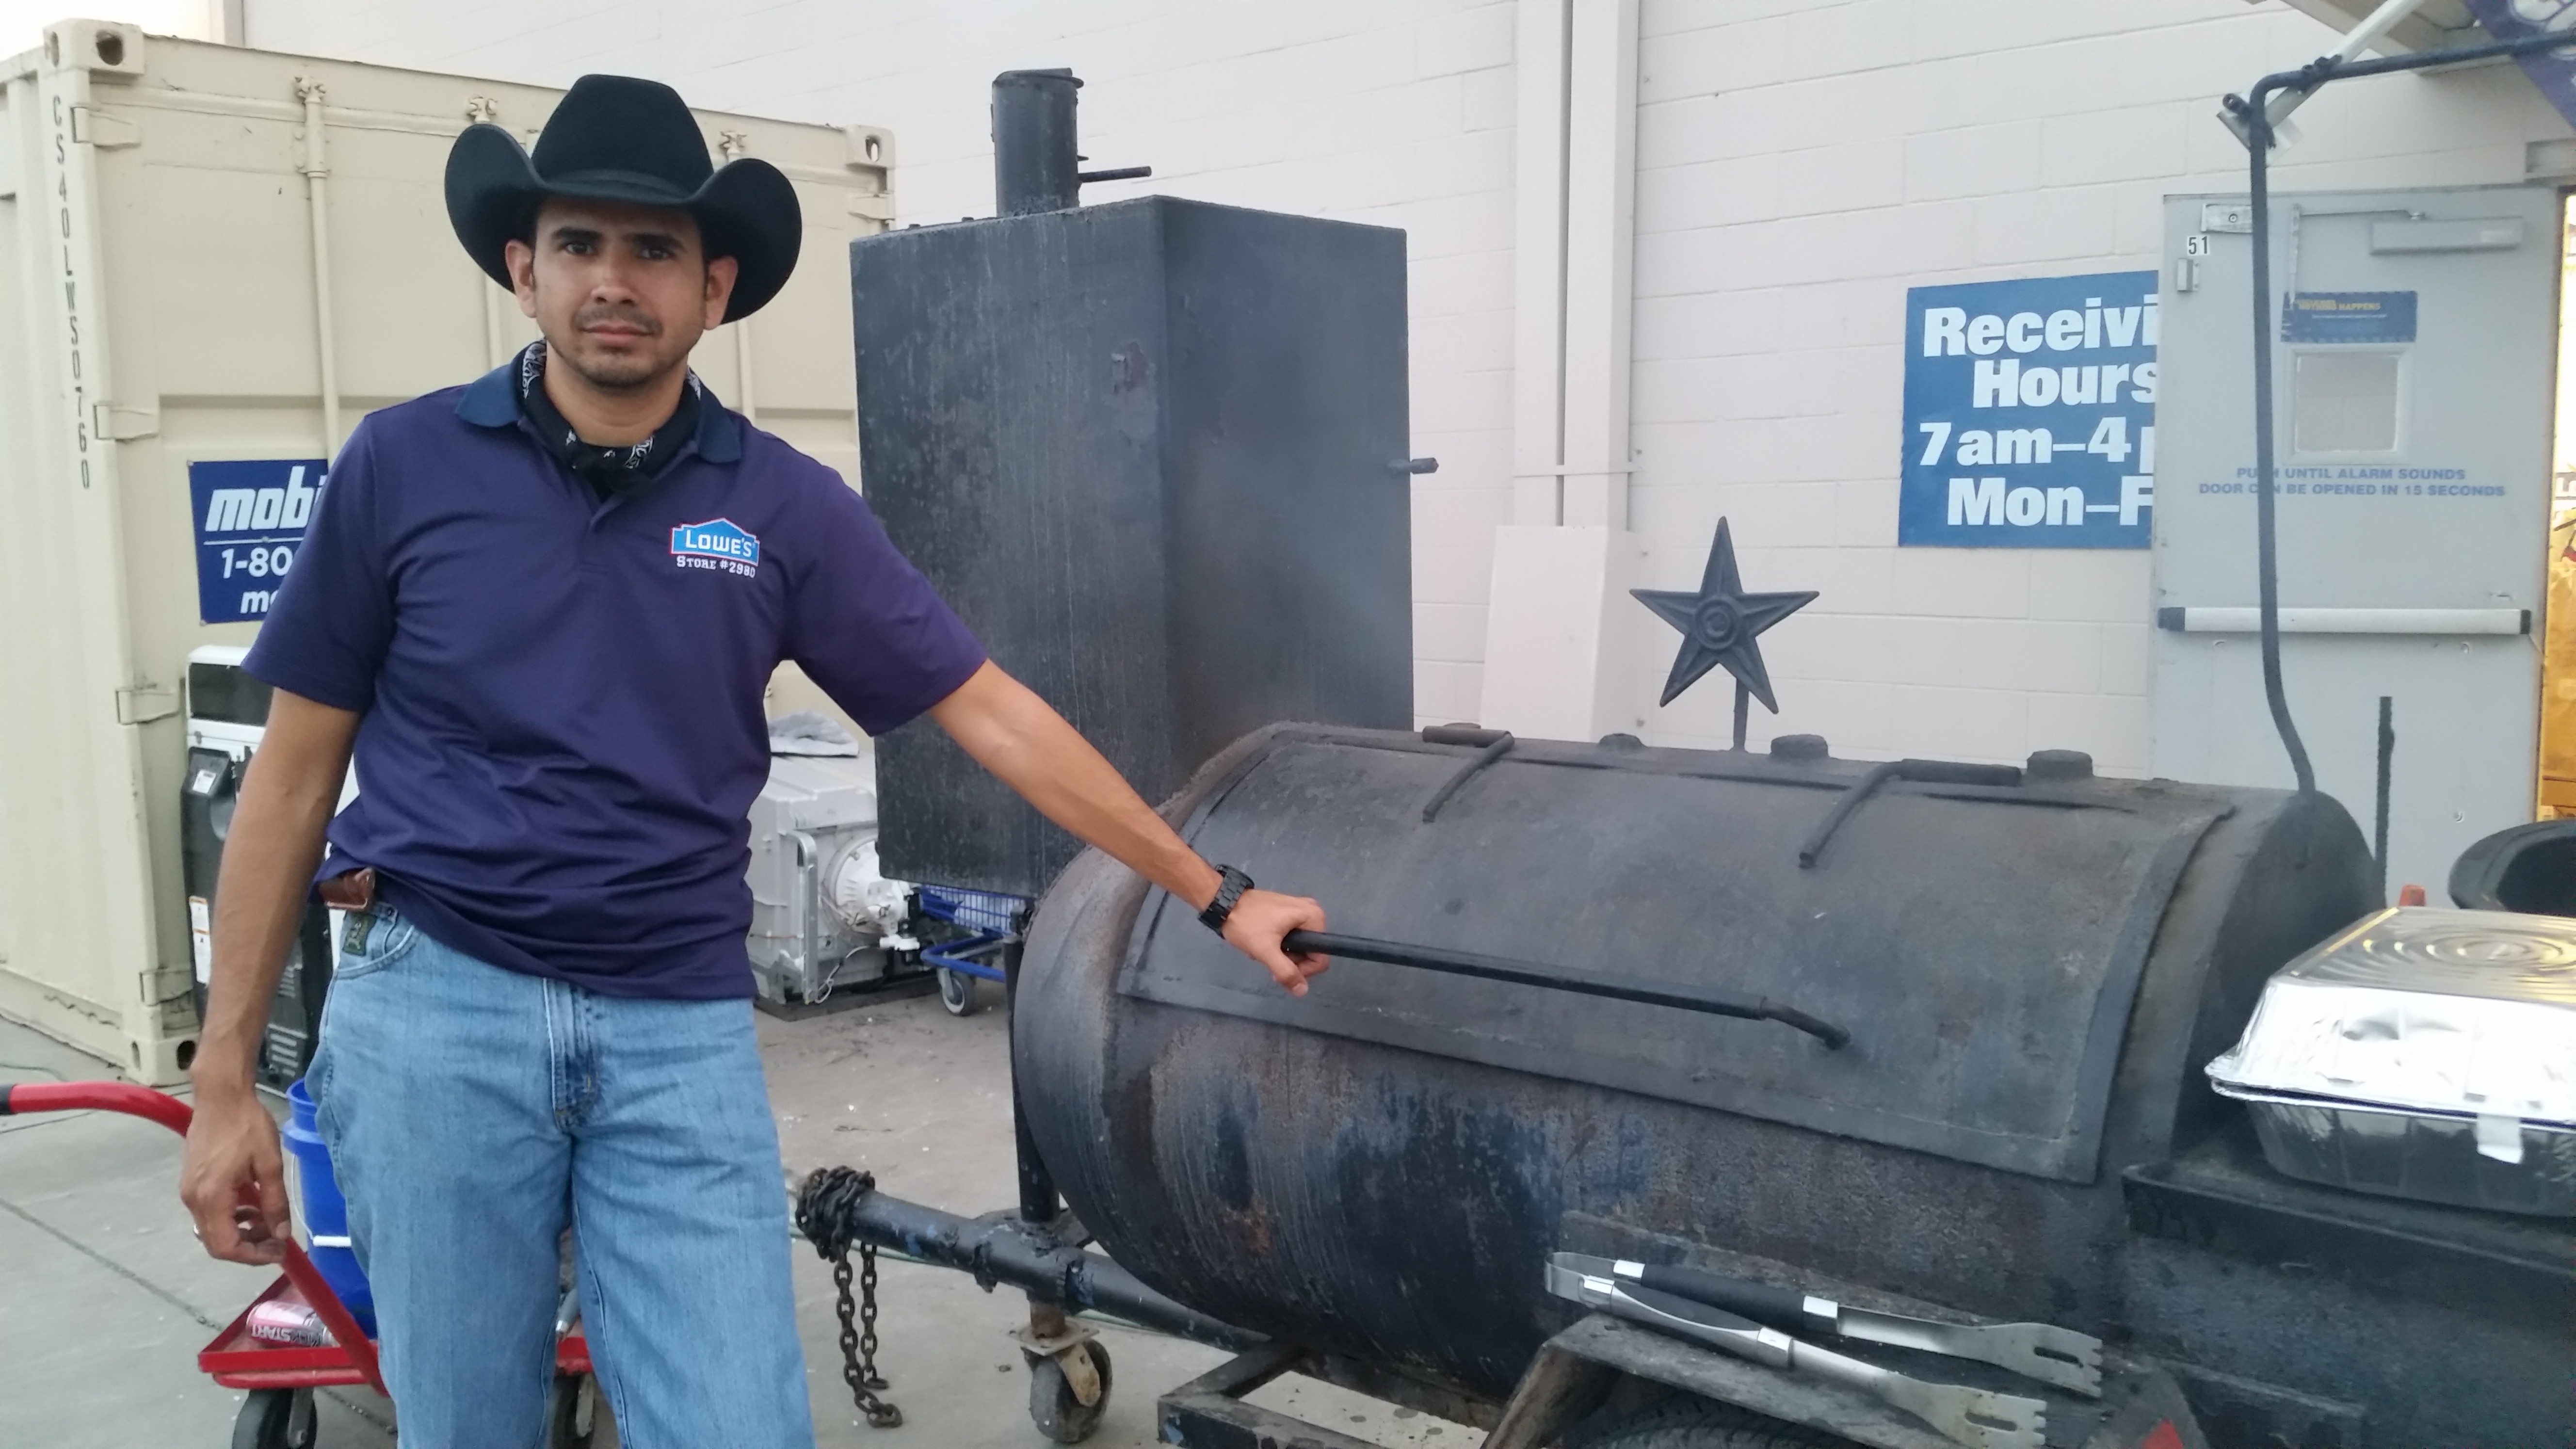
Cowboy Rick; one of our ASM’s , who not only helps out at our cook-outs, but who also won the fajita cook-off. This fellow introduced me to smoking and grilling with Oak wood. More on that at a later post.
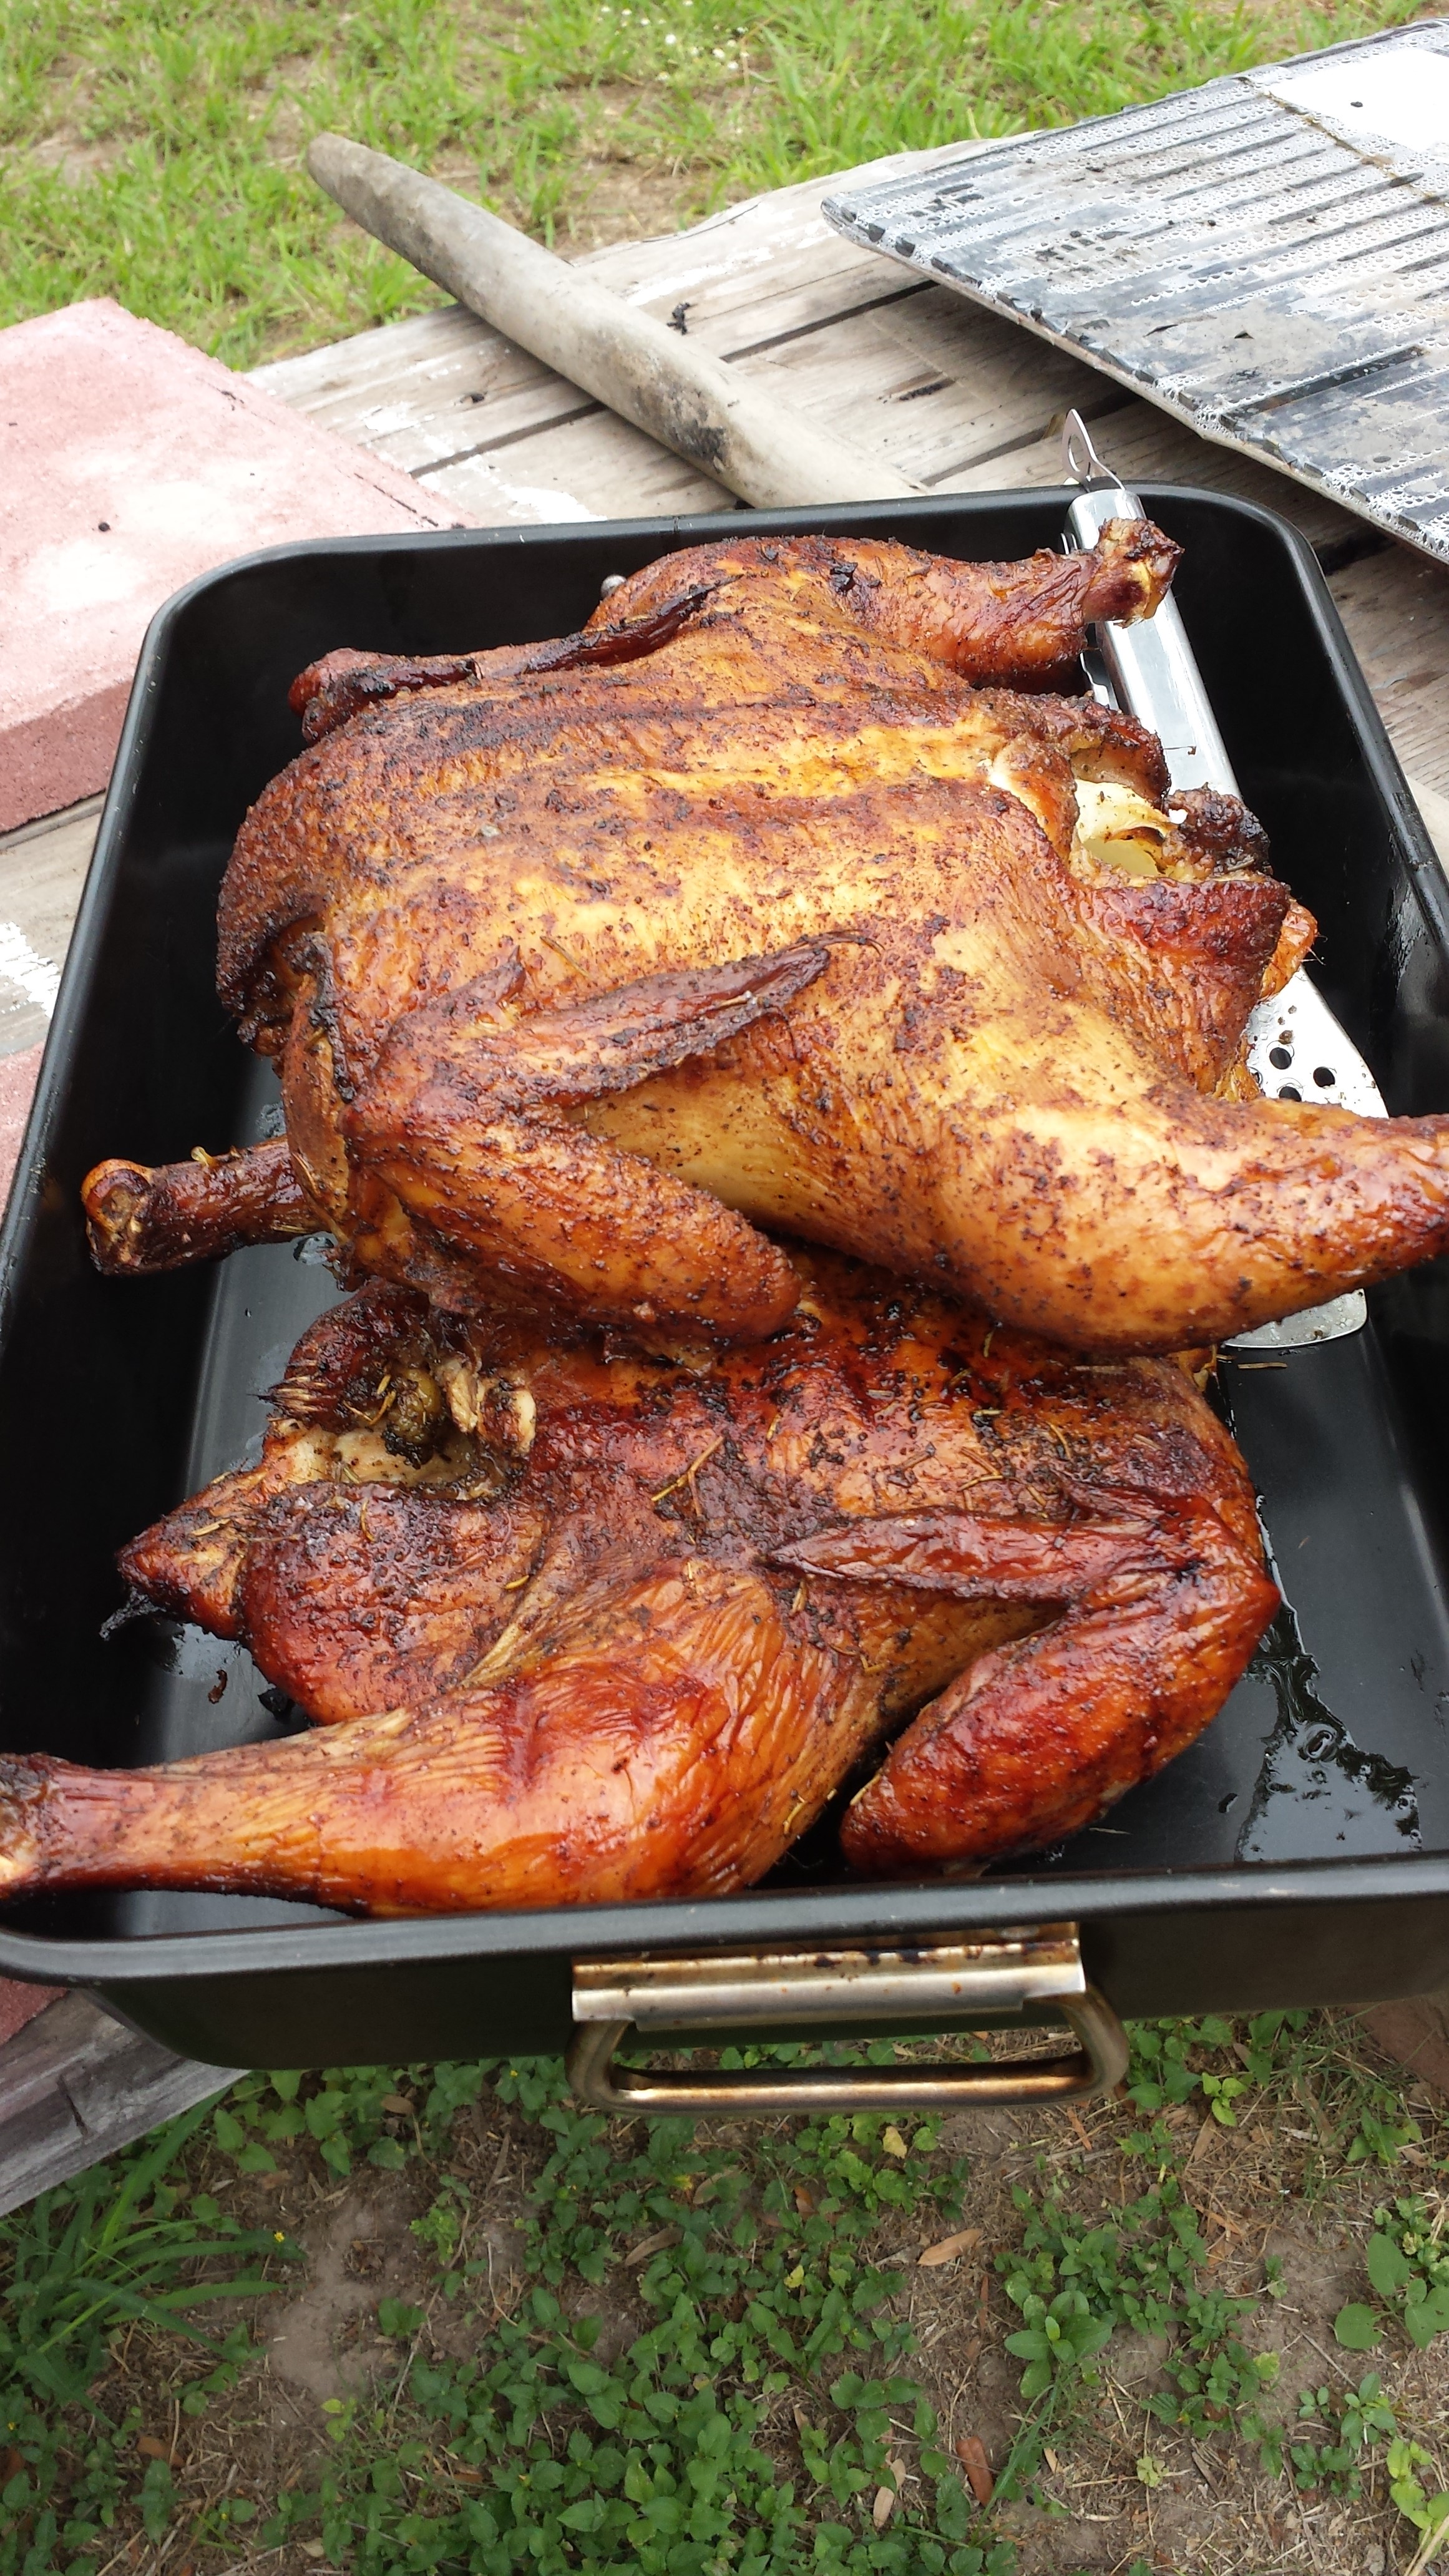
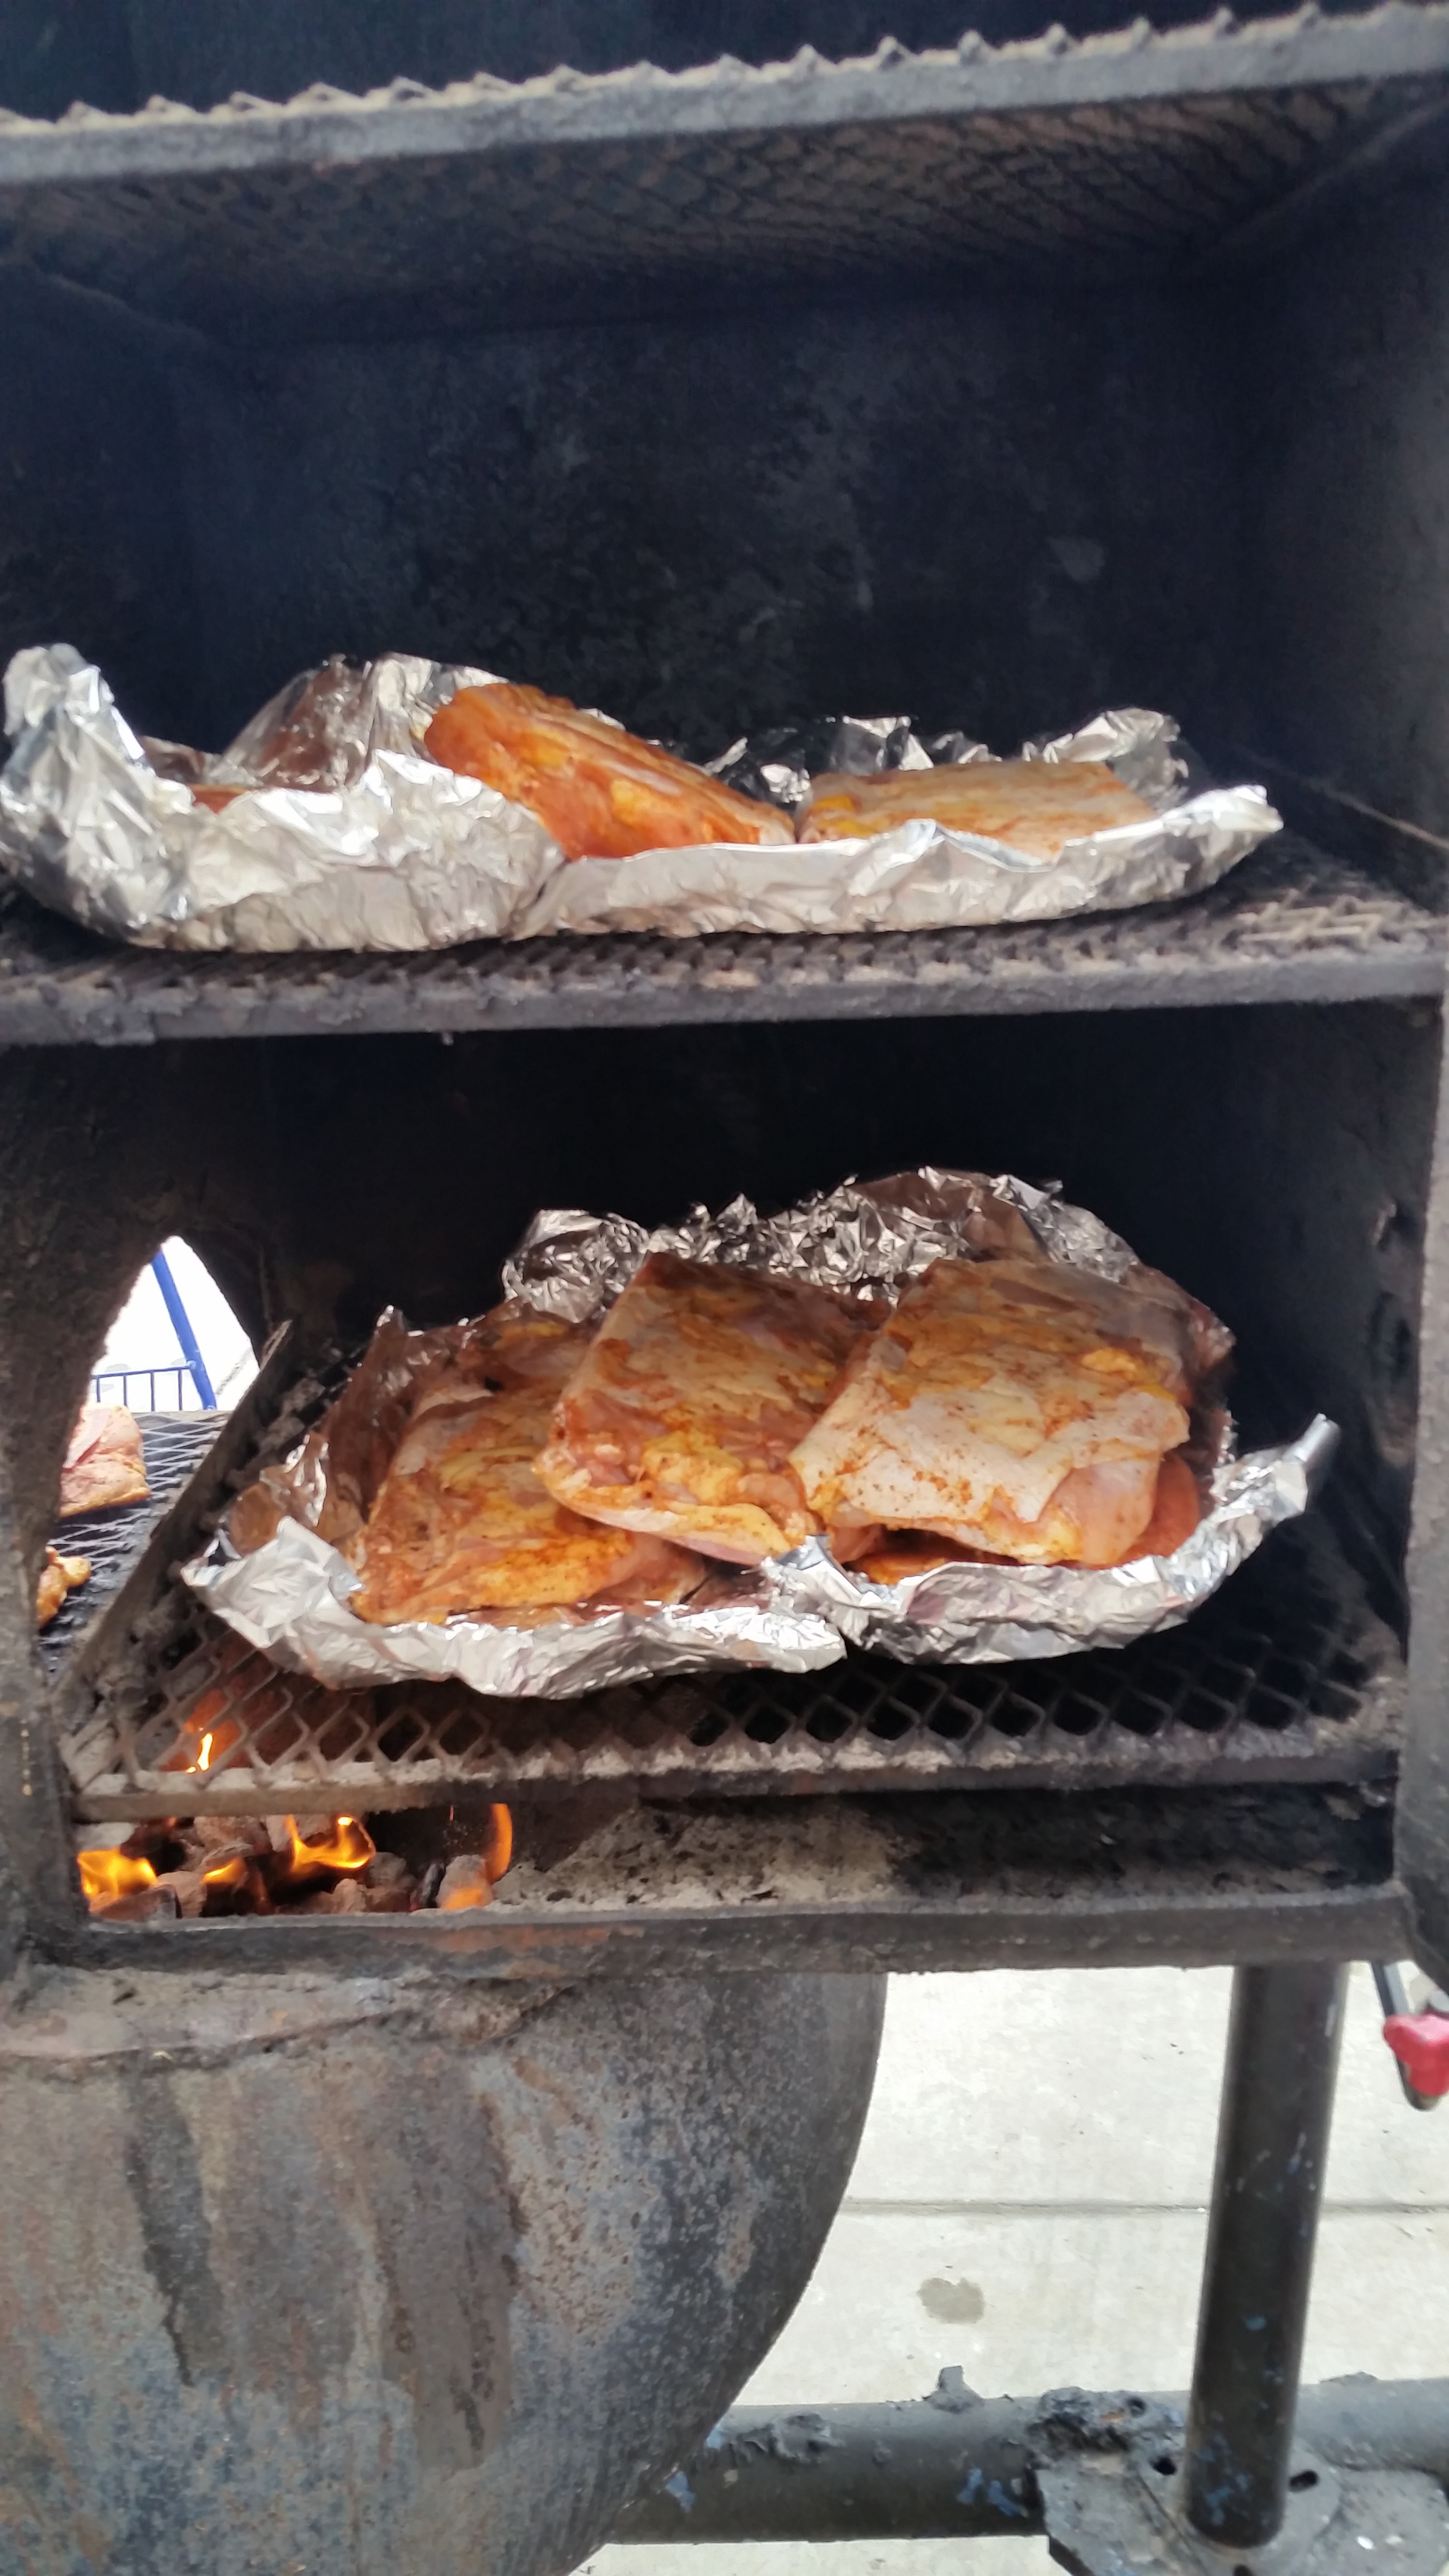
CHICKEN, A WHOLE LOT OF CHICKEN!
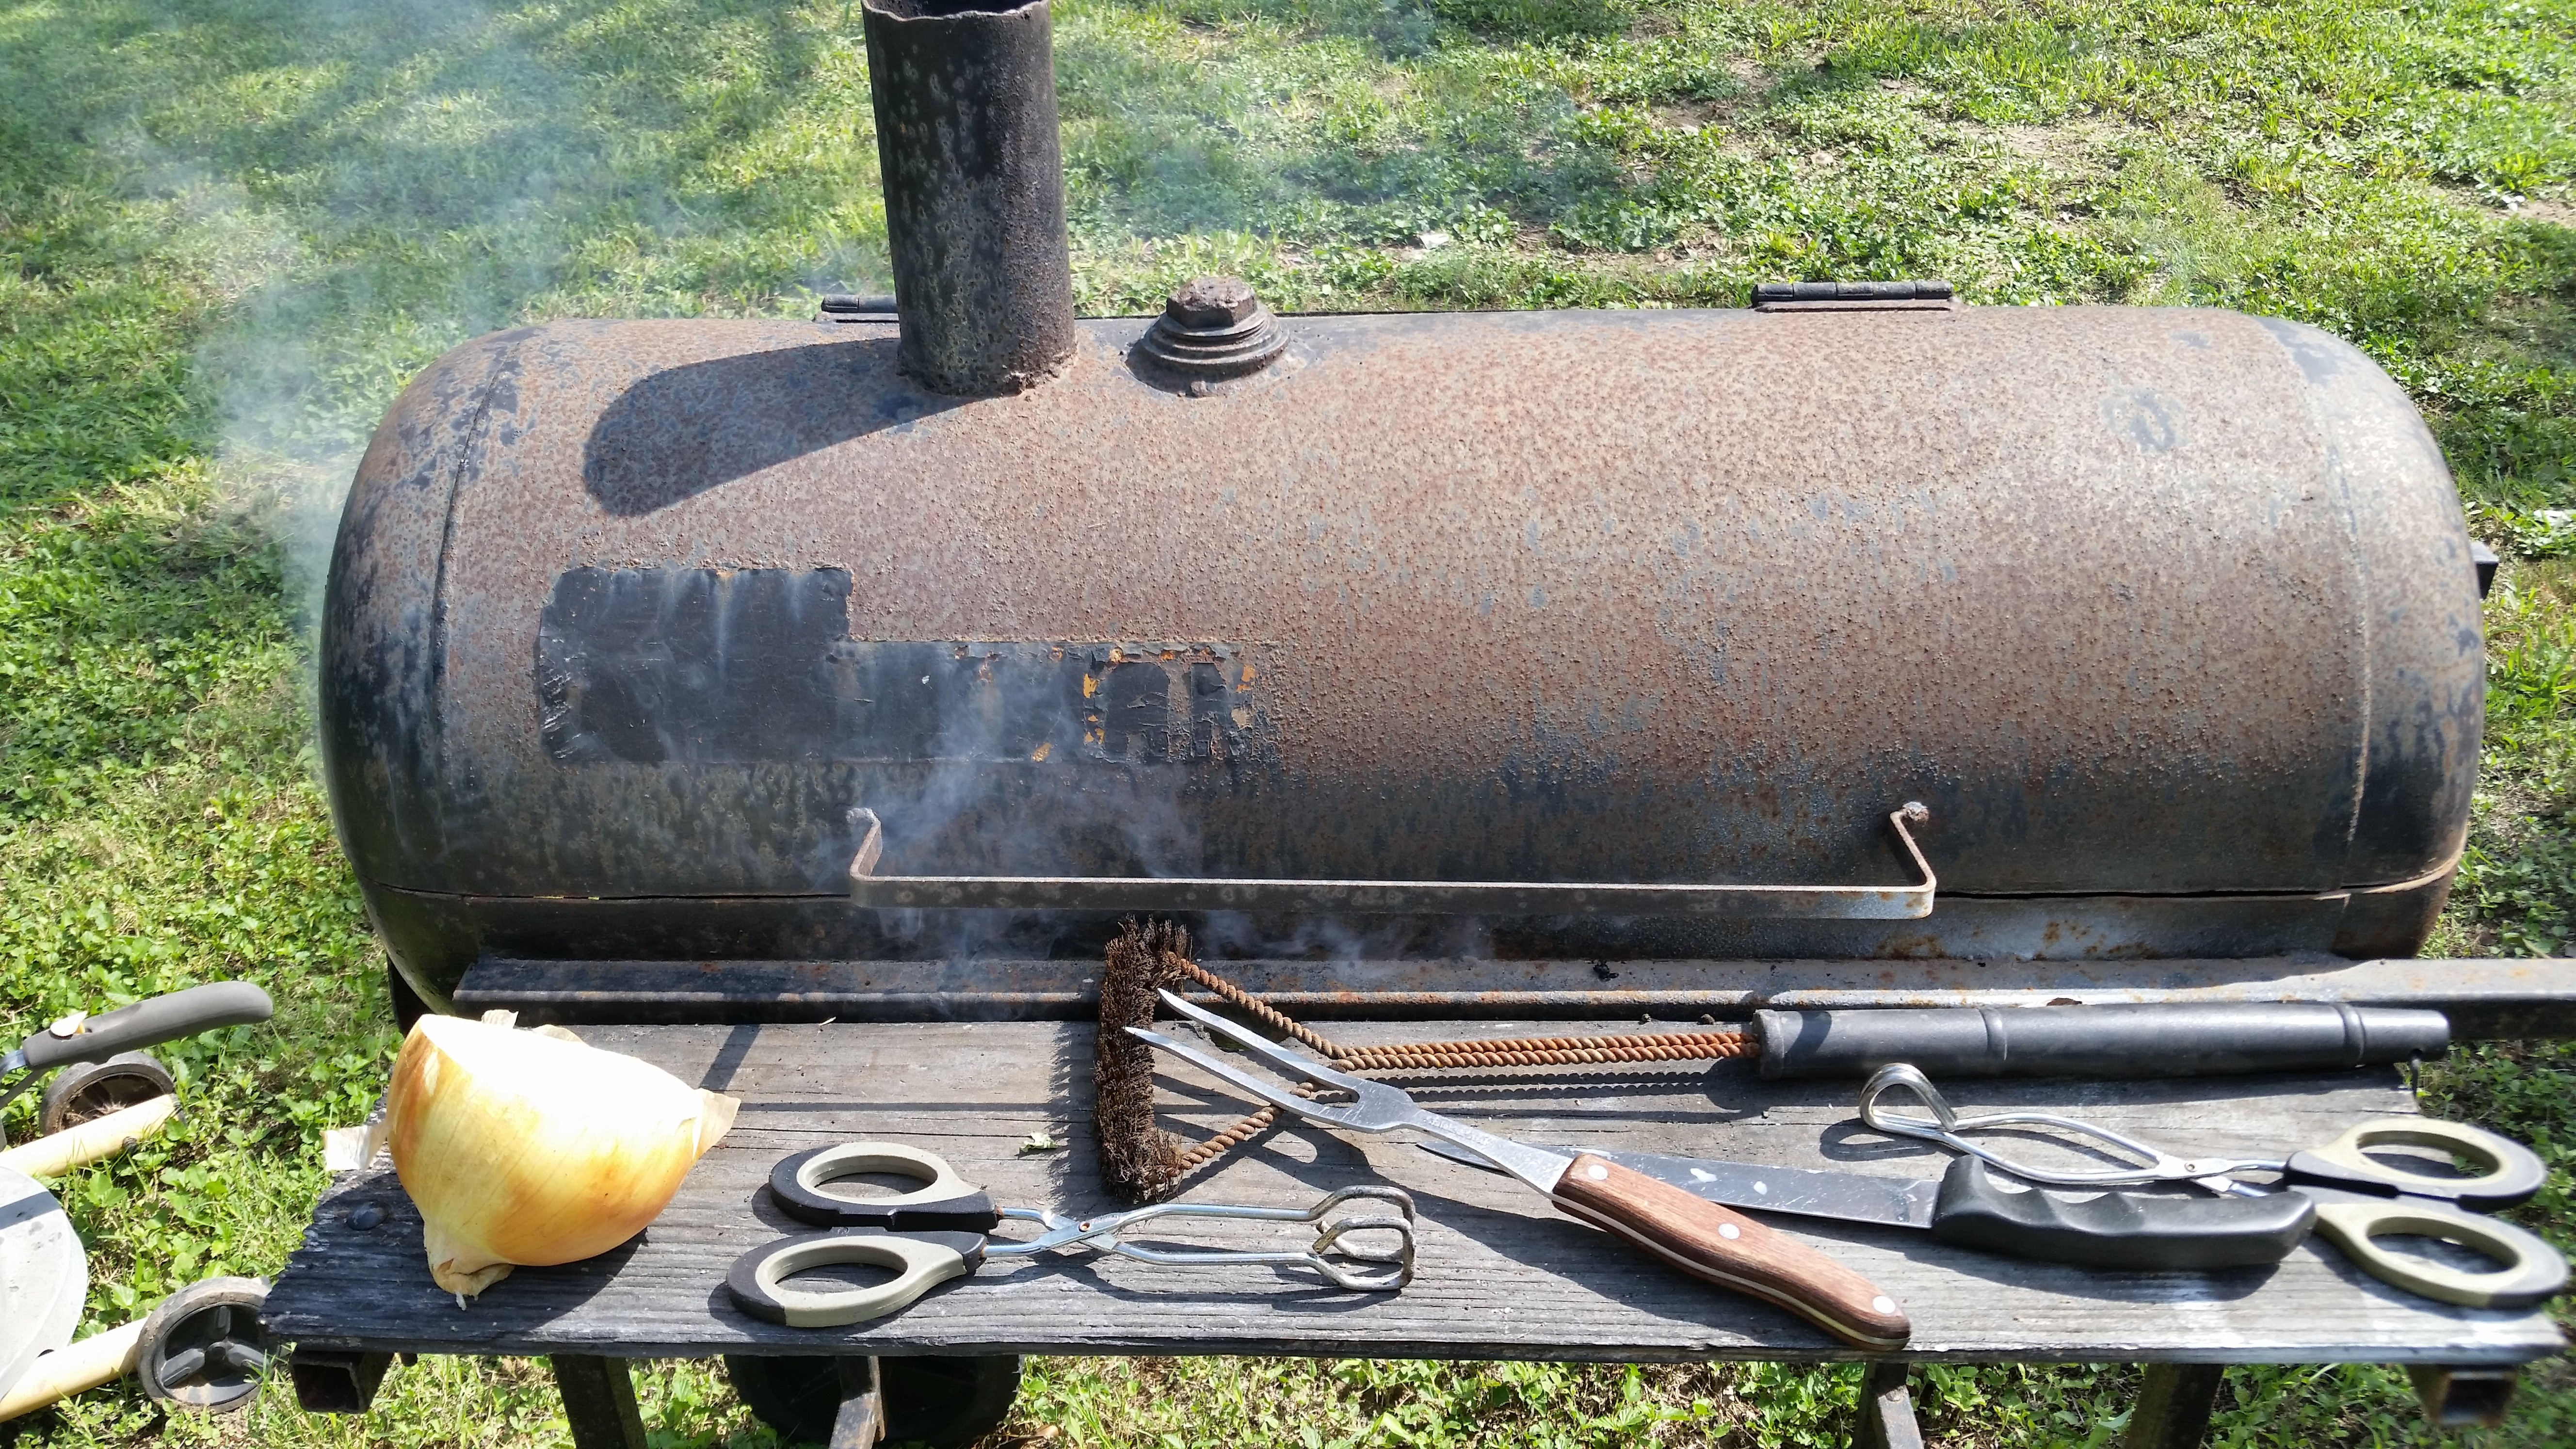
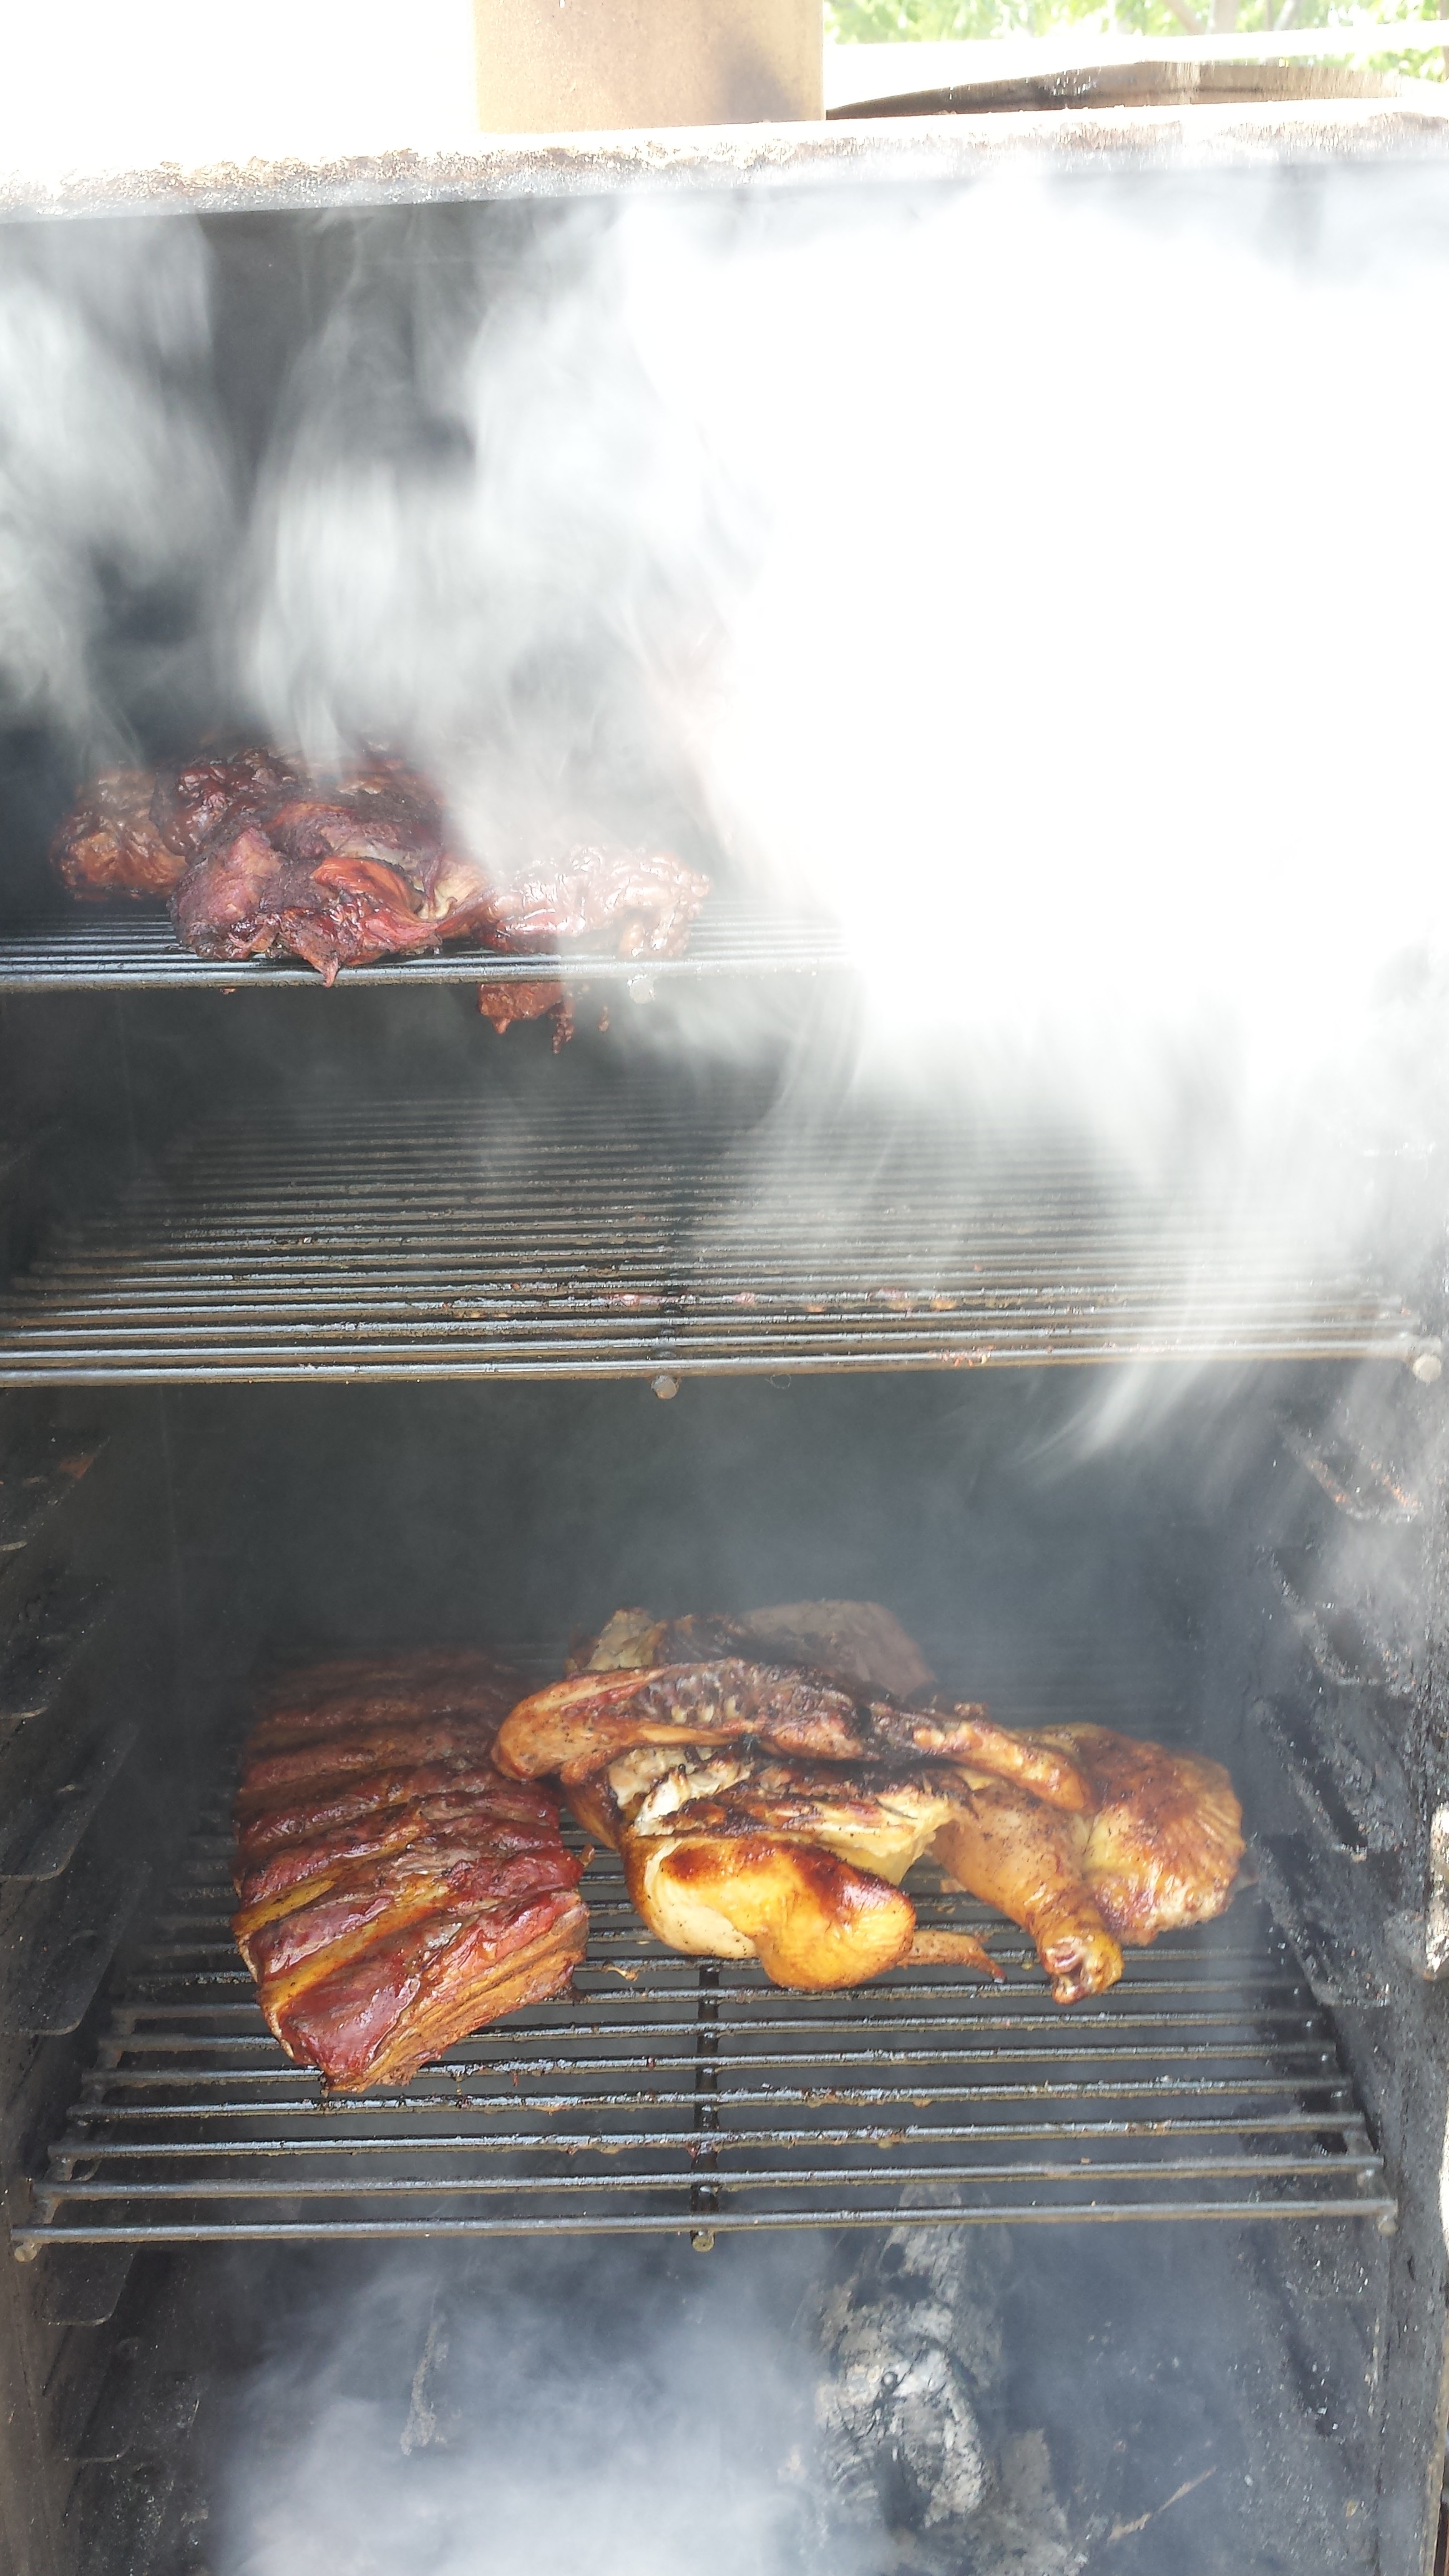
I was glad I showed up early to check things out. “Don’t tell anybody this, but most of the chicken was frozen solid! YIKES!” After we moved the Big grill into place I found it had a super big hole to the bottom right of it. “CA-RAM-BA!” No Texas size, super strong aluminum foil was gonna fix that. There was no time to waste. Things had to be moved into place and the fire started. Good thing this grill had a smoker so I wrapped most of the chicken in foil and tossed them in the upright smoker to thaw out (it was desperate times) and I’m sure some of you have gone thru some type of “near miss” experiences like that.
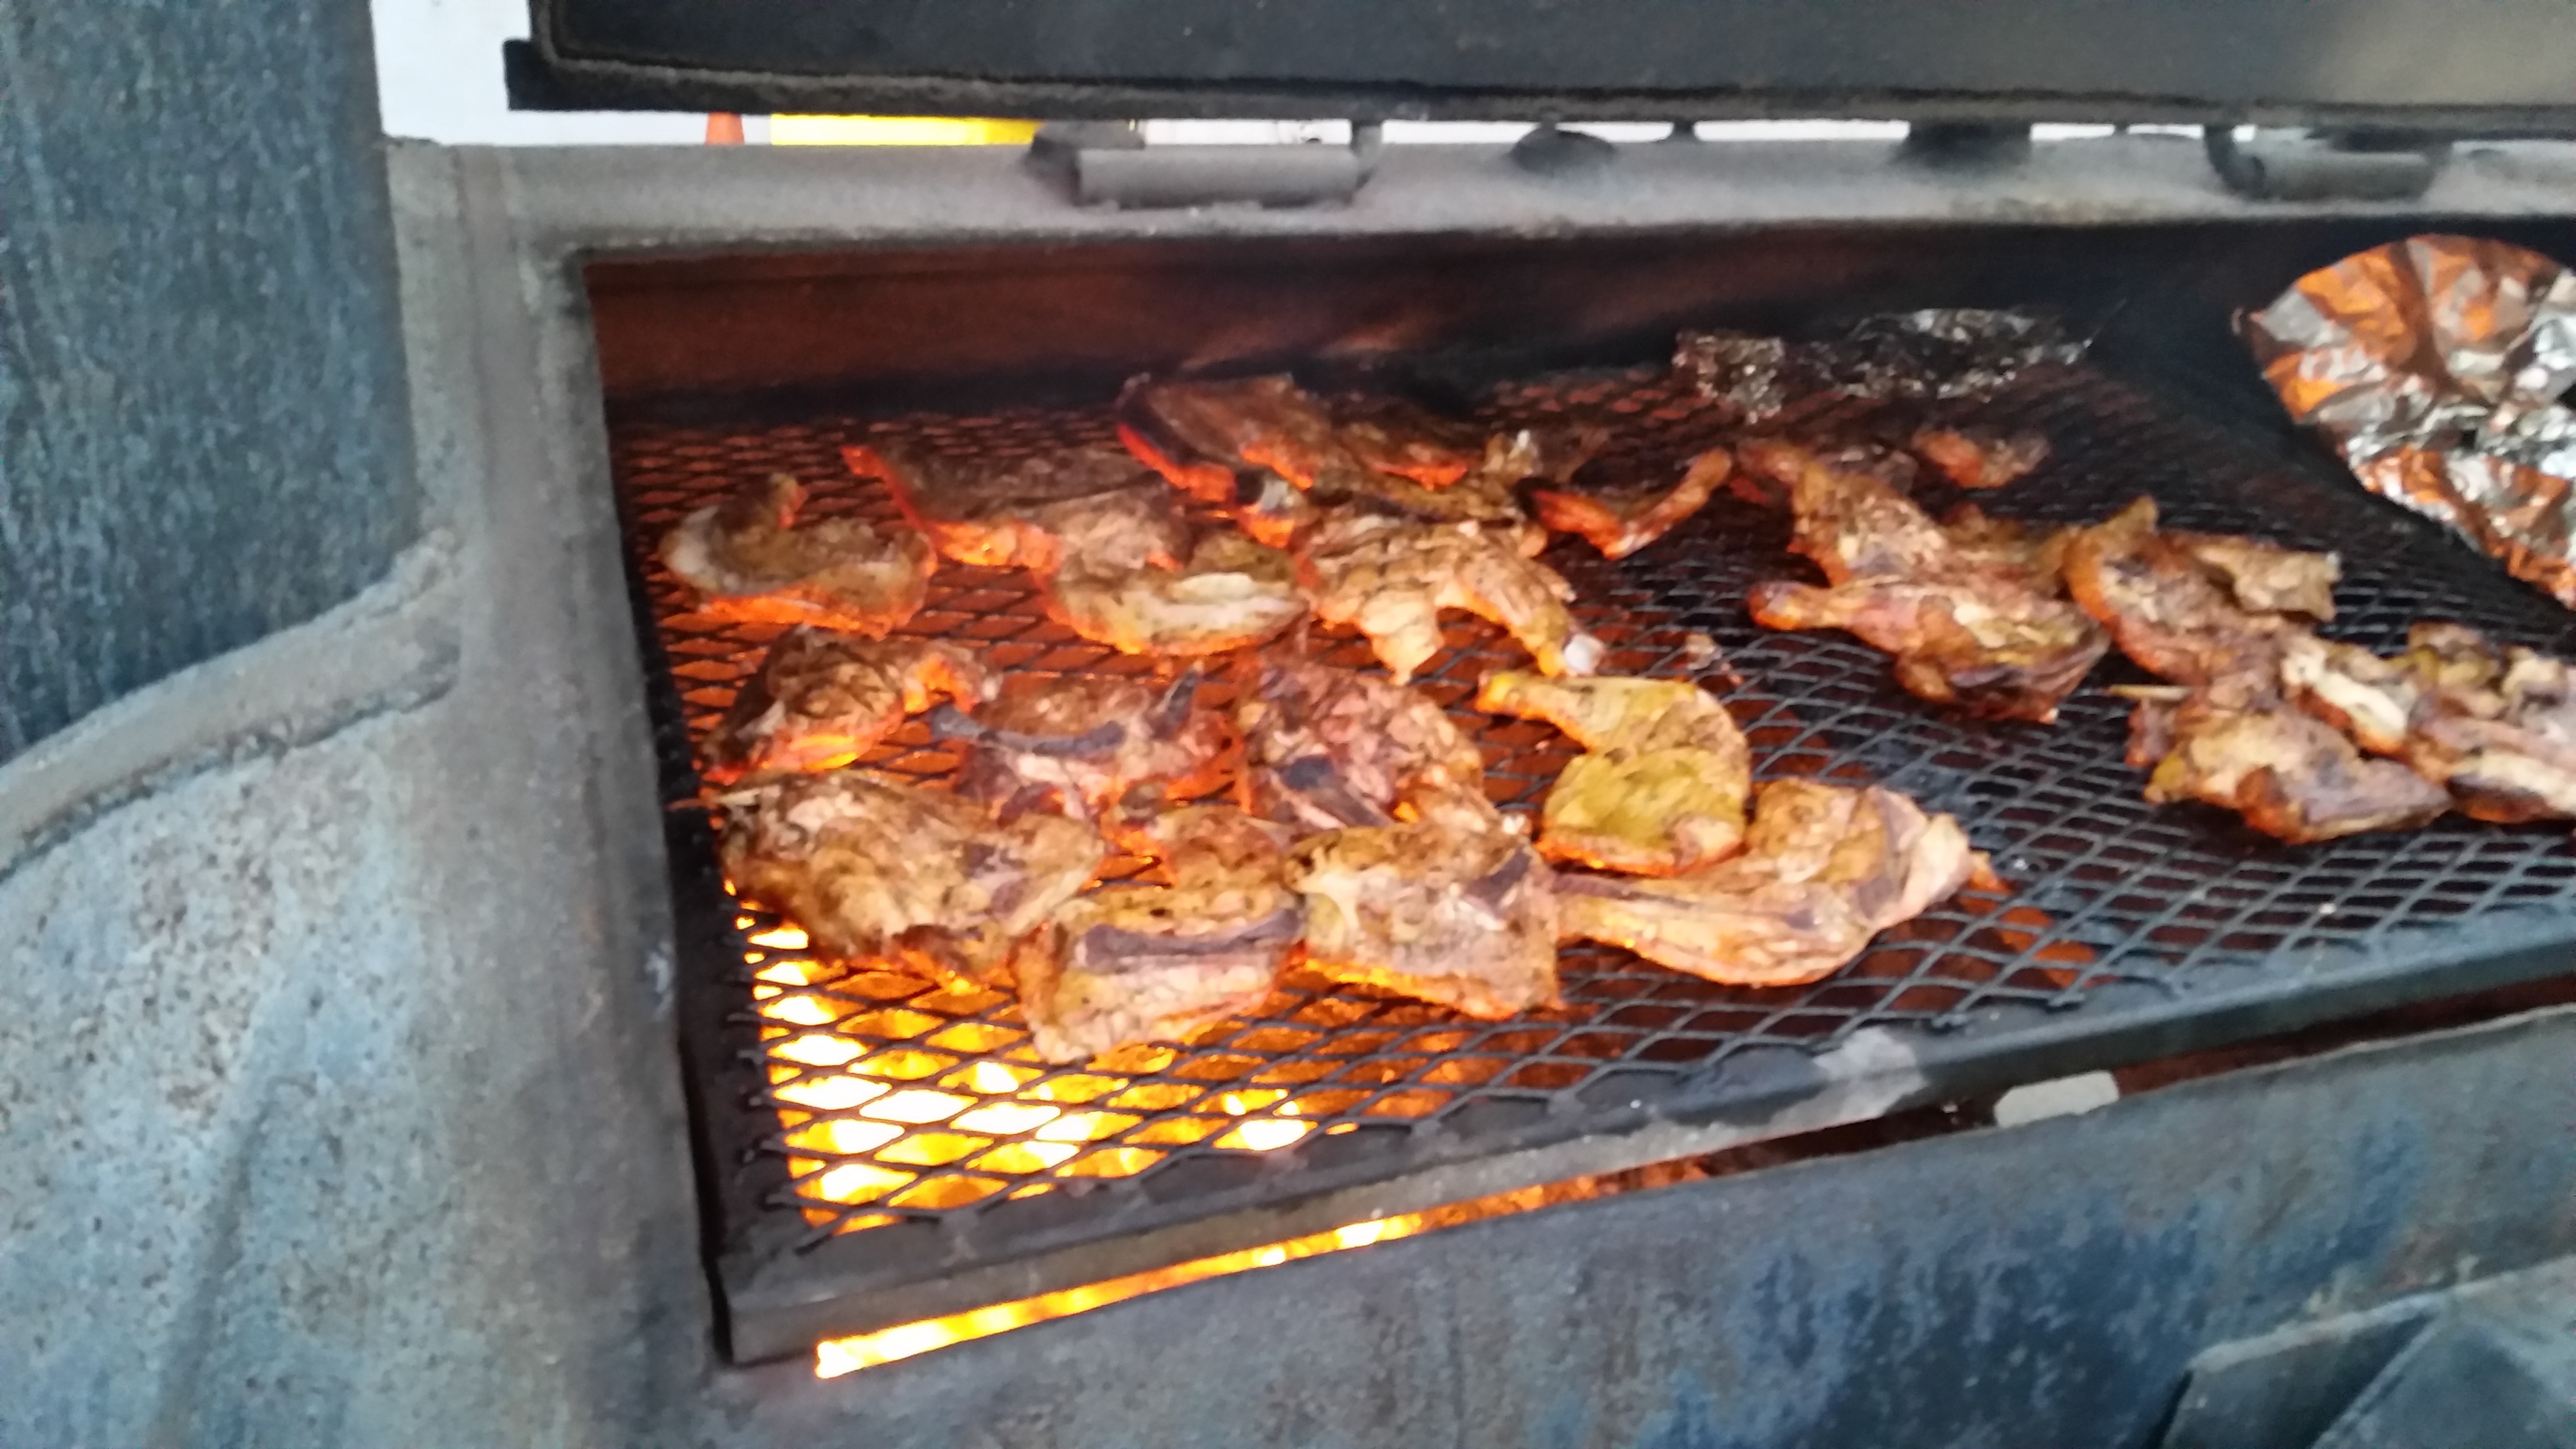
STONE COLD CHICKEN!
I put chicken everywhere to include the right side of the grill; above that useless hole.
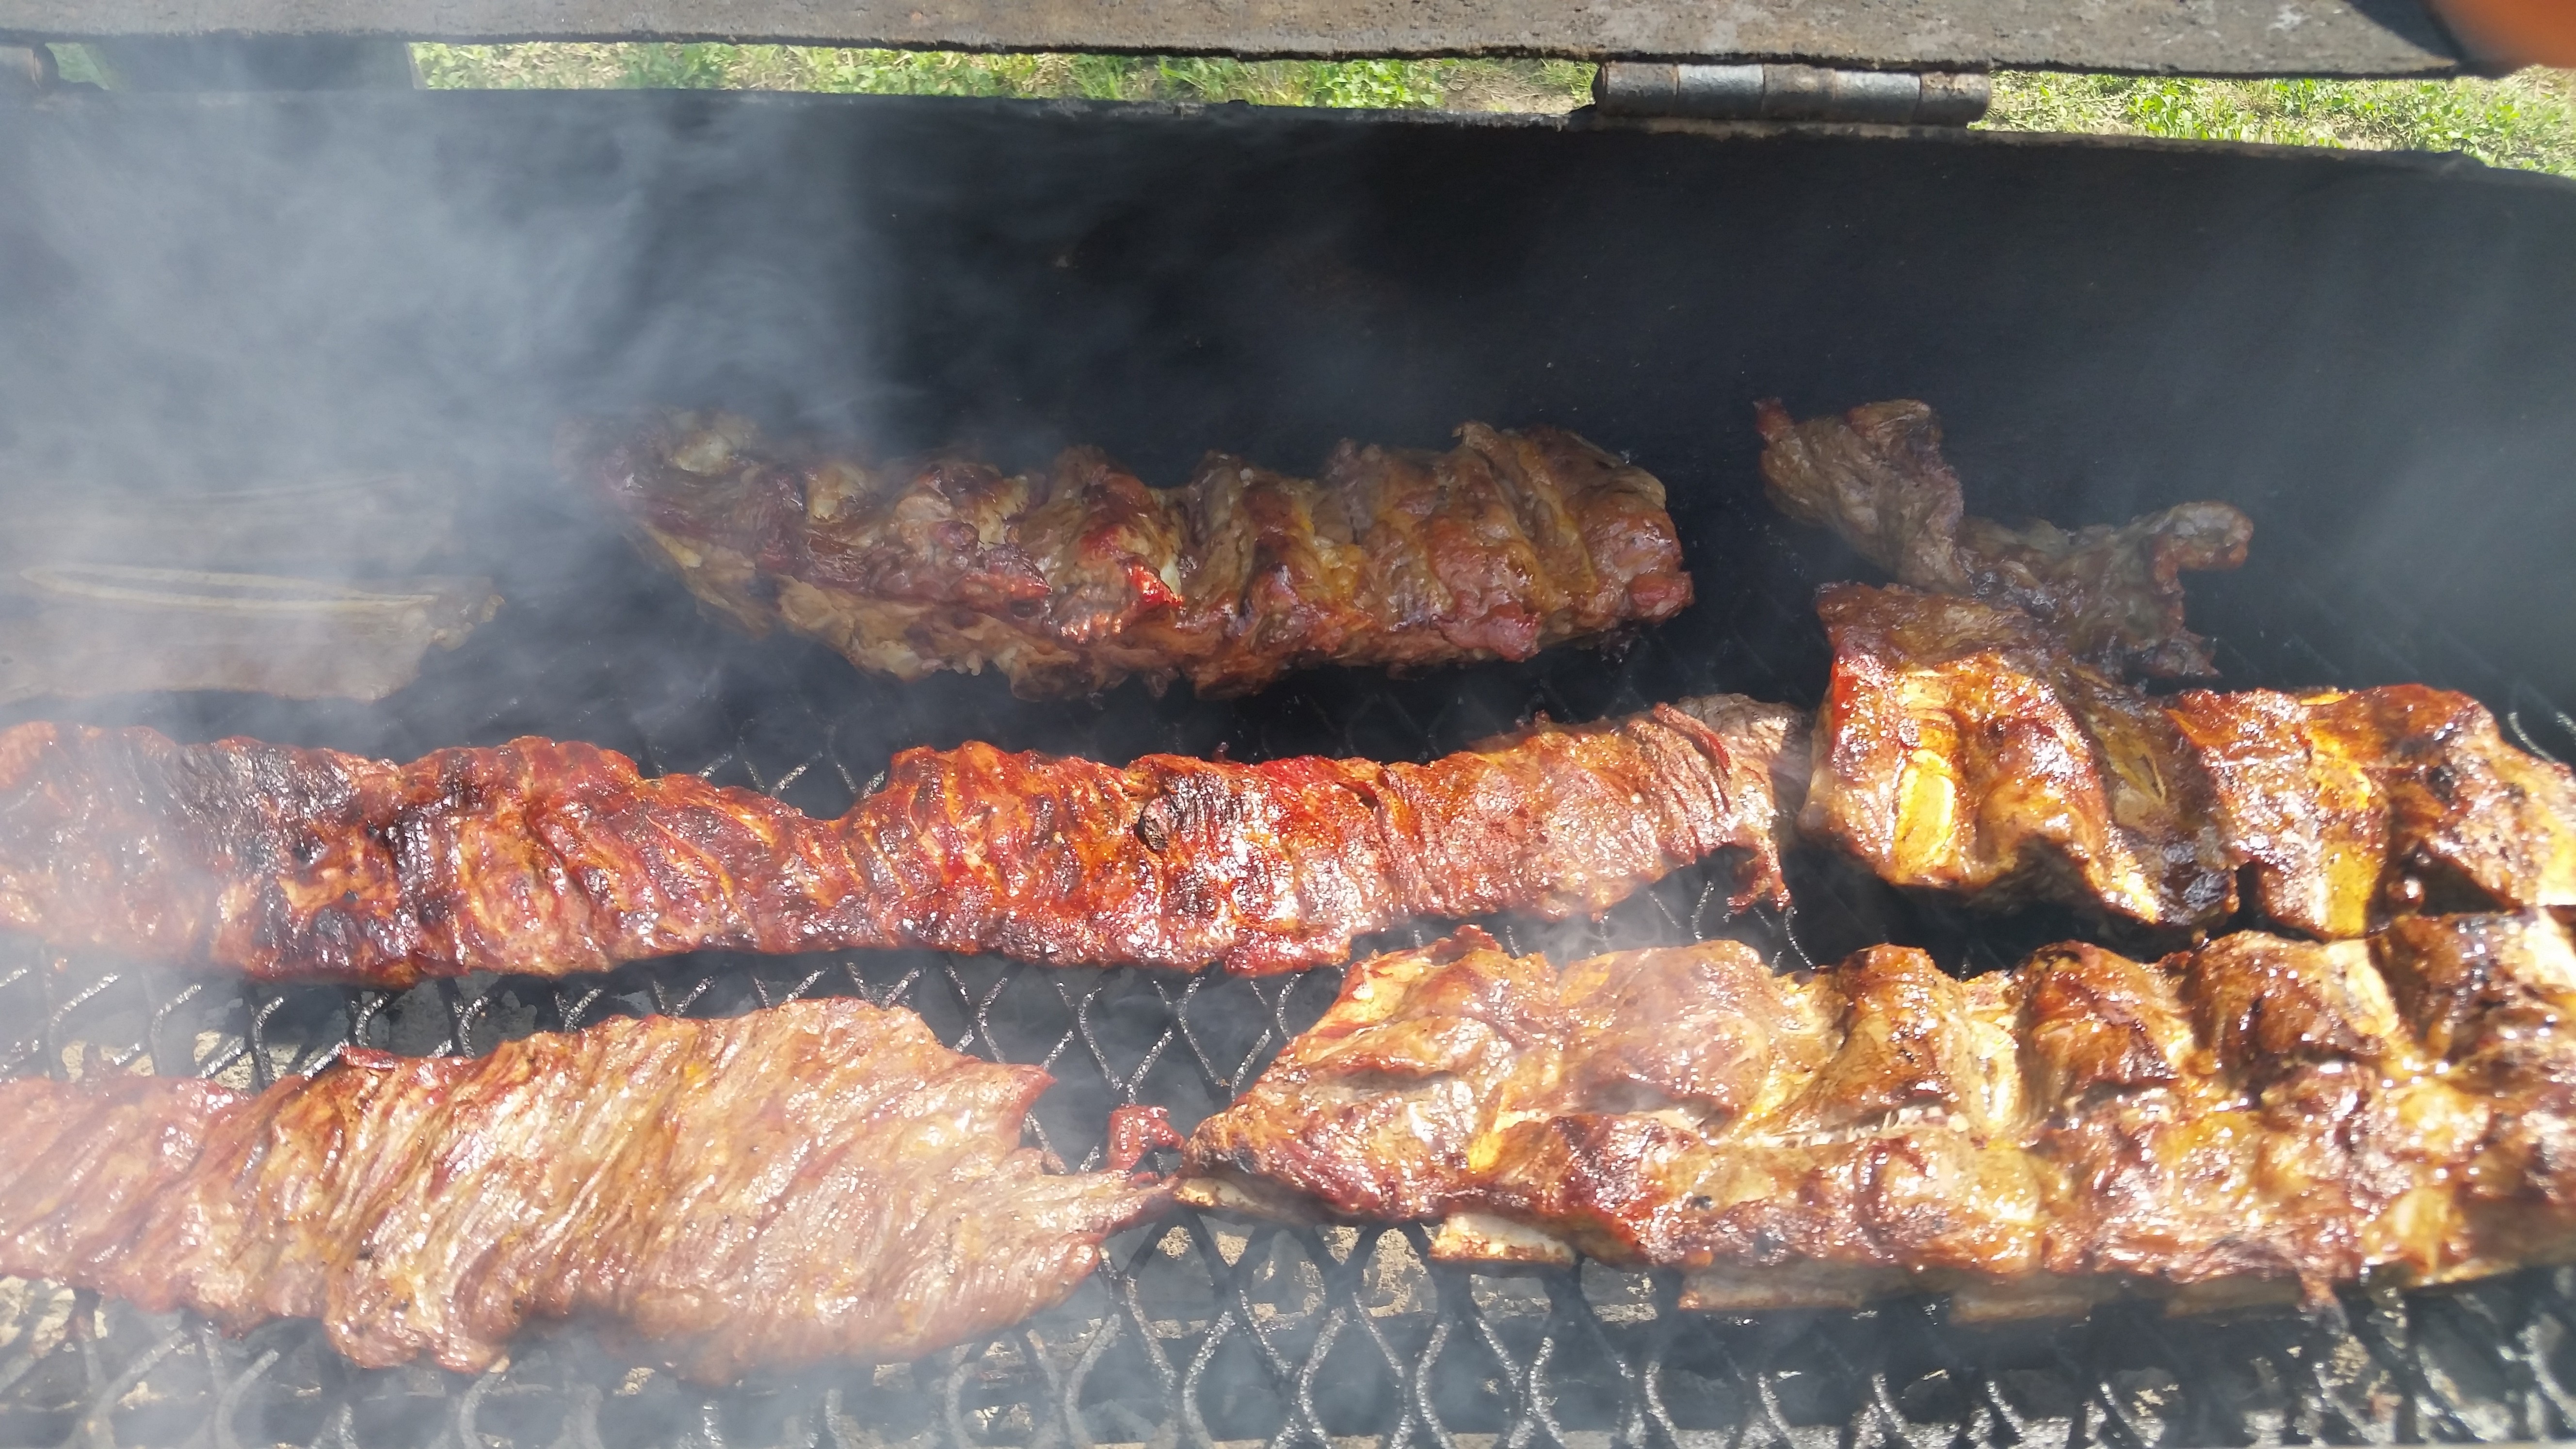
FAJITA TIME!
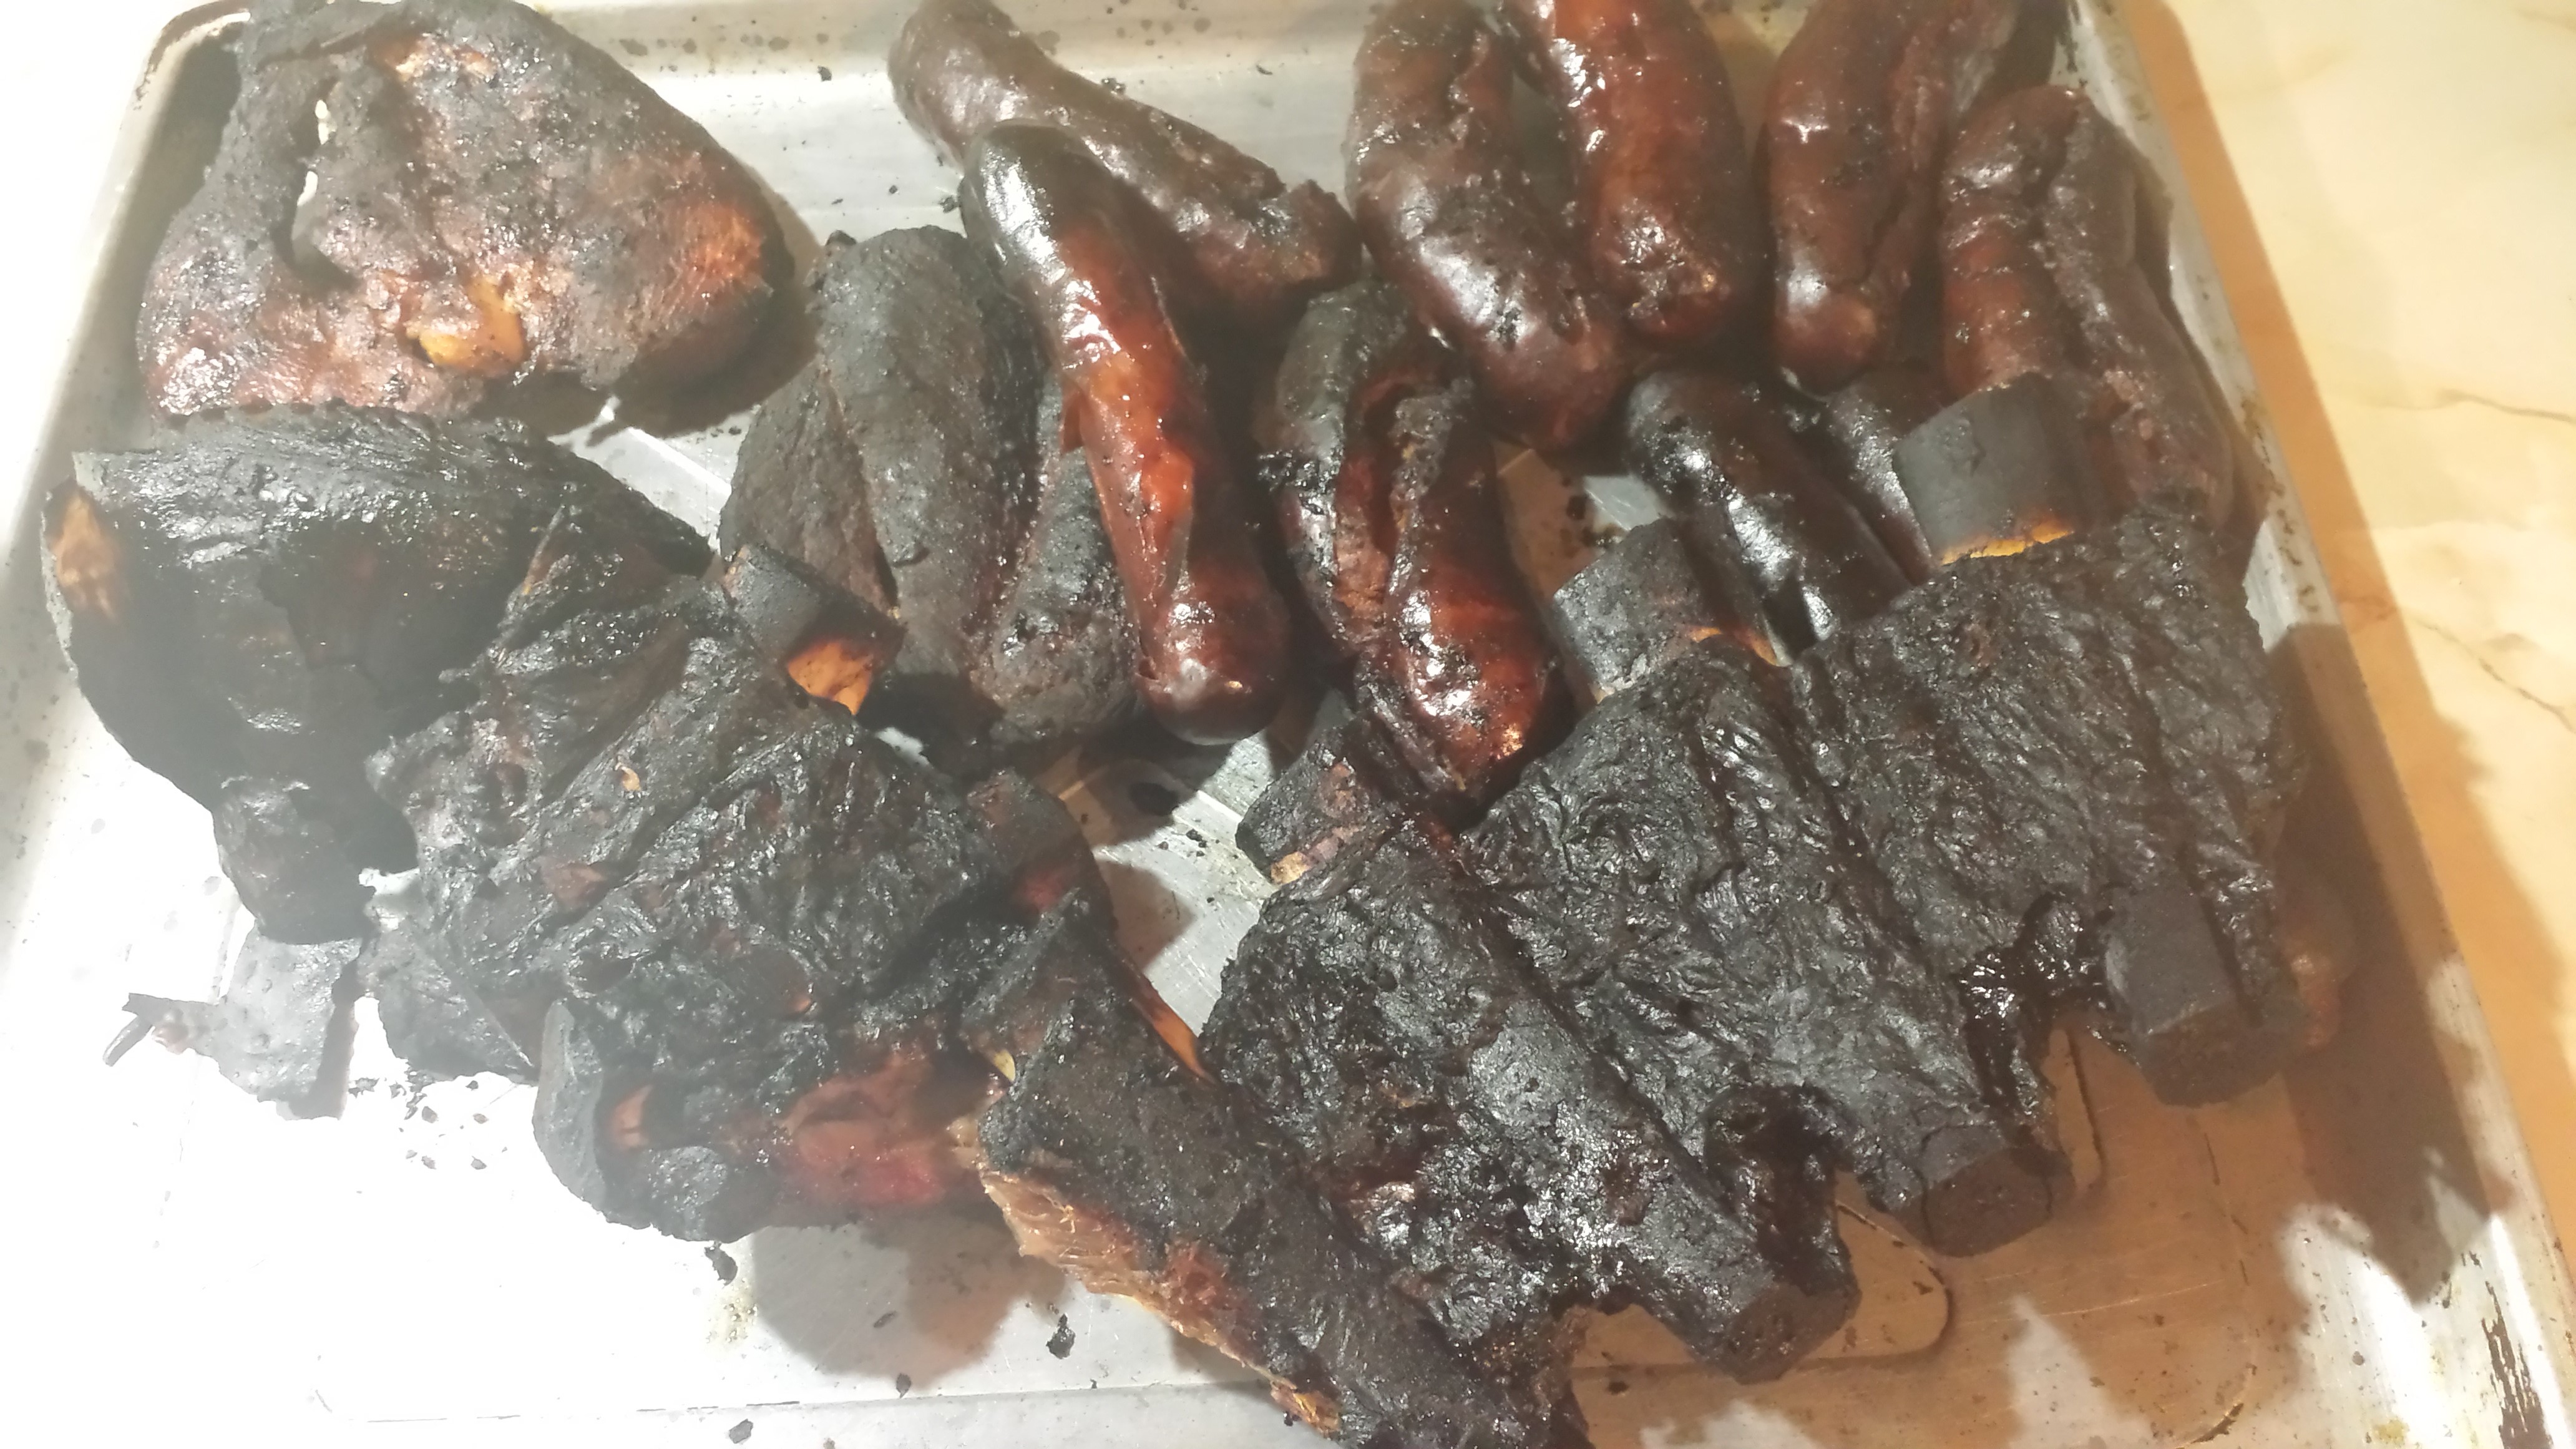
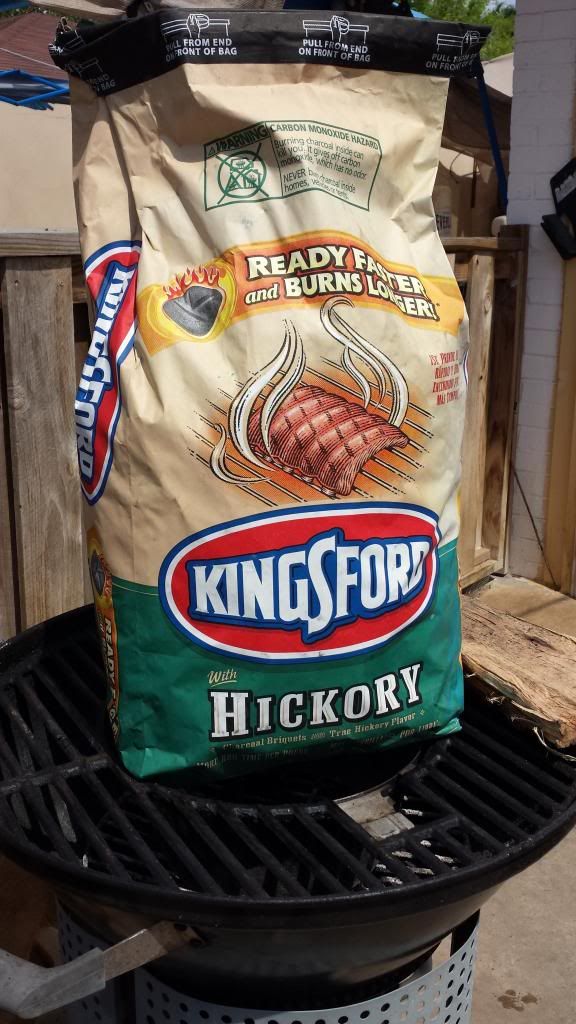
We had too many fajitas and had to resort to adding a few at a time due to the grilling space. I put mine on the smoker after slightly grilling them to finish the cooking process and to get more flavor. We were grilling with Kings ford charcoal and smoking with Hickory wood. What is so great about been a cook is that you get a chance at tasting the food before anybody does. I sampled all the competitors fajitas and I gots to admit; they were all pretty darn good.

No need for explanation here, the horde came and devoured almost everything!
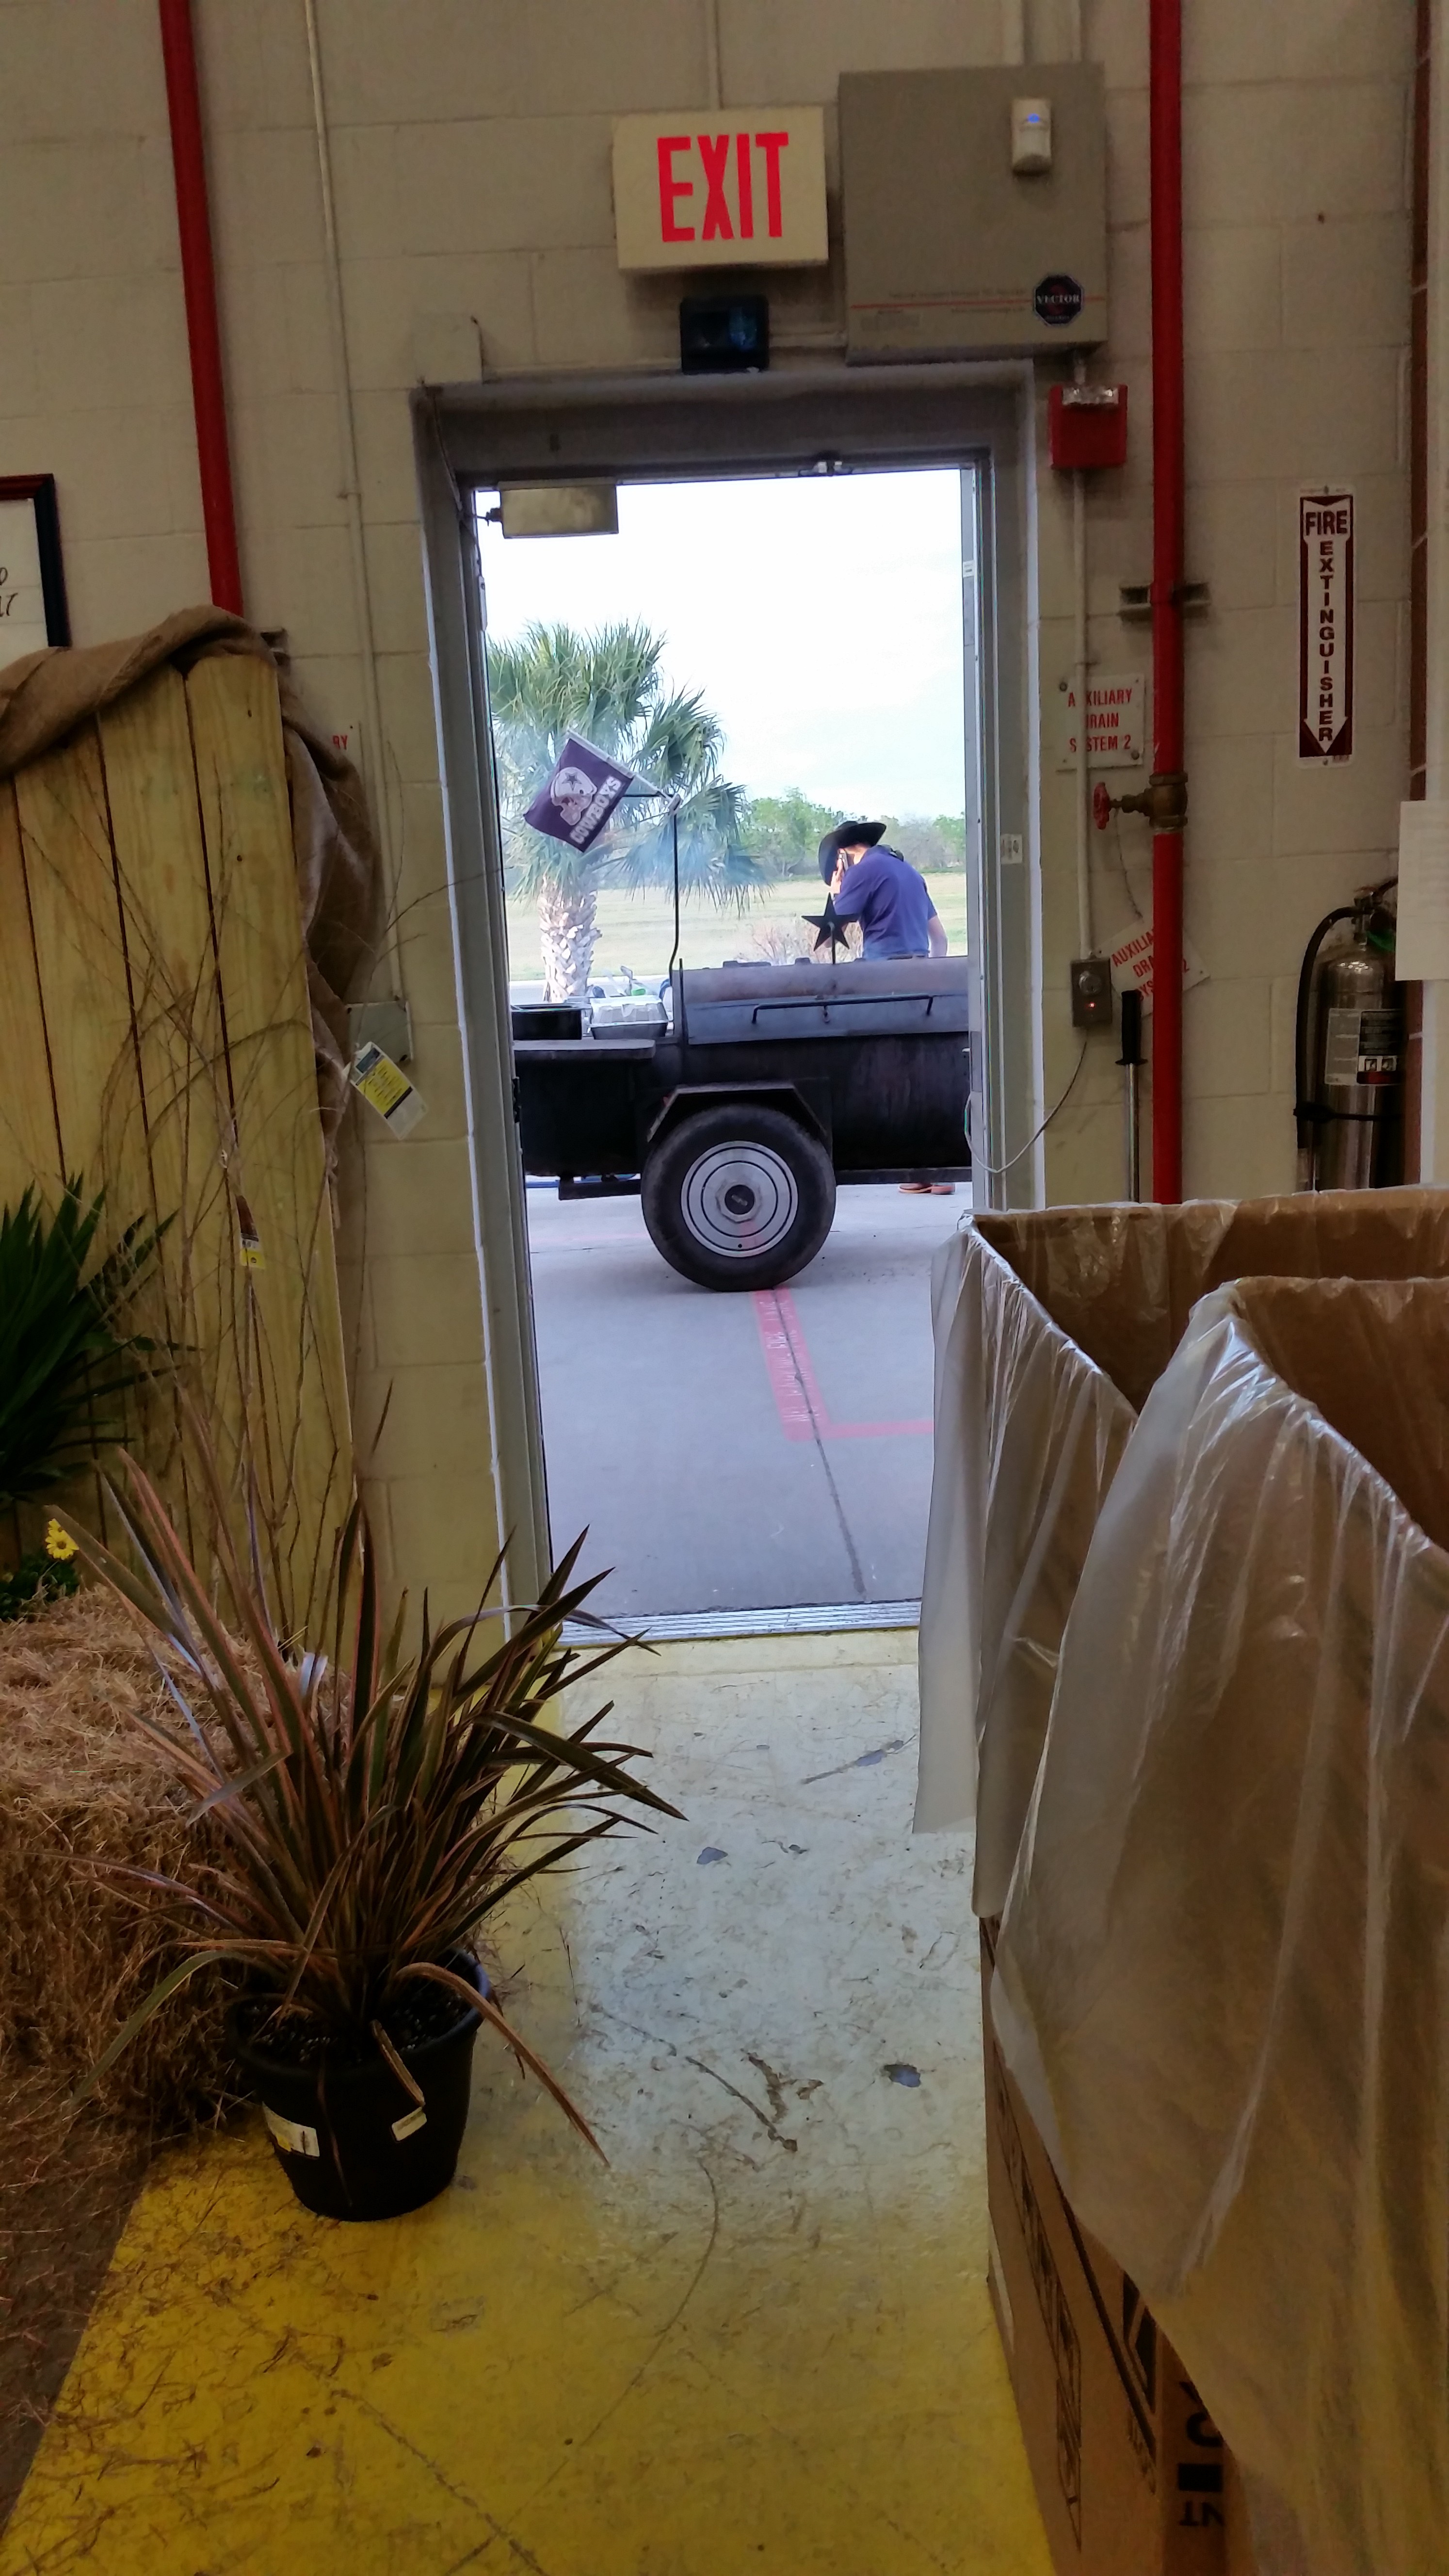
HEADING BACK TO THE RANCH!

To the ranch we go!…
“I wonder what happened to my mustache?”
One of the coolest things happening for the day was that our boss Richard hired this cowboy with a dancing horse. The cowboy was nice enough to let us mount the horse to take pictures. Well with a hard days work done, its time to head back. Back to the ranch that is and to that “Spicy Fajita Tacos on the grill!”
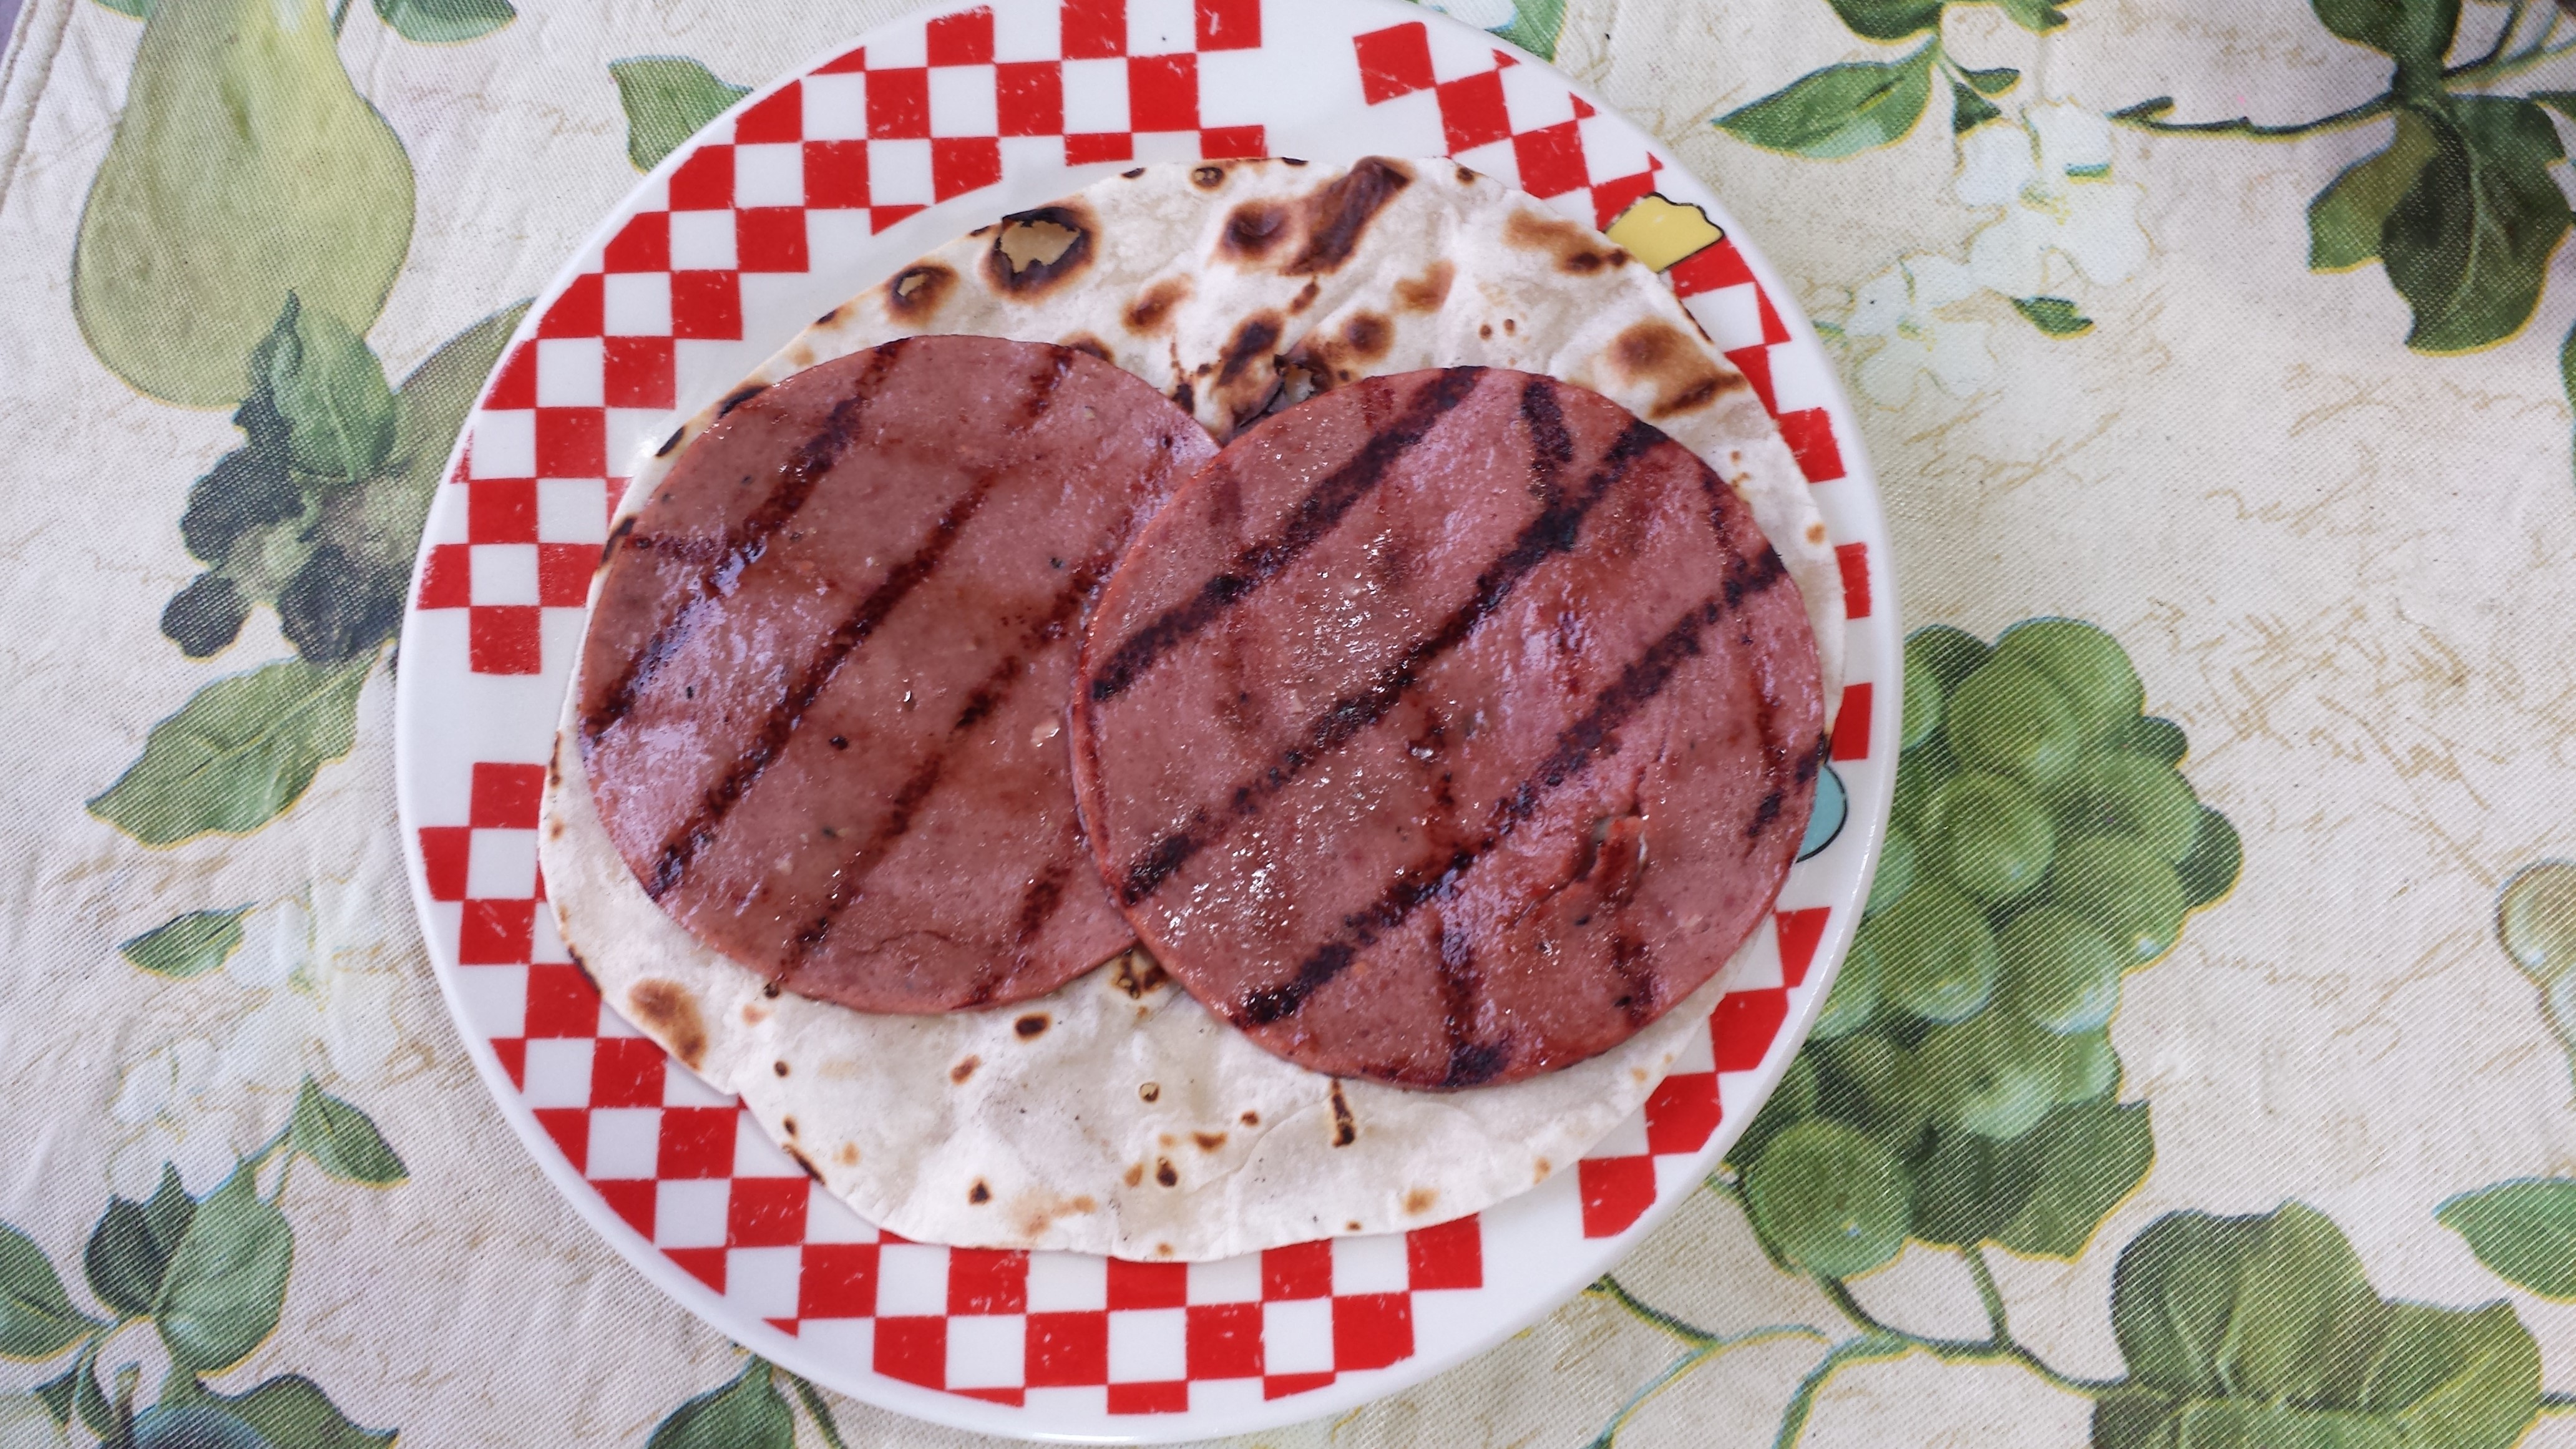
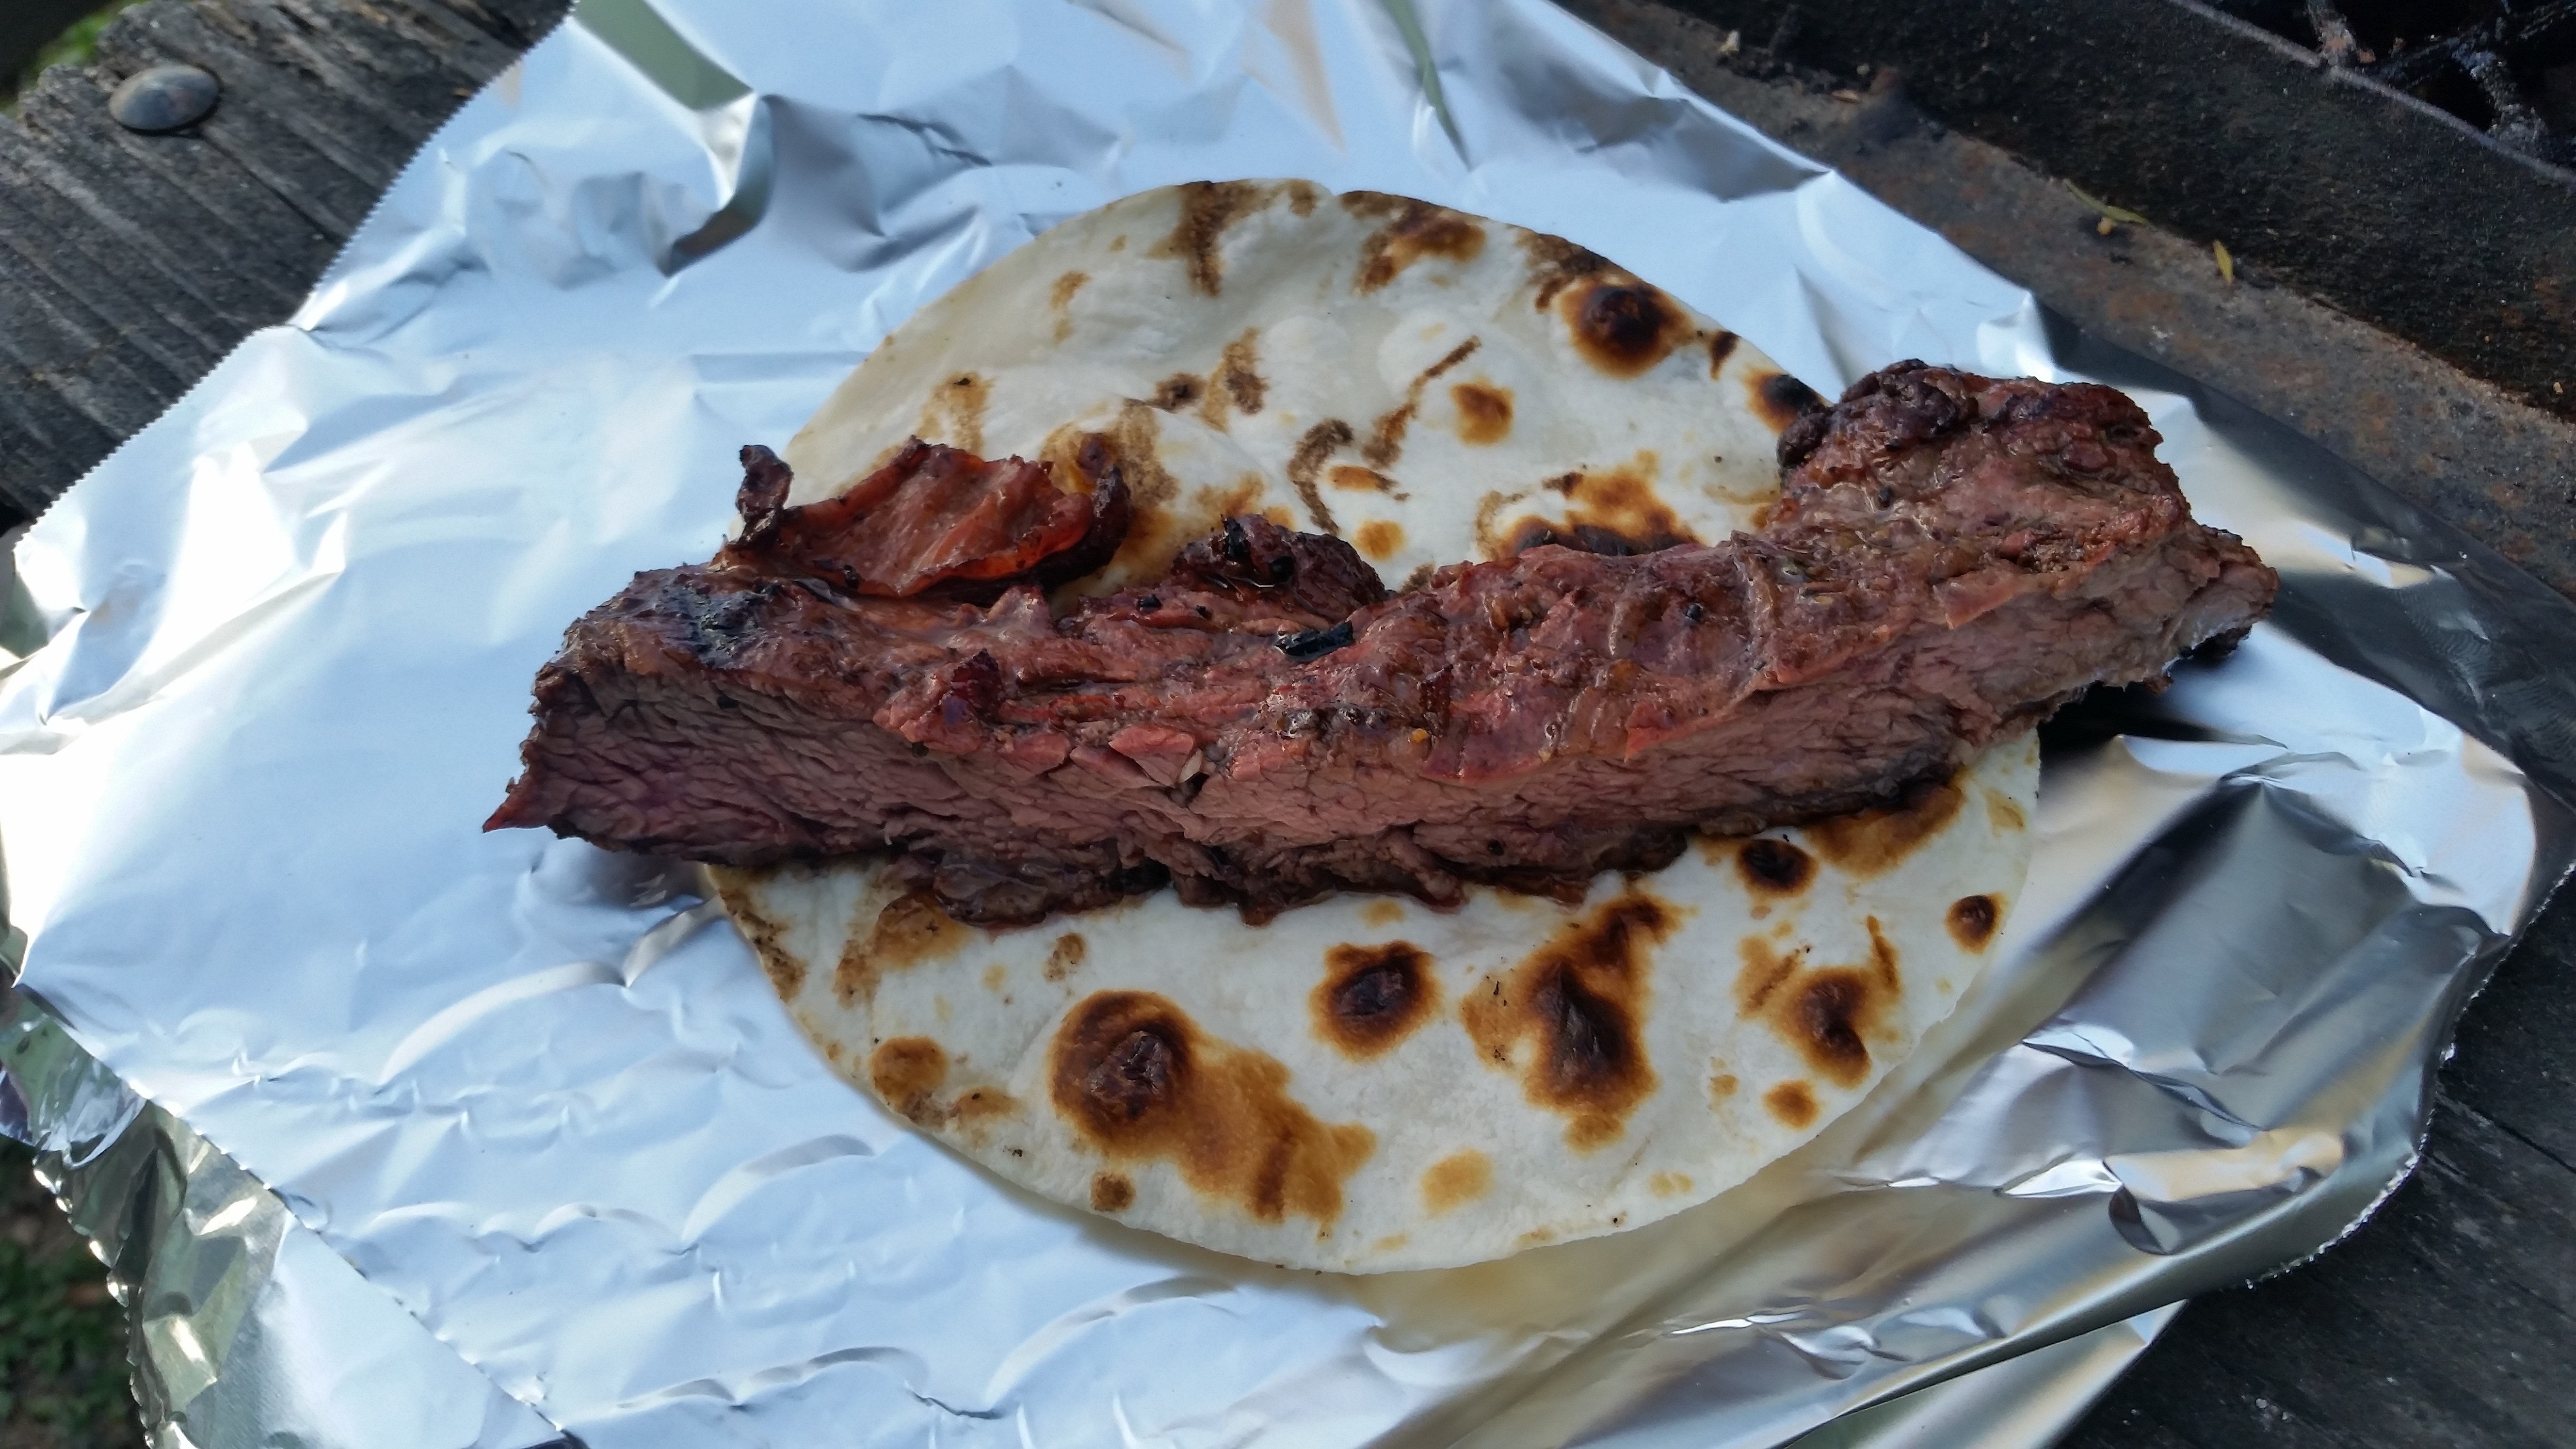
“Spicy Fajita Tacos on the grill!”
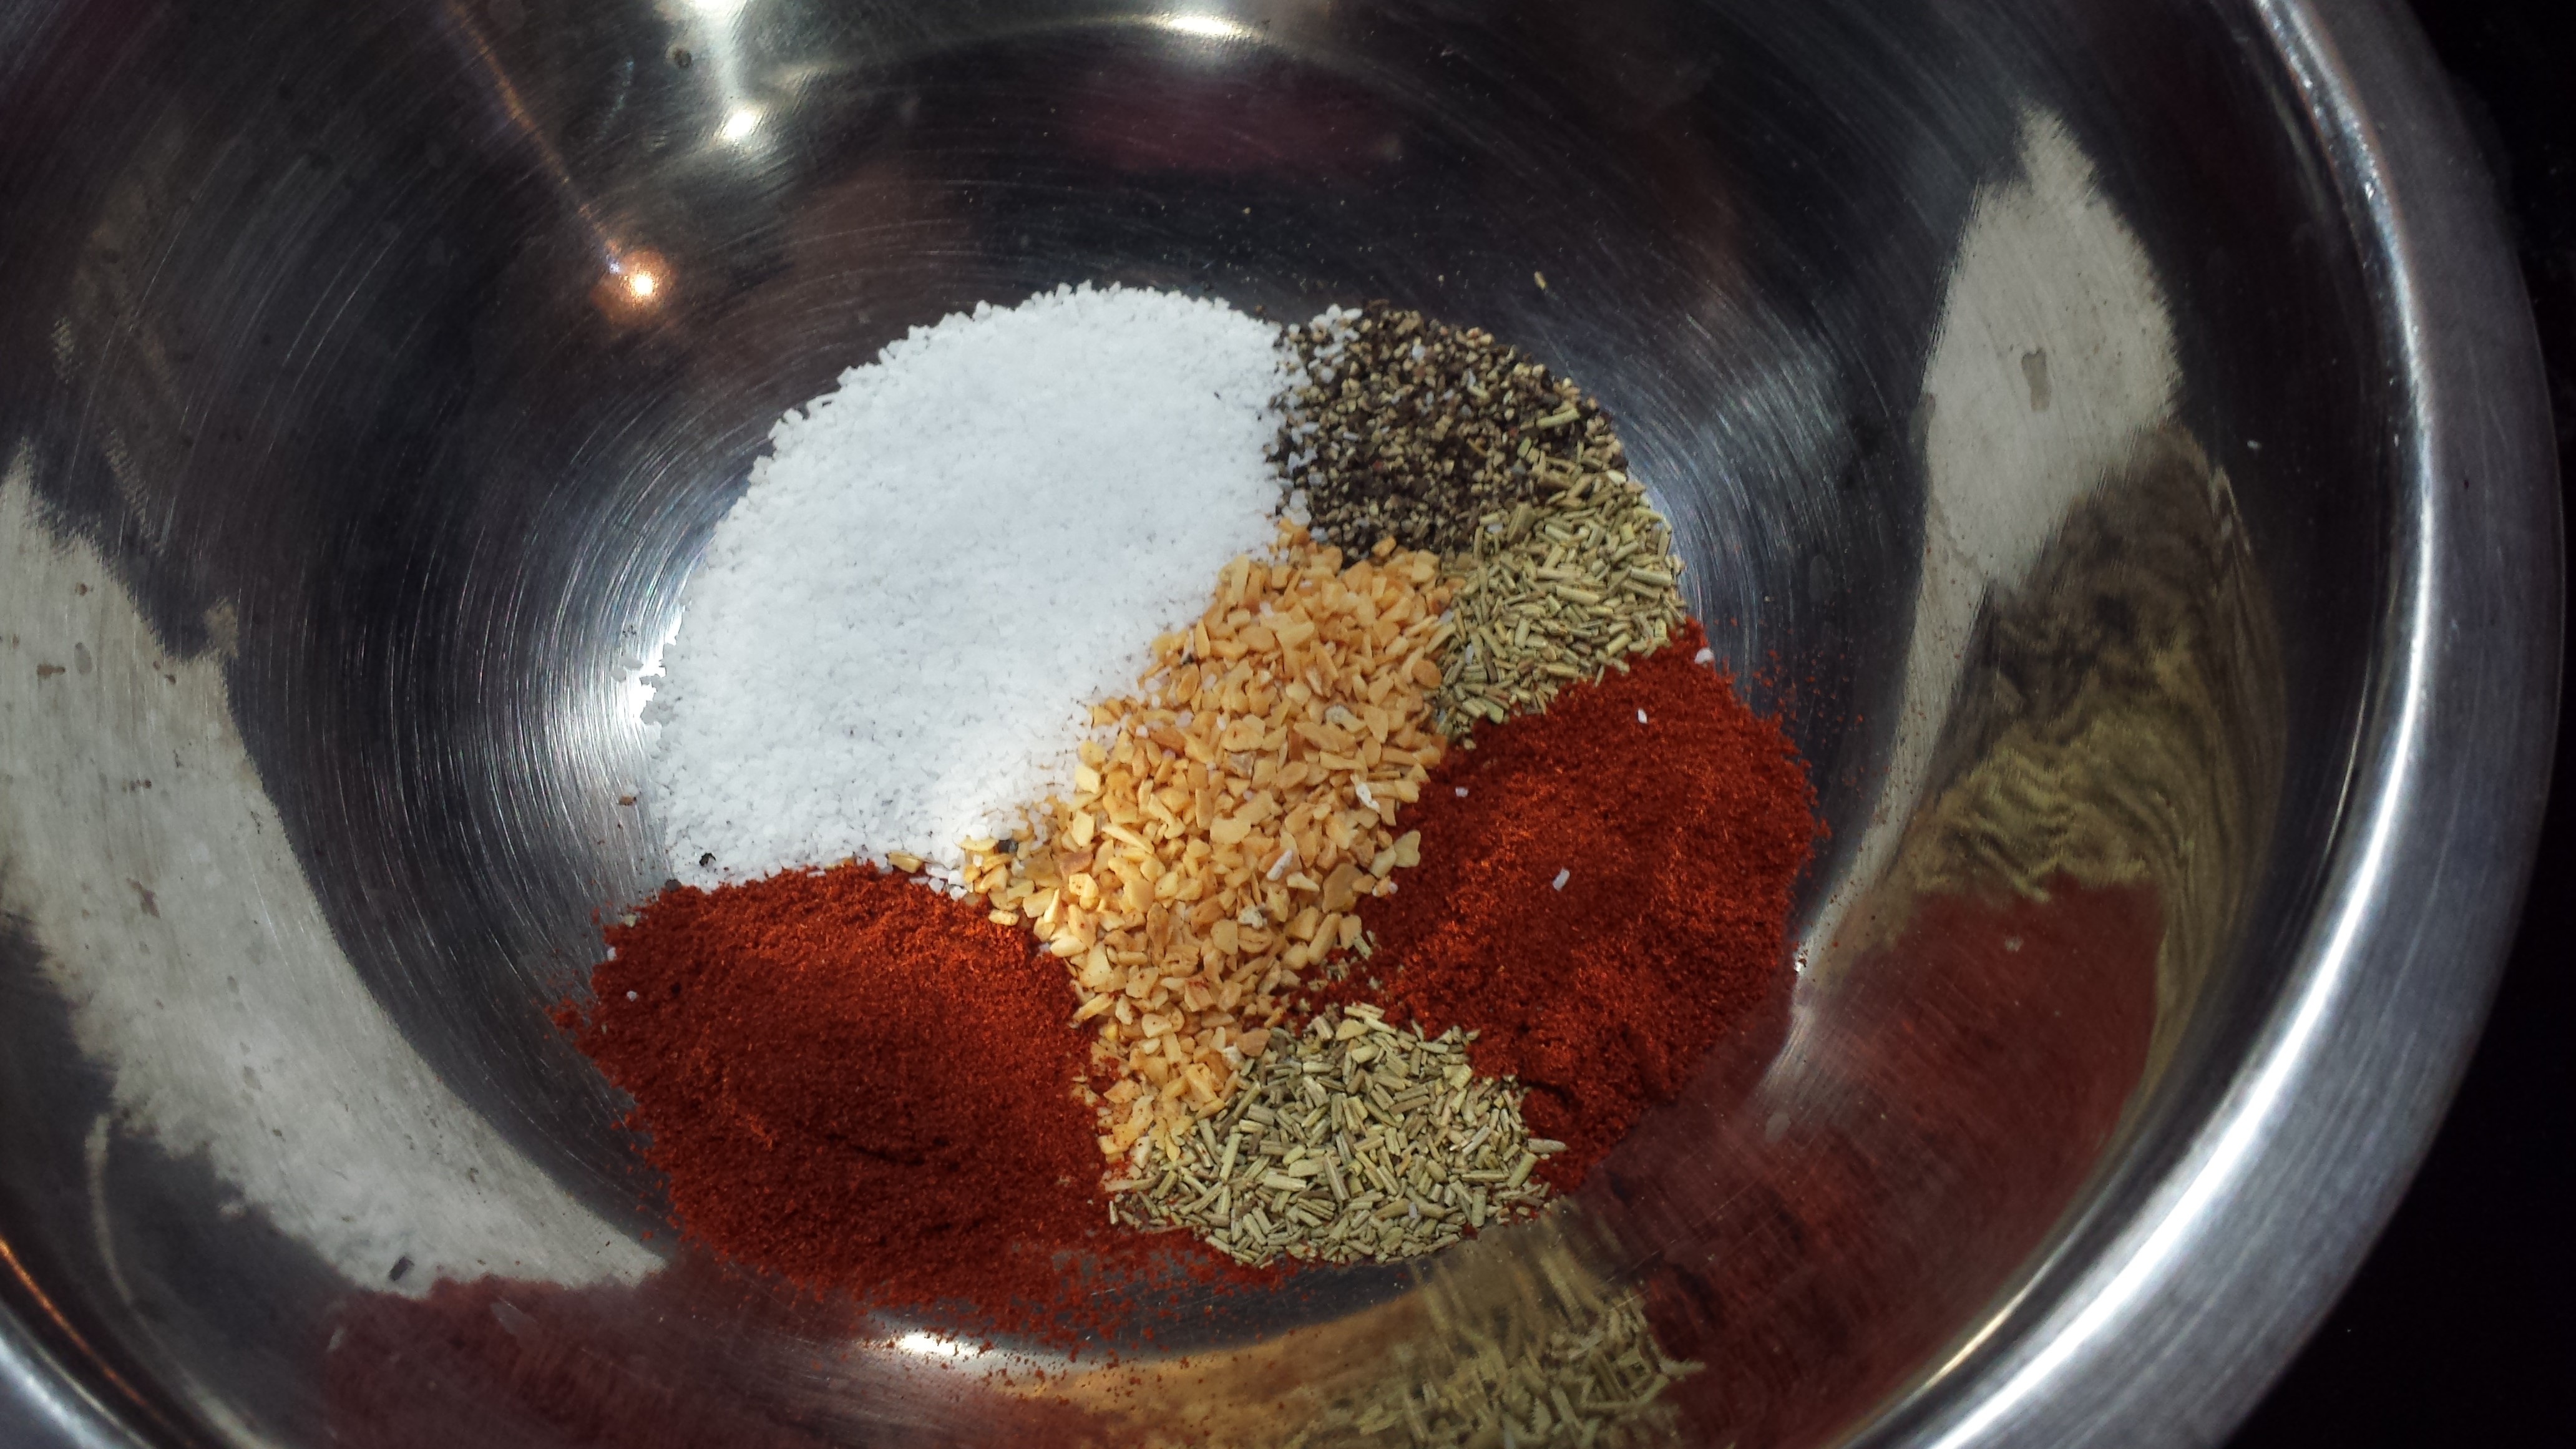
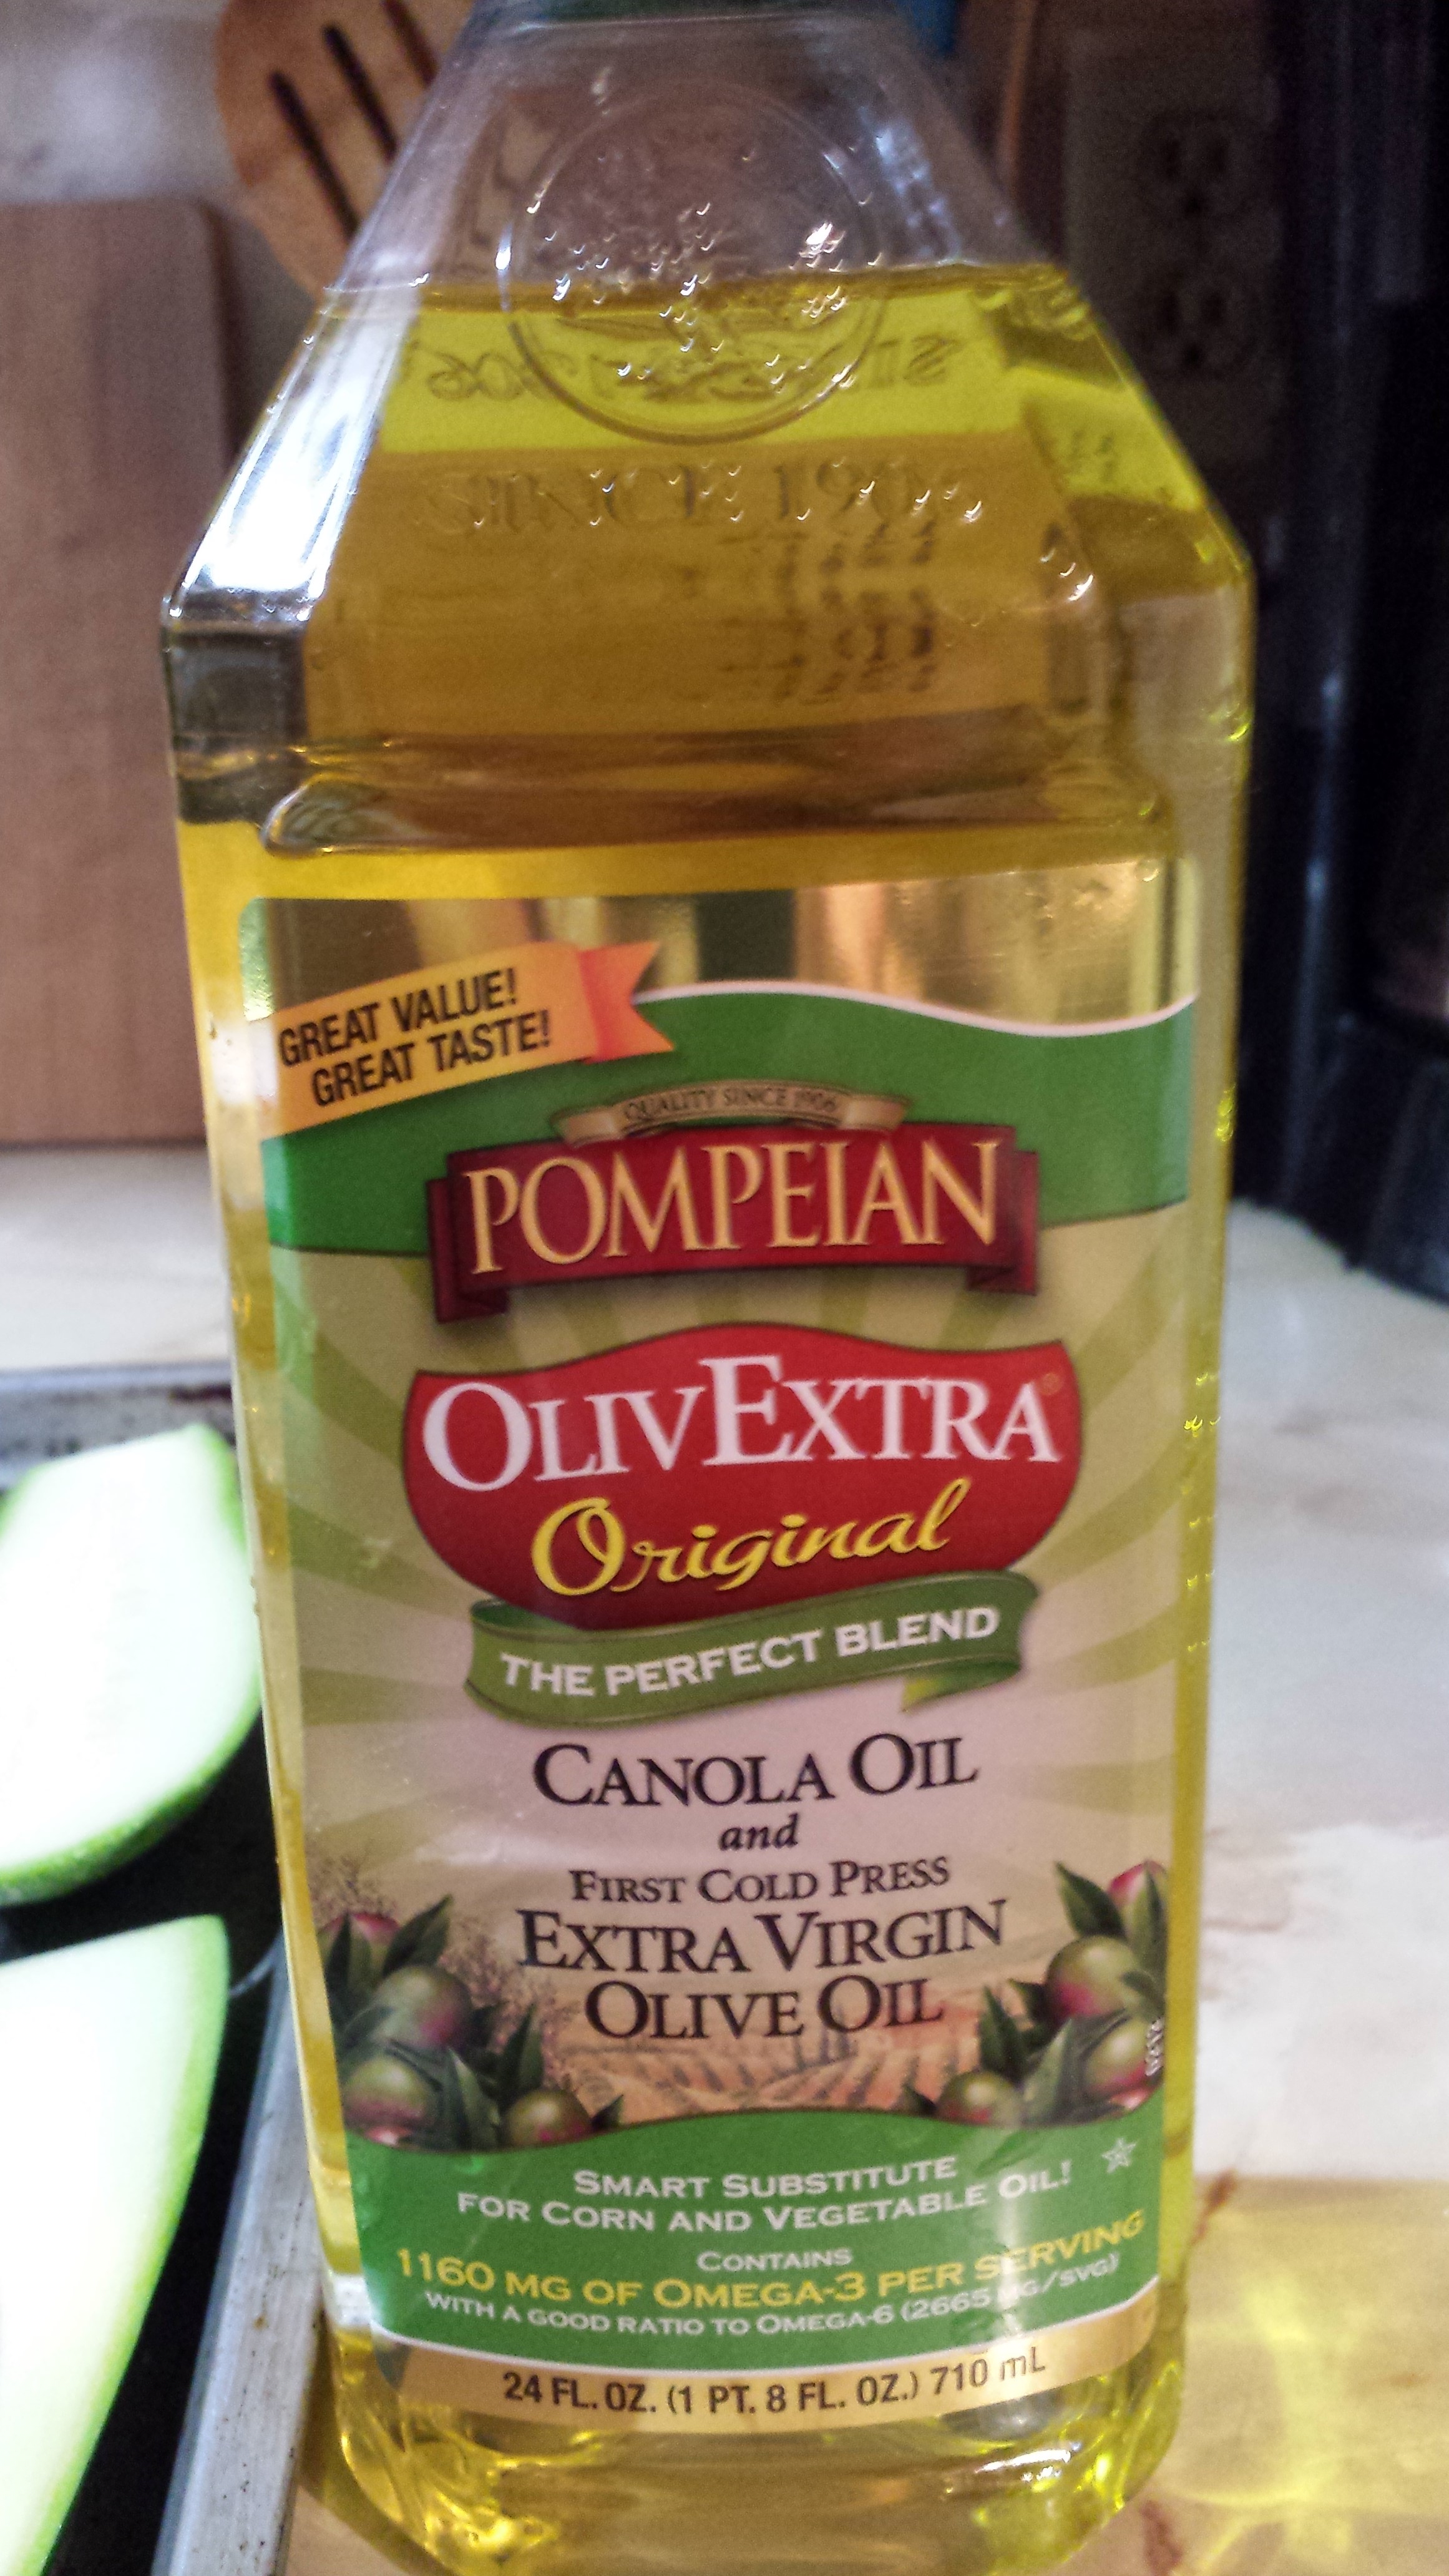
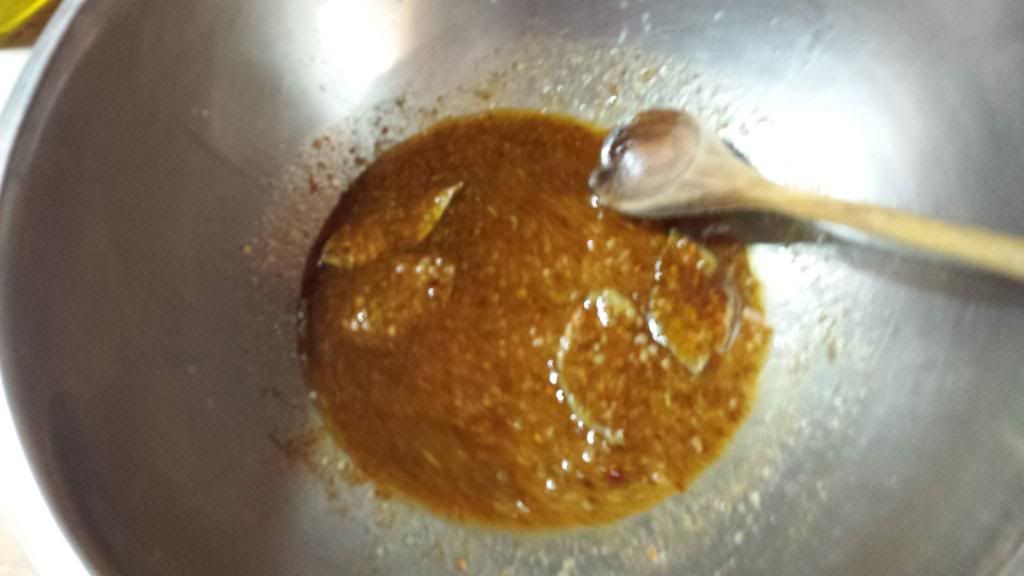
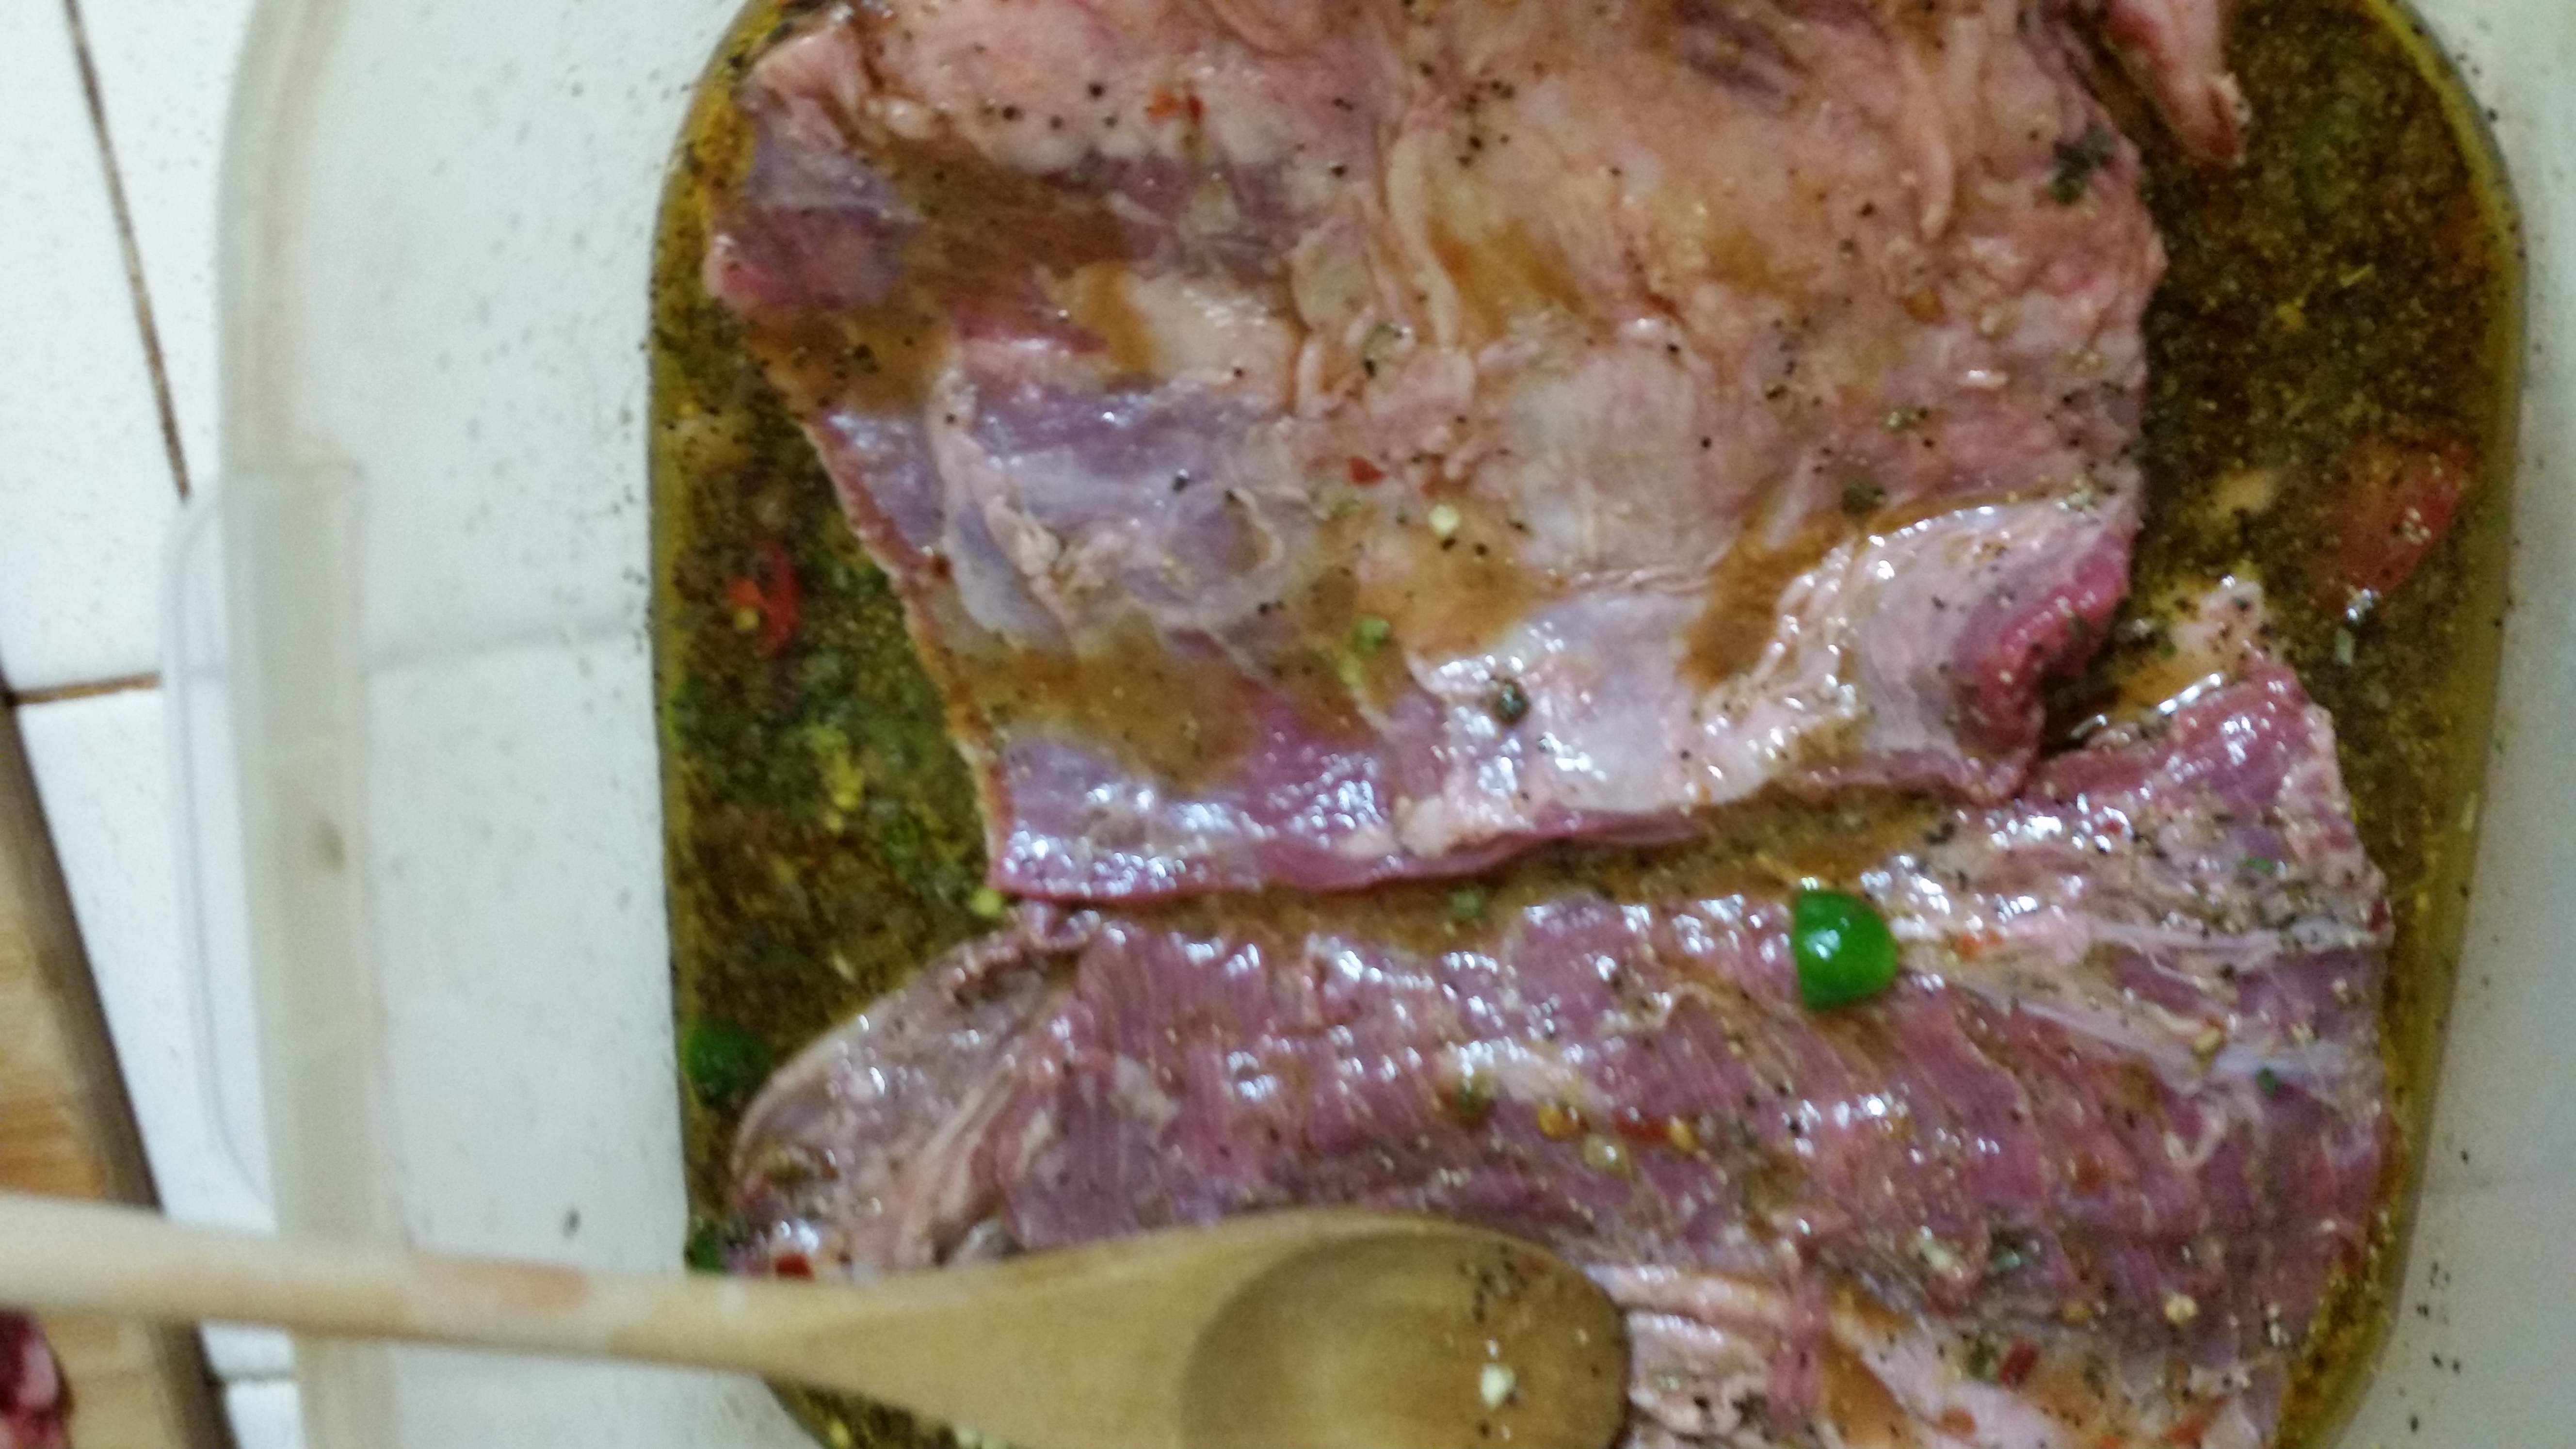
This fajita tacos have some bite to them, but they were good. So, for my spicy fajita recipe…I had marinaded over-night with the following. A 1/2 cup of olive oil, 1 cup Apple cider vinegar, the juice of 3 Texas size Valley lemon (really big lemons), 1 tablespoon each of the following; coarse pepper and salt, Cheyenne red pepper, and paprika. I added 2 table spoons each of Chili Garlic Sauce, Sriracha hot chili sauce and 1/4 cup of soy sauce. The last 2 sauces can be very hot if added too much and has a somewhat sweet flavor to it. I finely chopped 6 jalapenos and 4 Serrano chili peppers, and 1 full onion.
THE FAJITAS

I sliced 8 pounds of old style fajitas into tortilla size portions. and added them to the marinade for an overnight bath. Normally 1 hour to 3 is what I would normally do, but I decided to leave them longer to give them more bite.
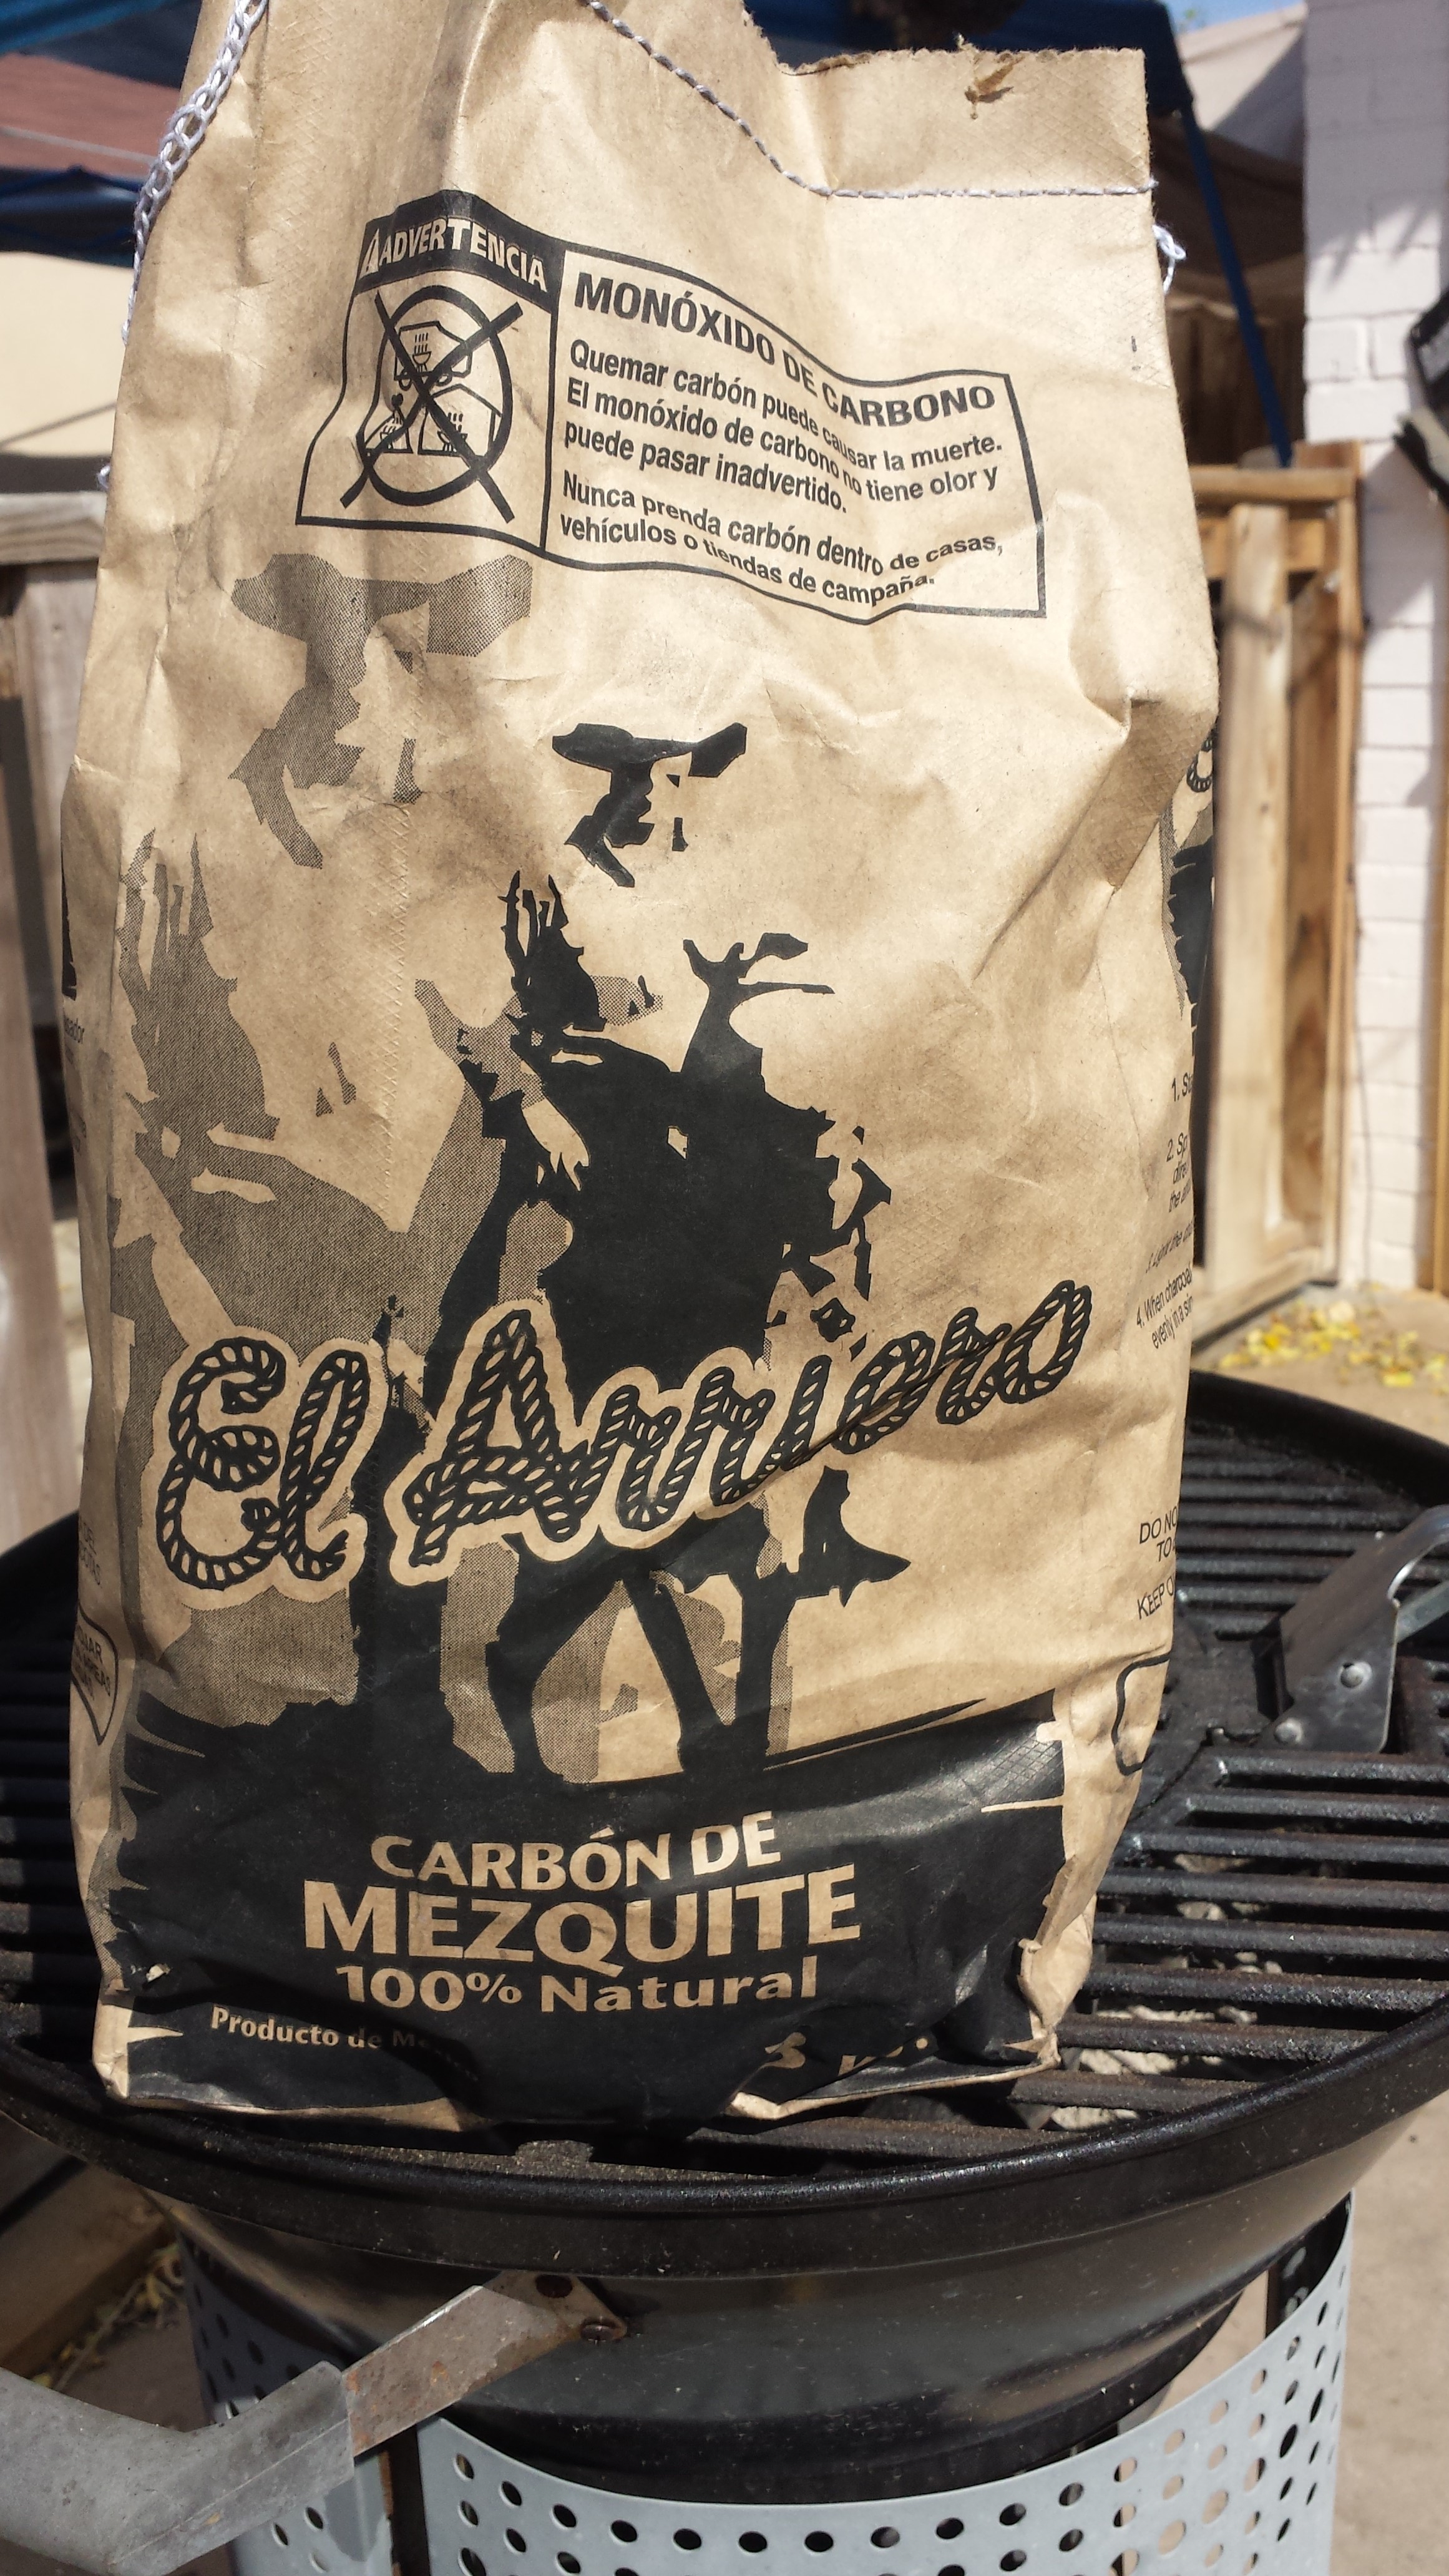
OAK WOOD BATHING
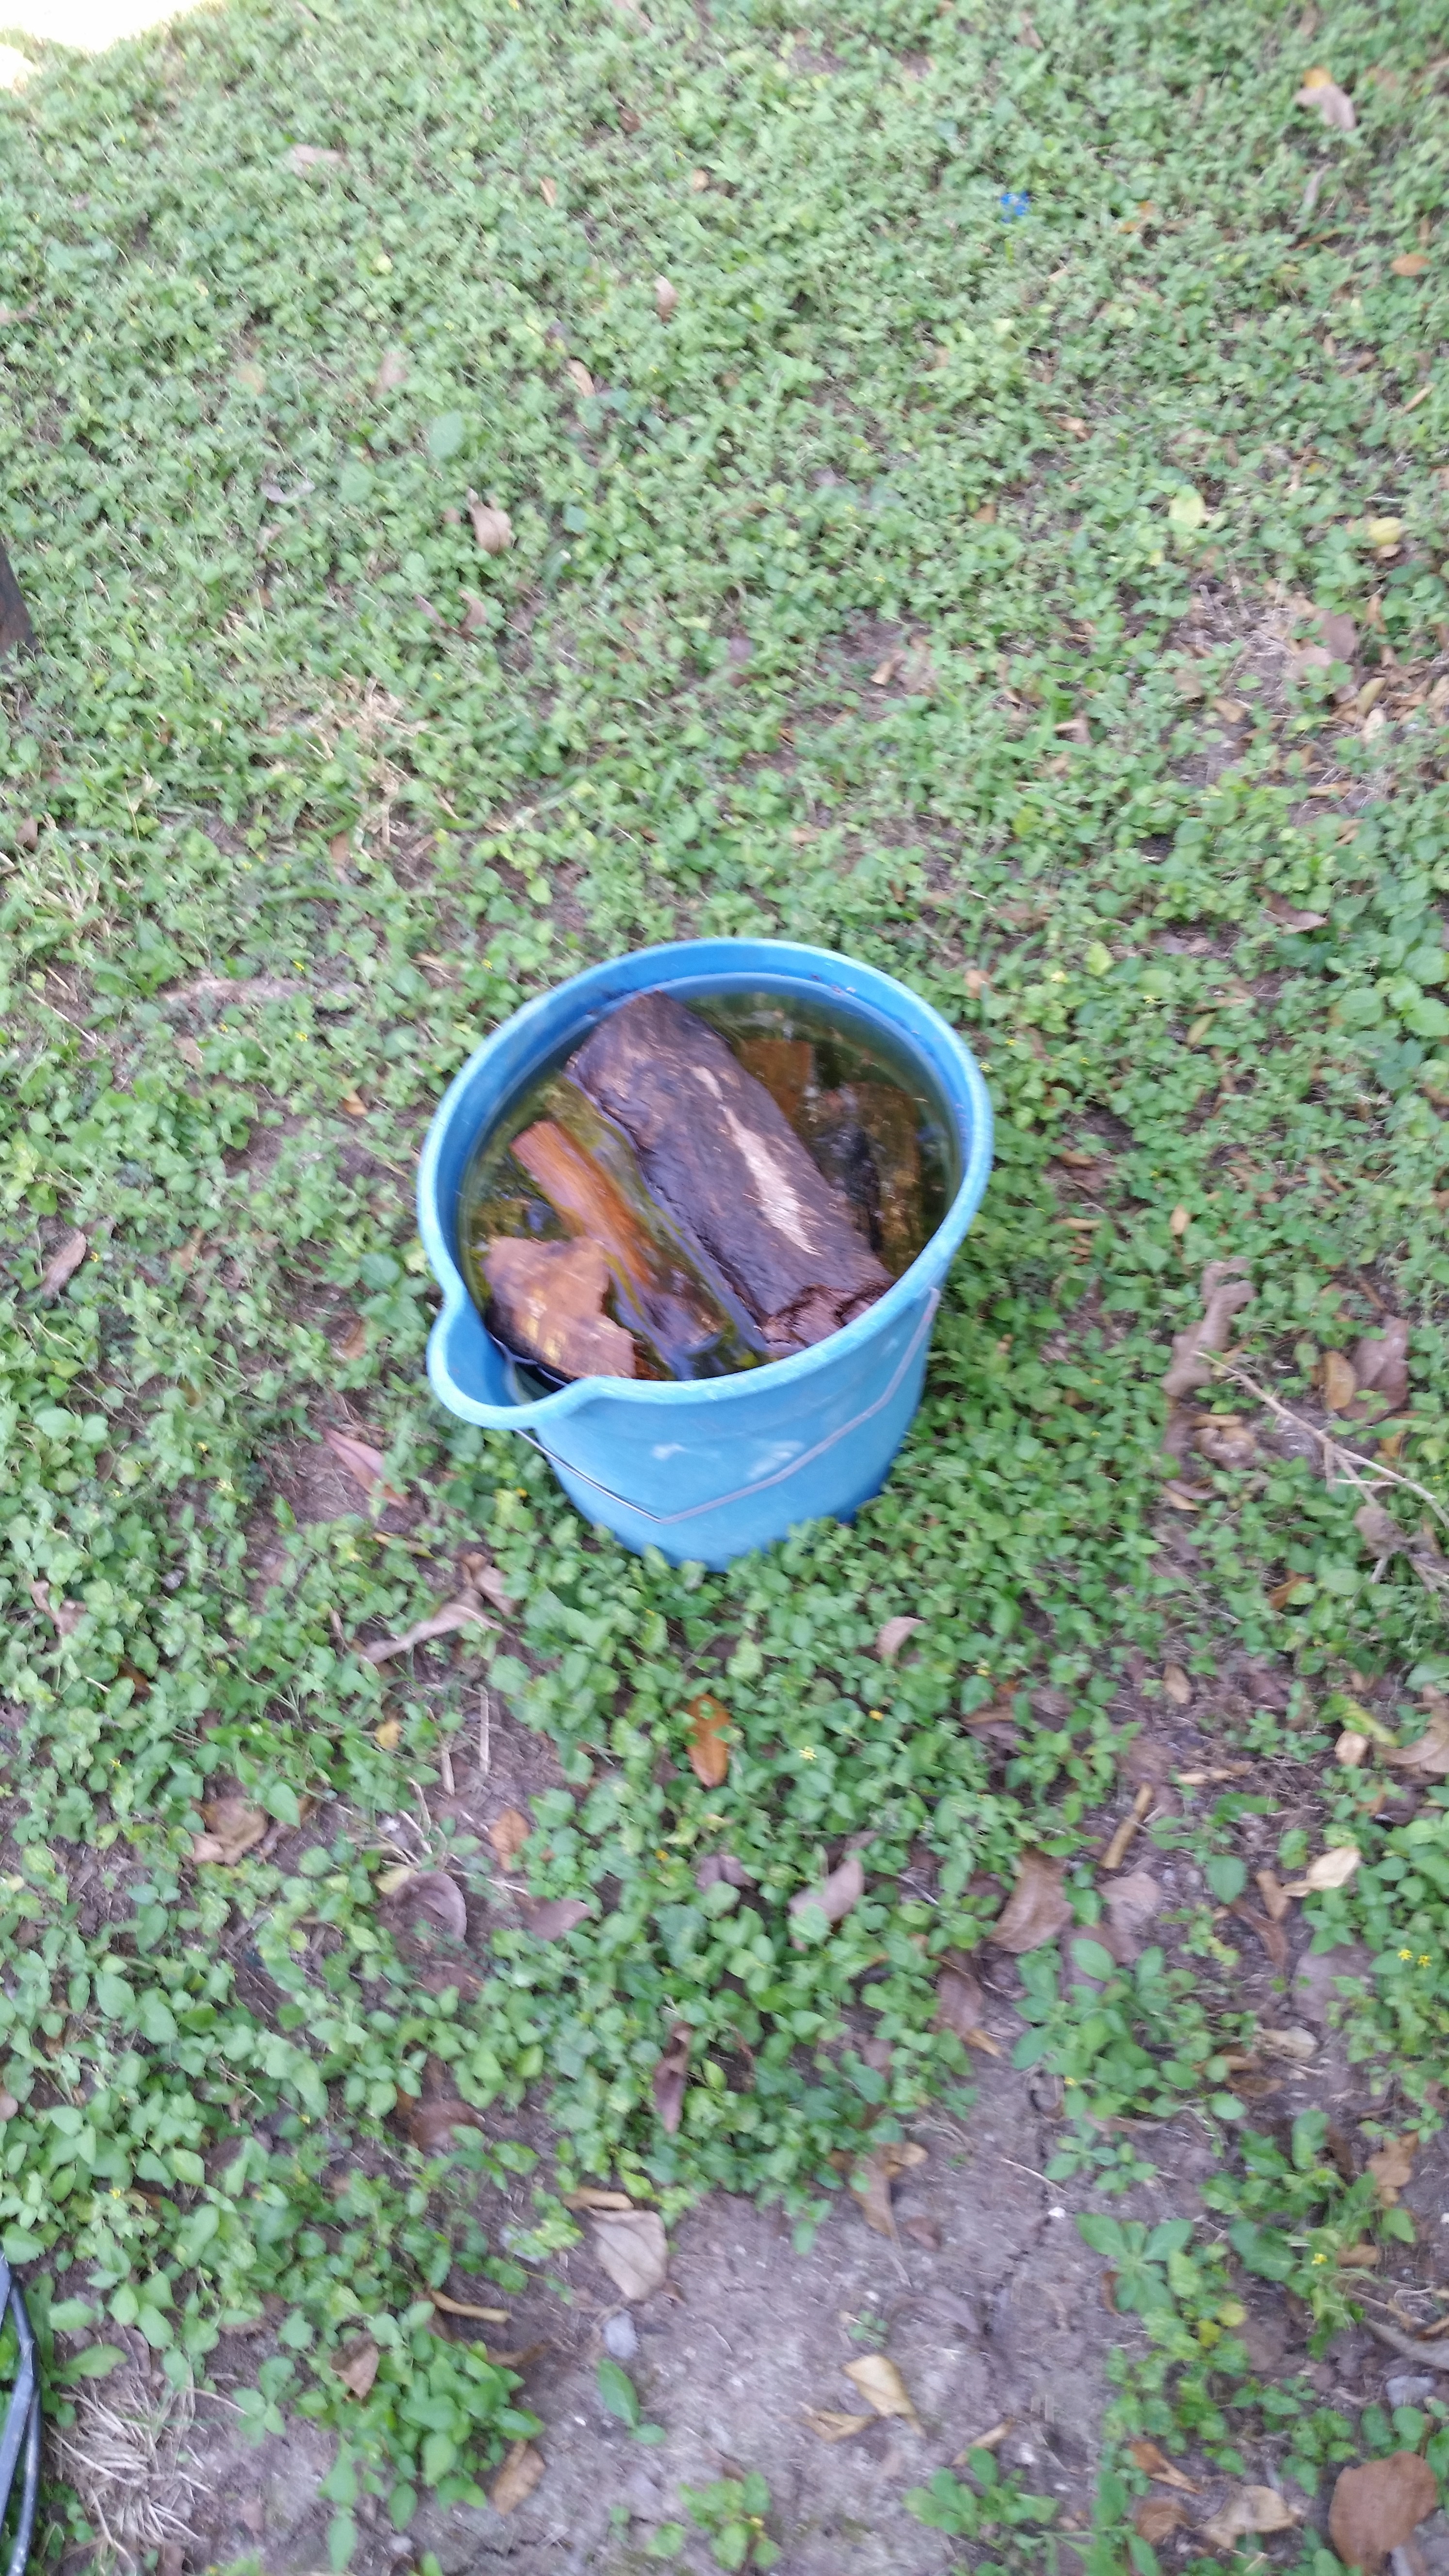
I soaked some chunks of Oak wood for 2 hours , could have been 3 and started cleaning out the grill.
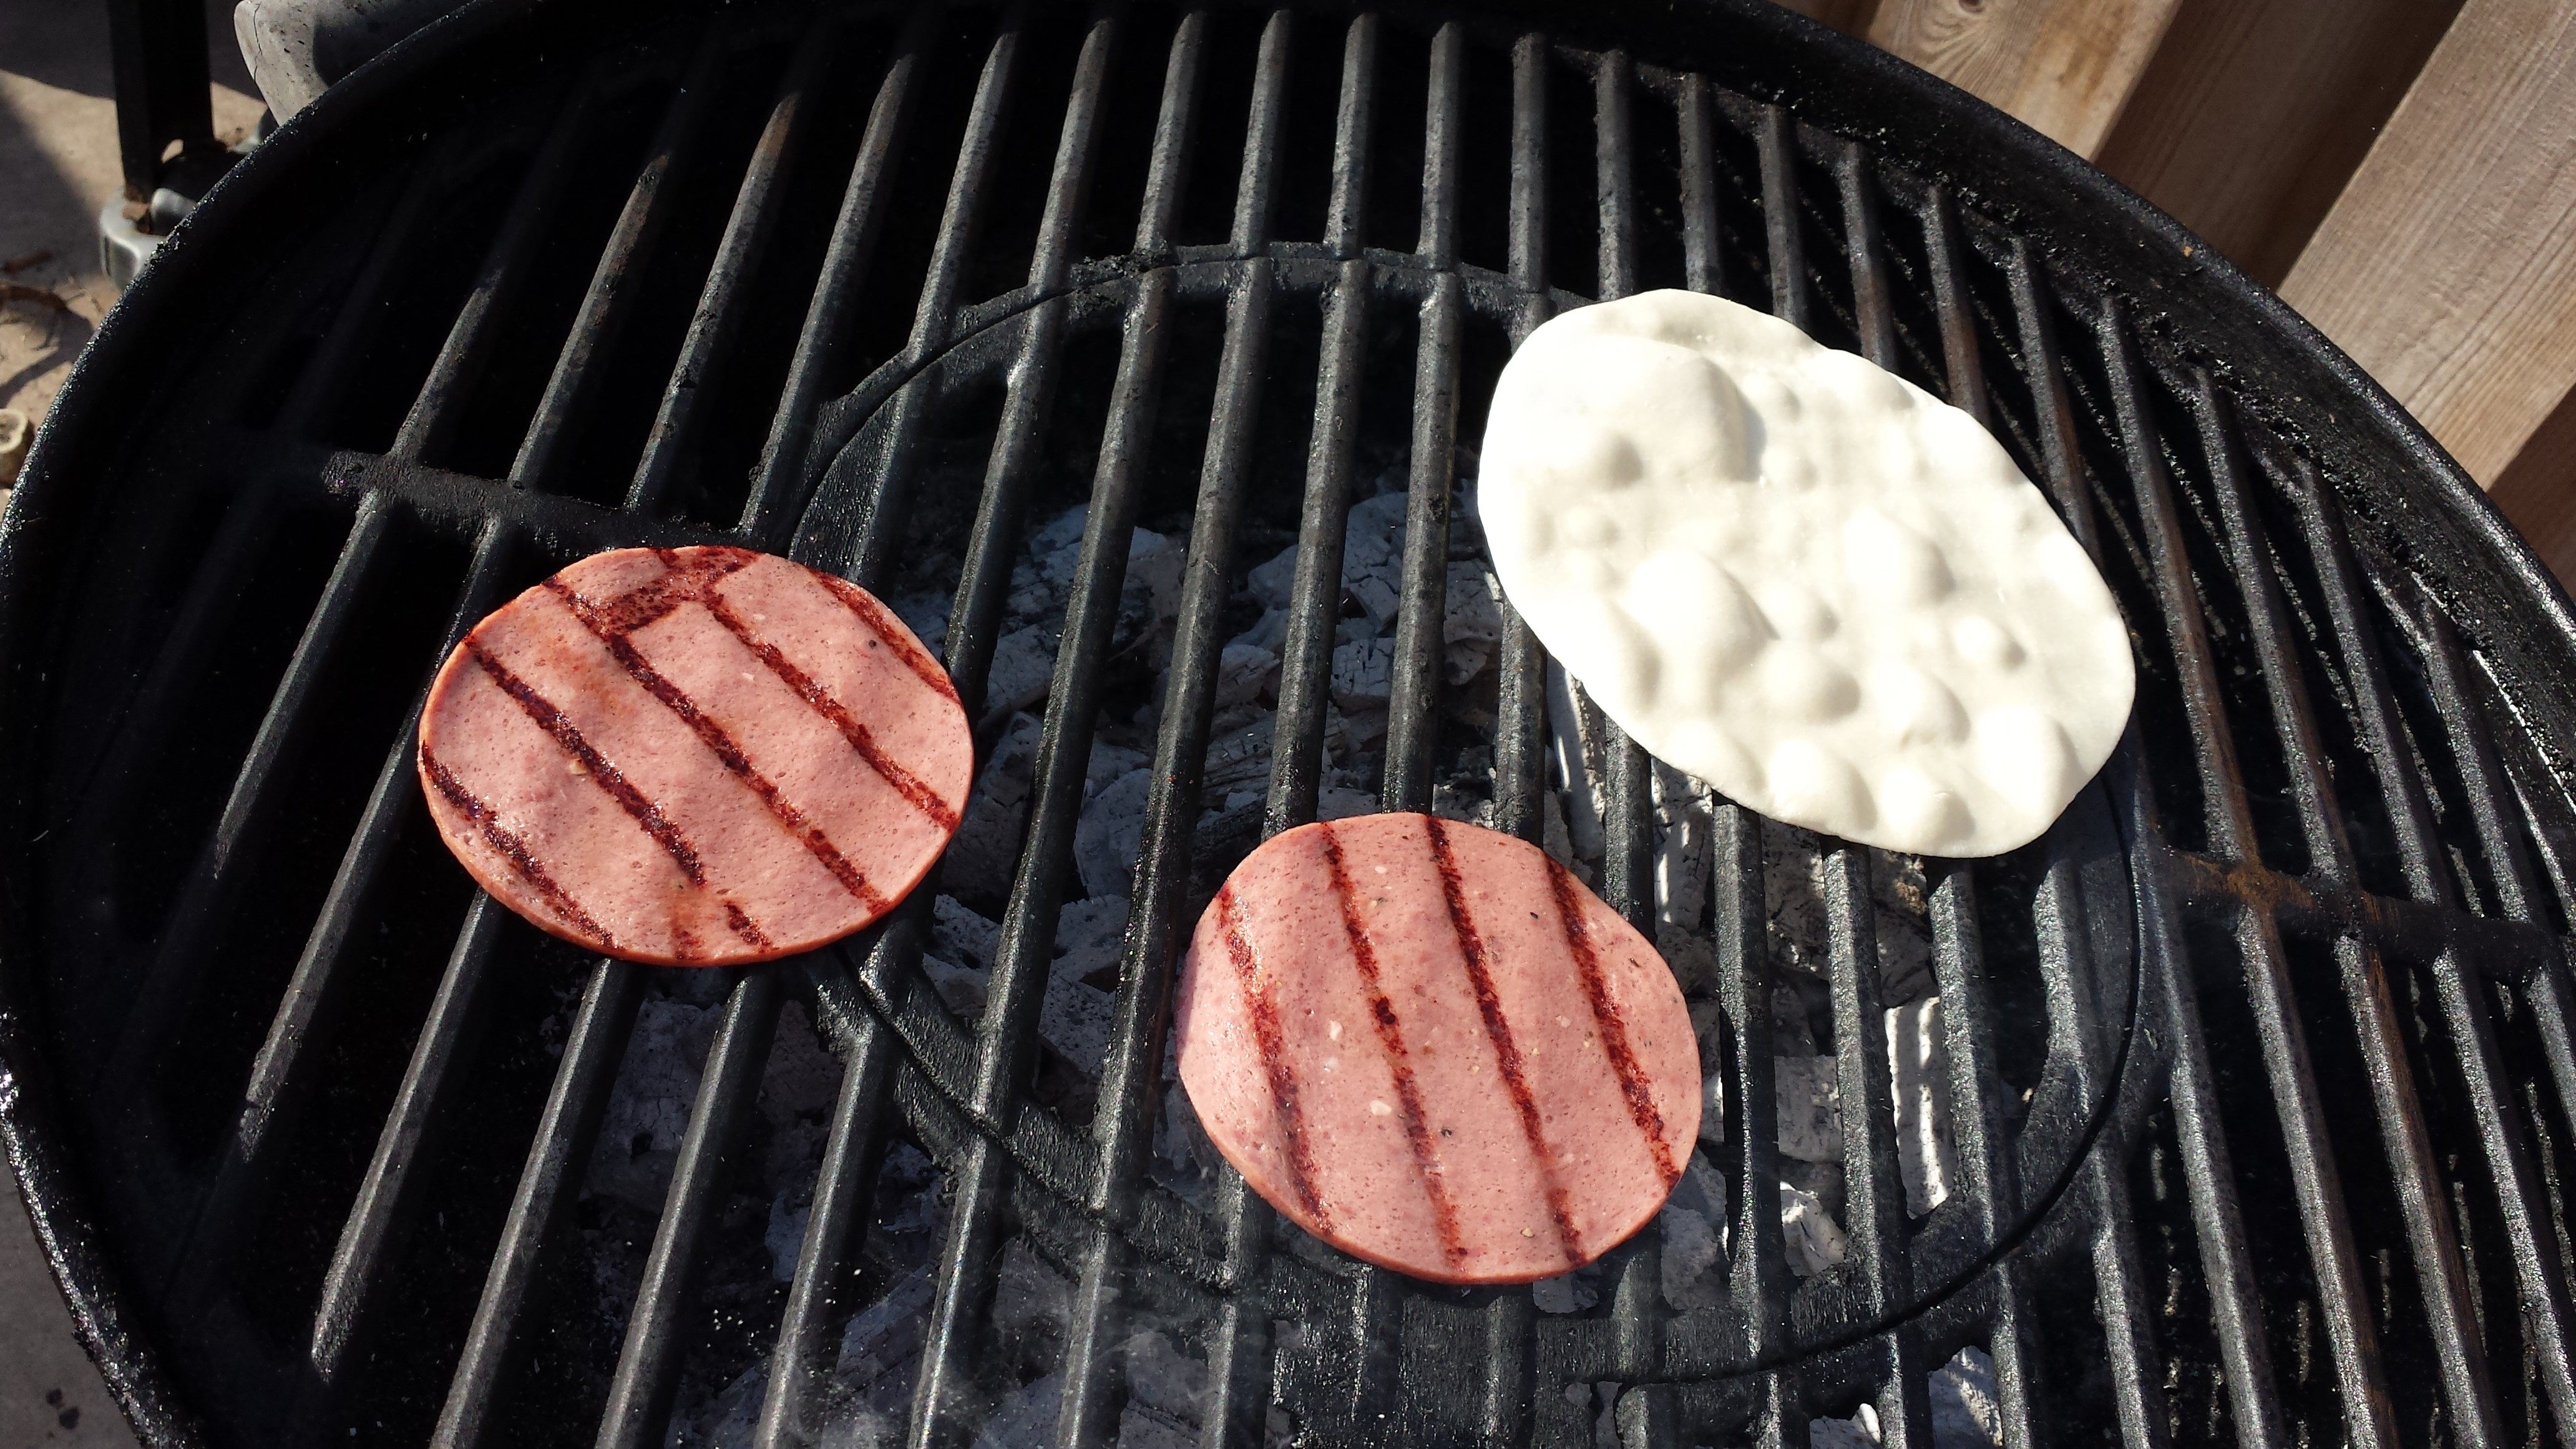
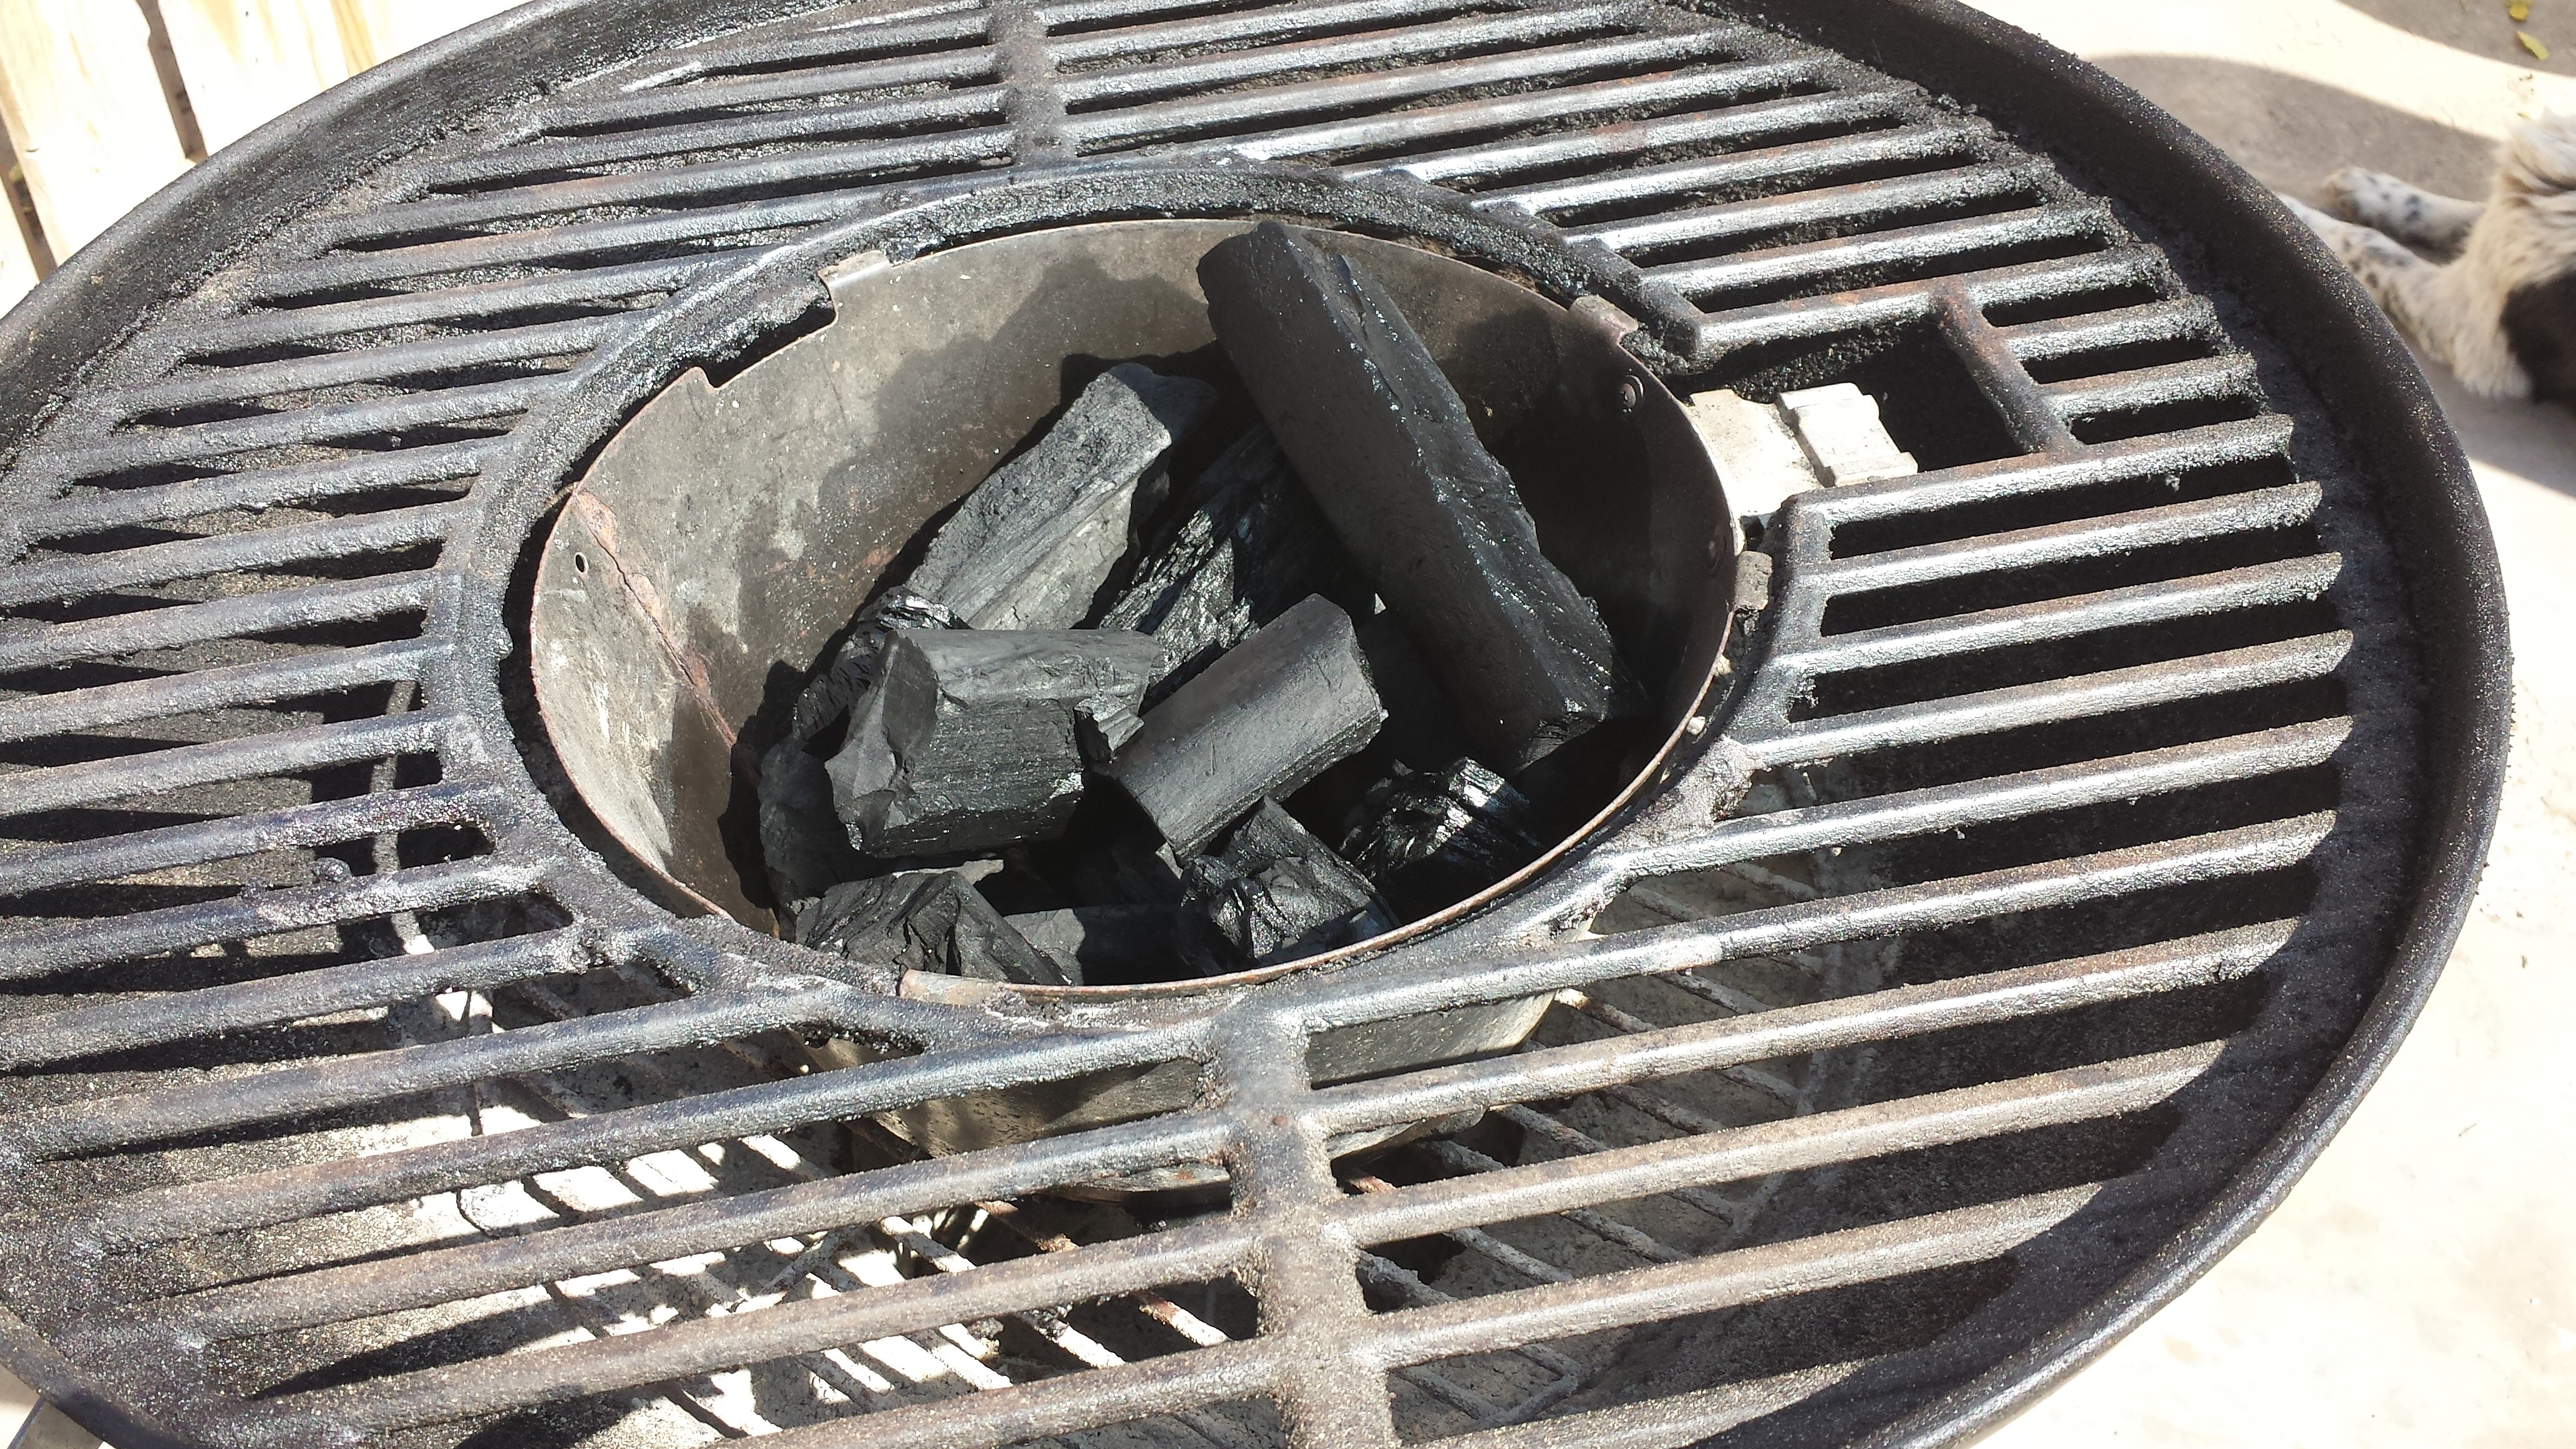
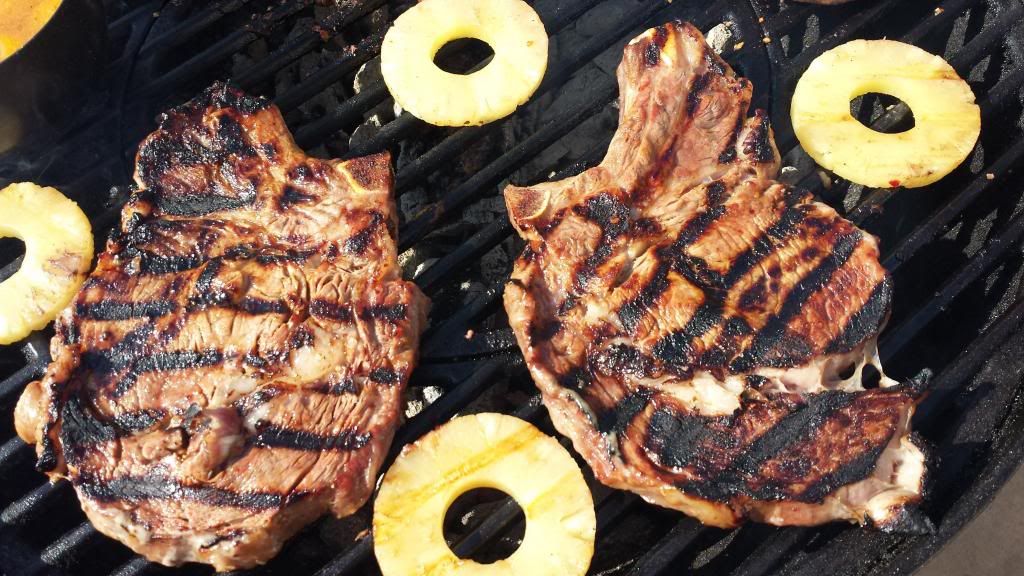
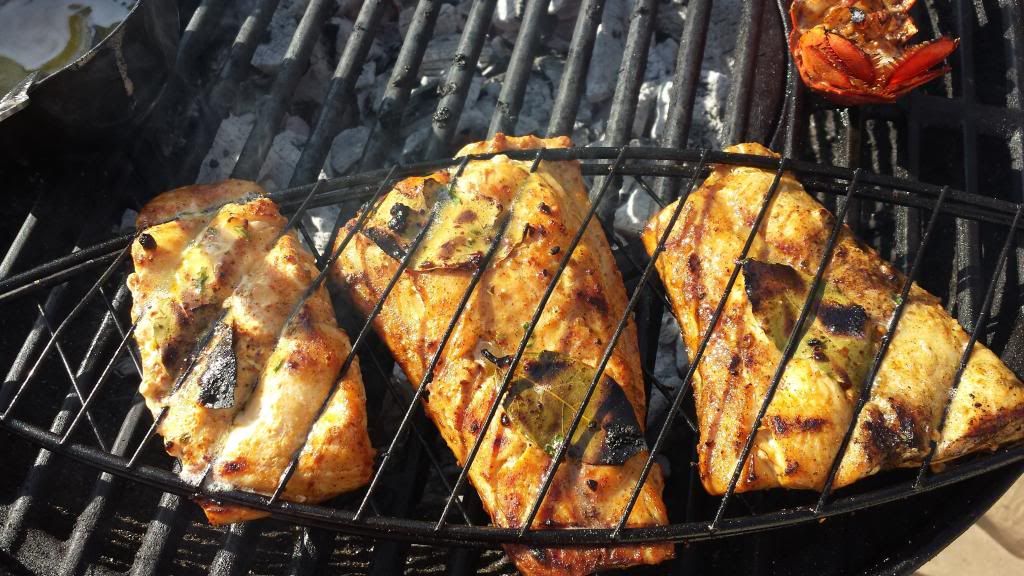
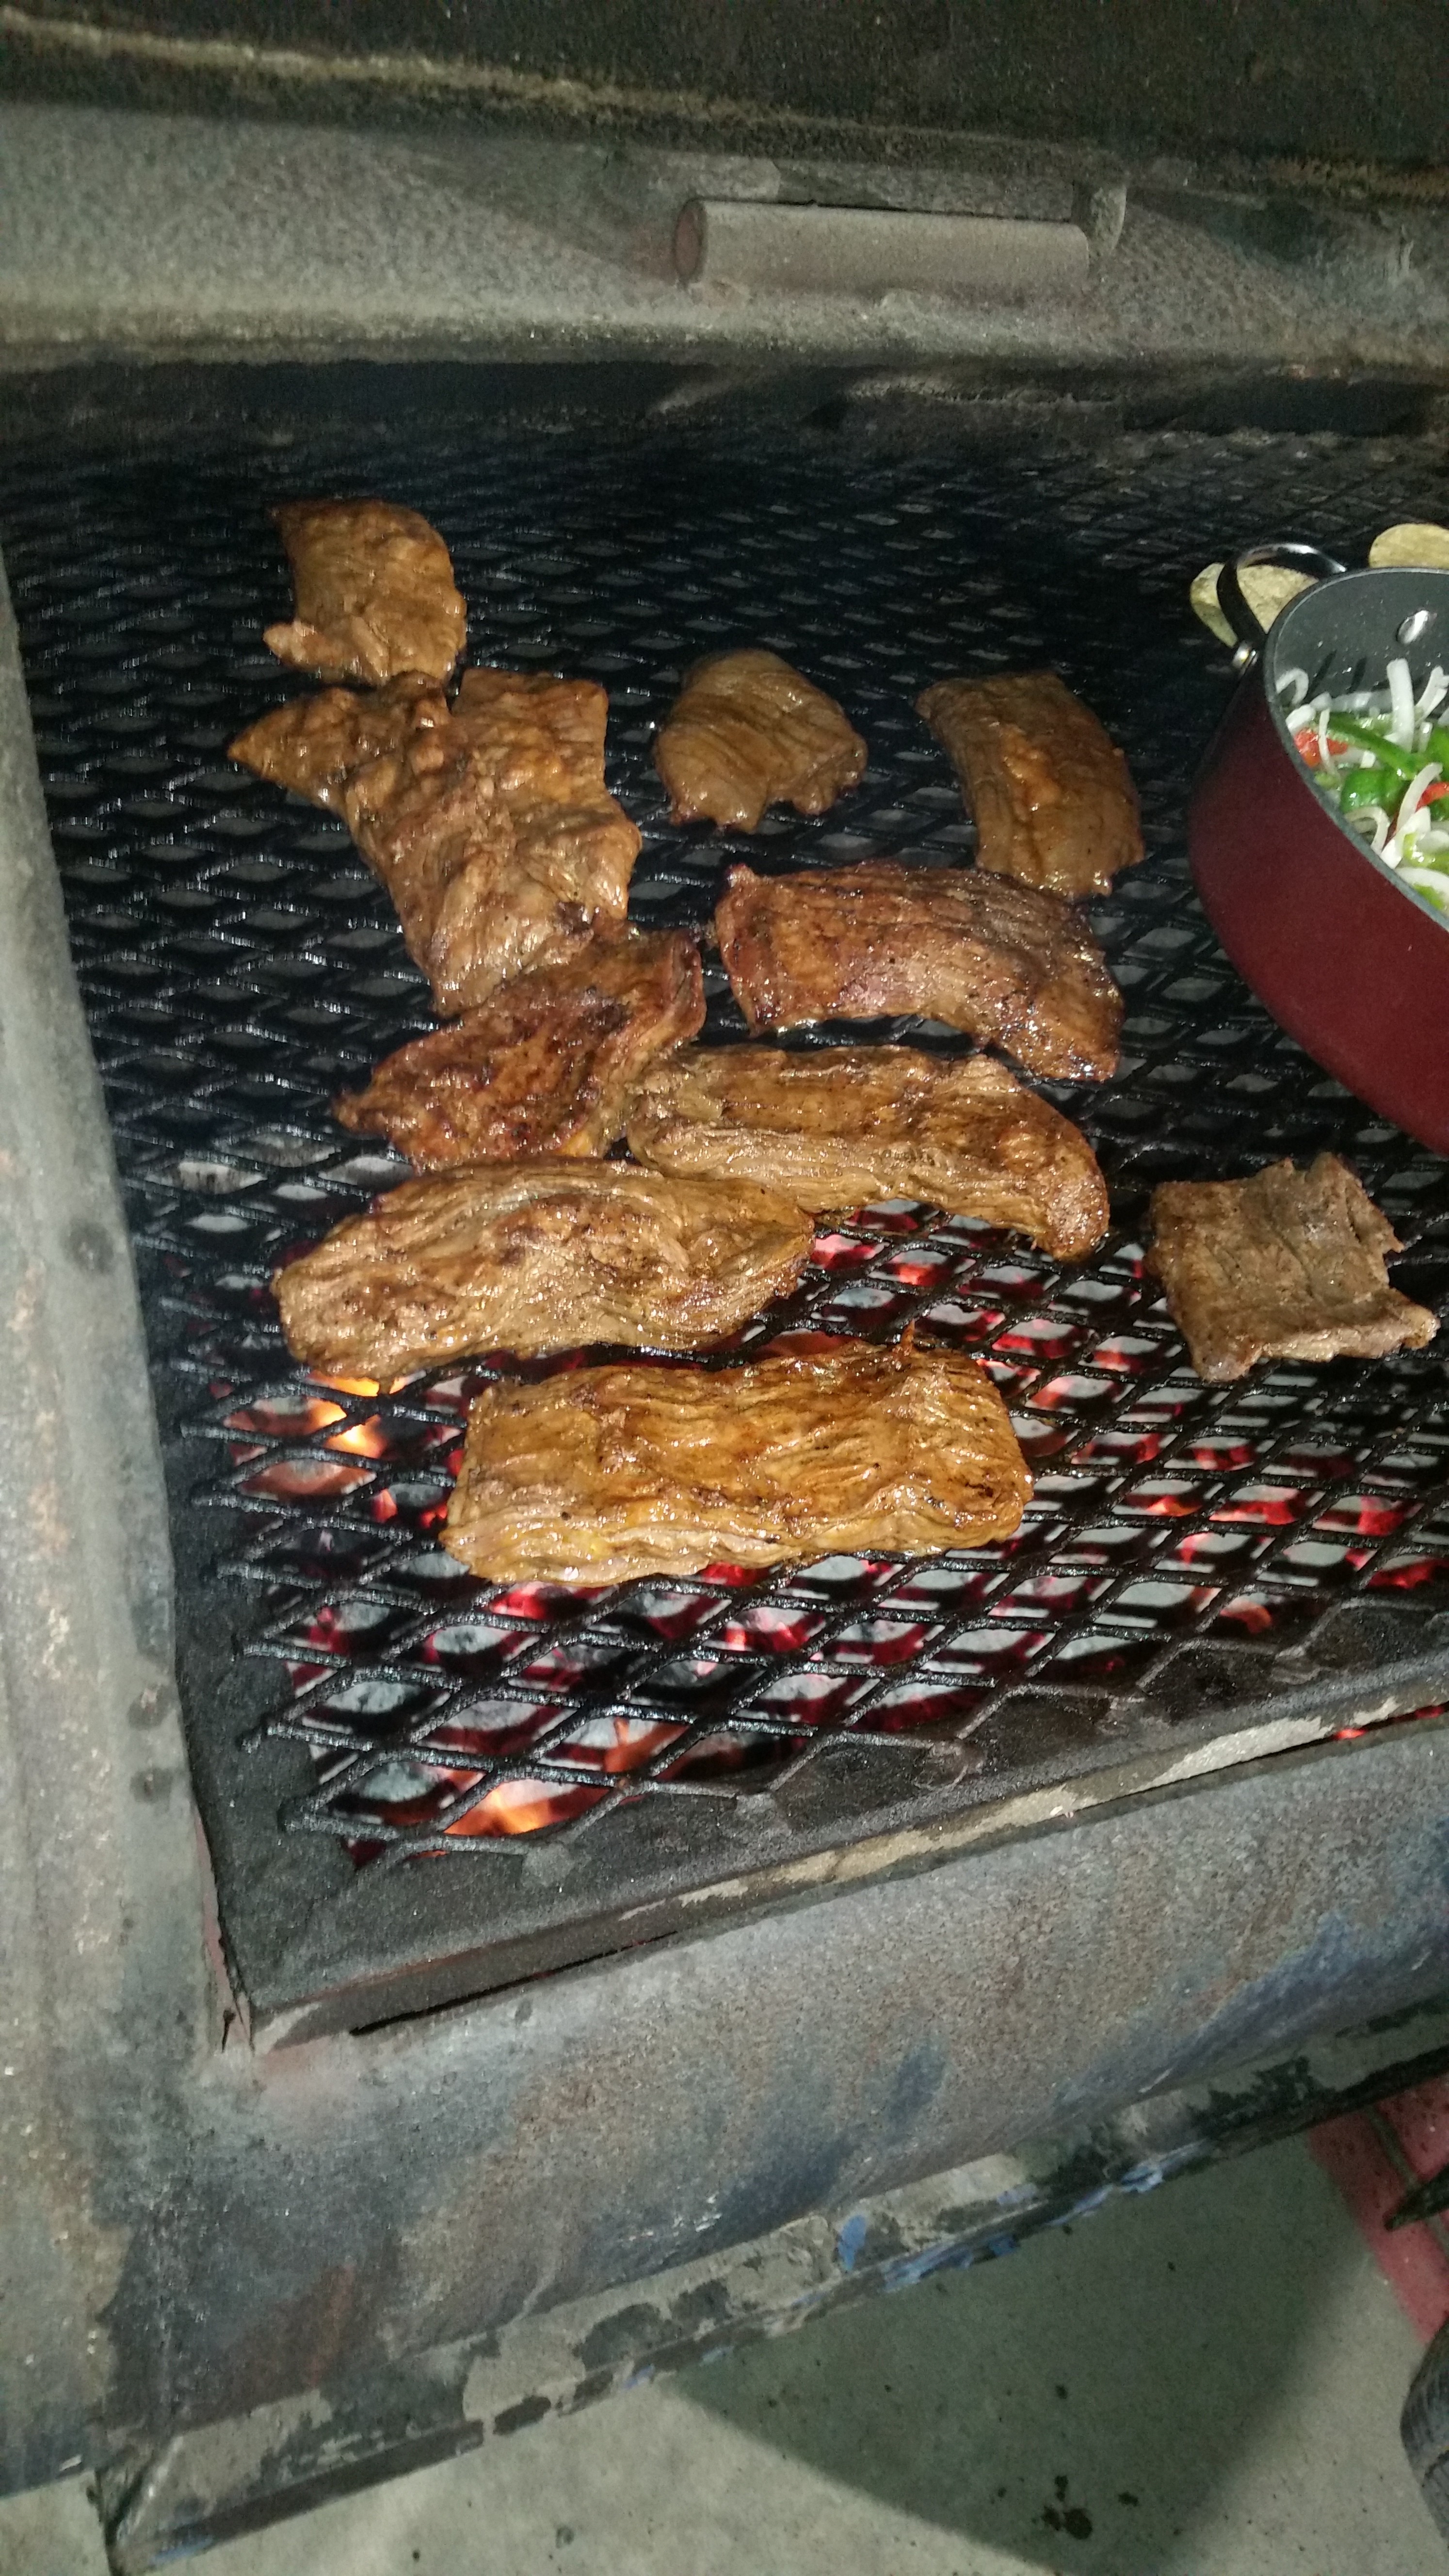
SPICY FAJITAS
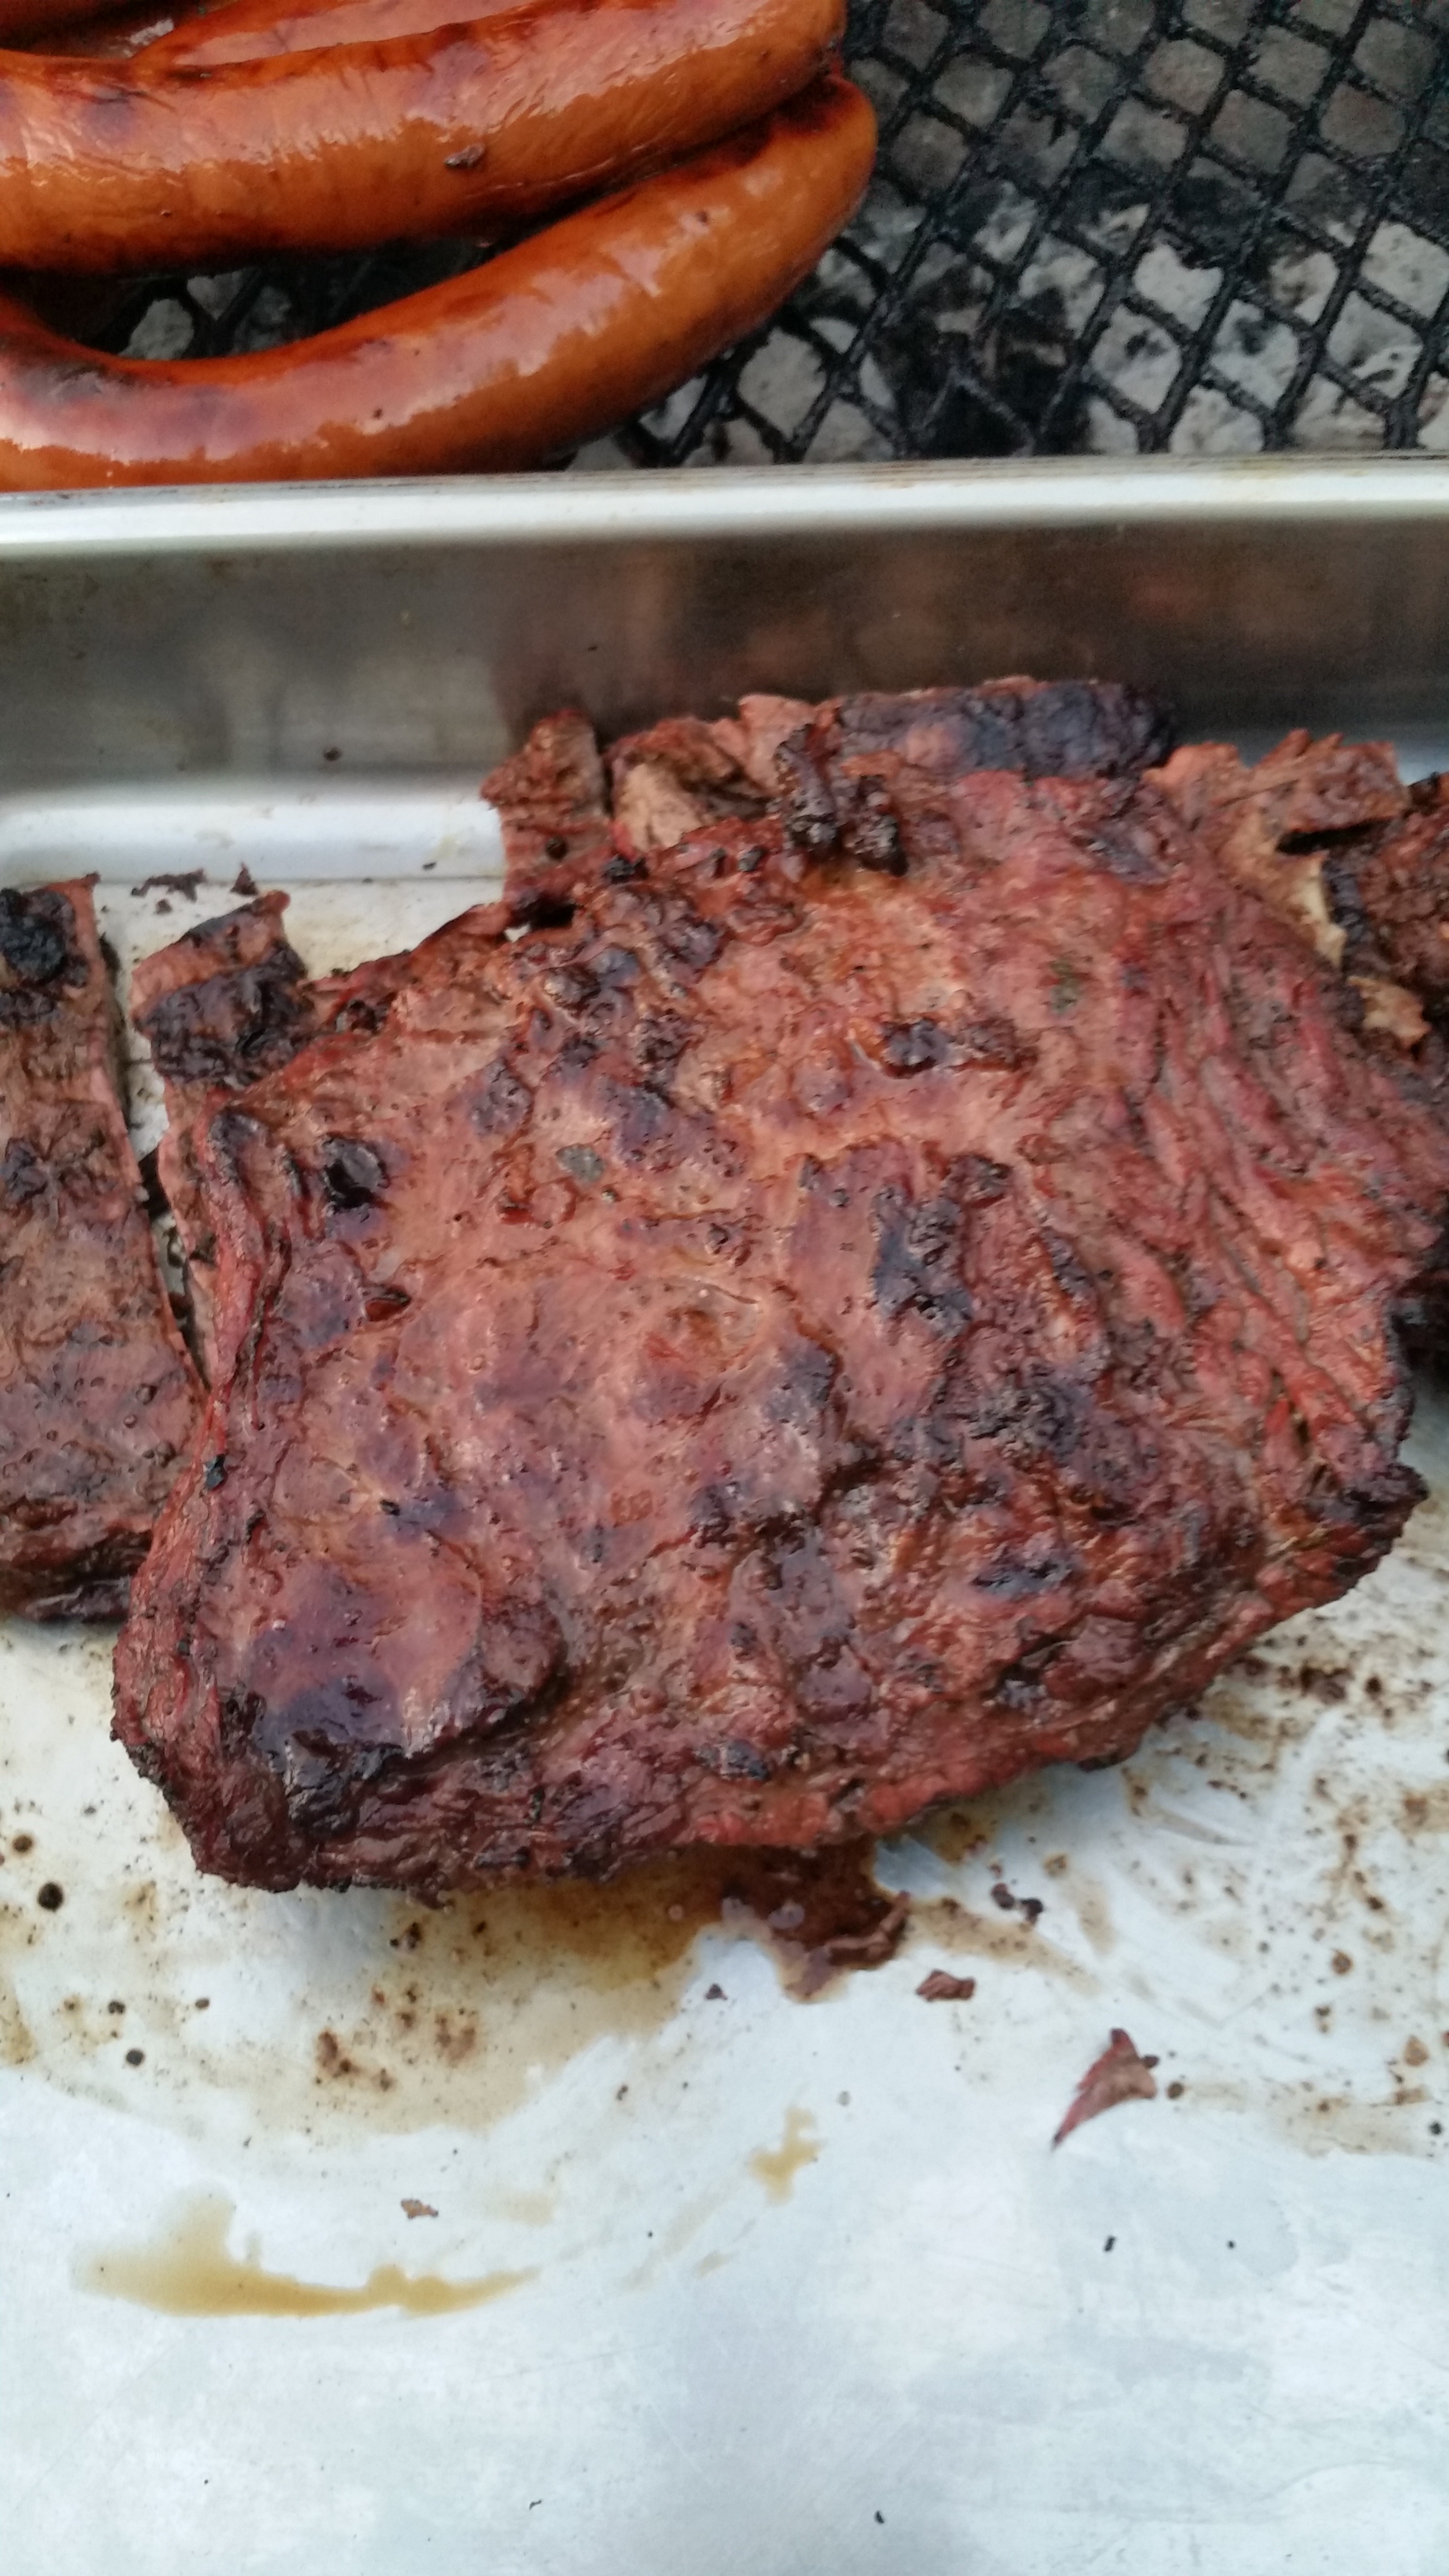
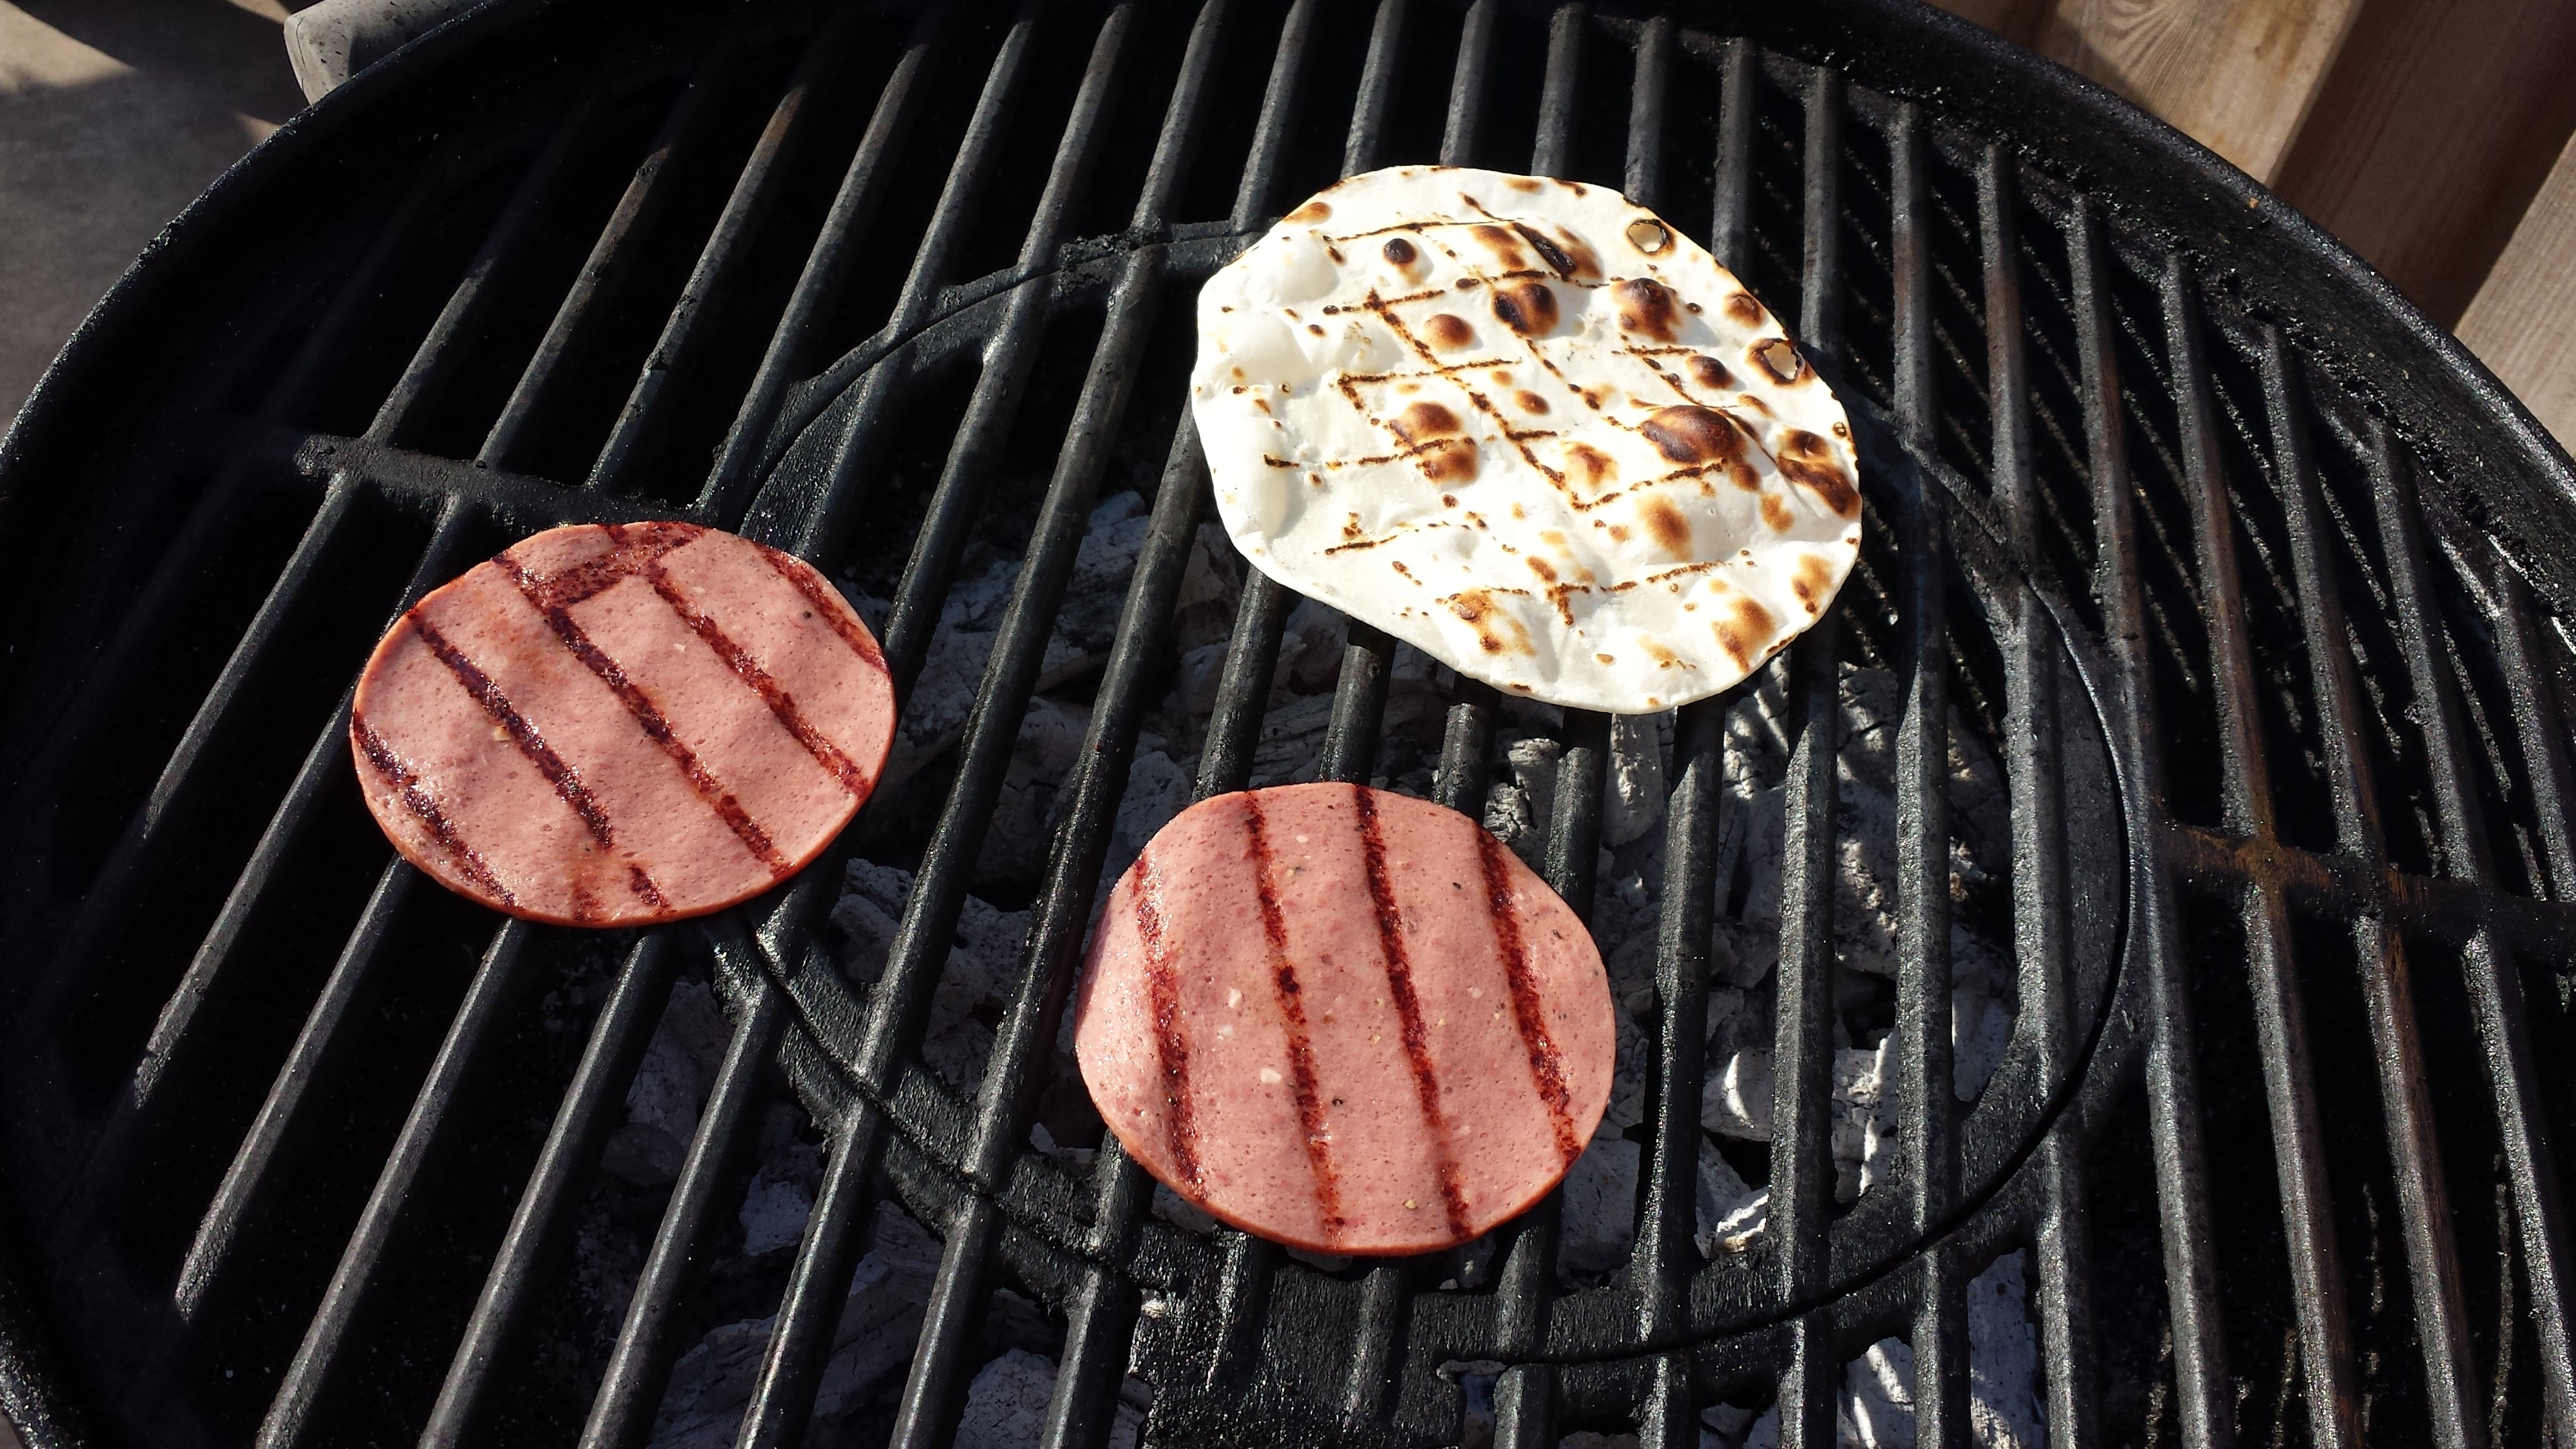
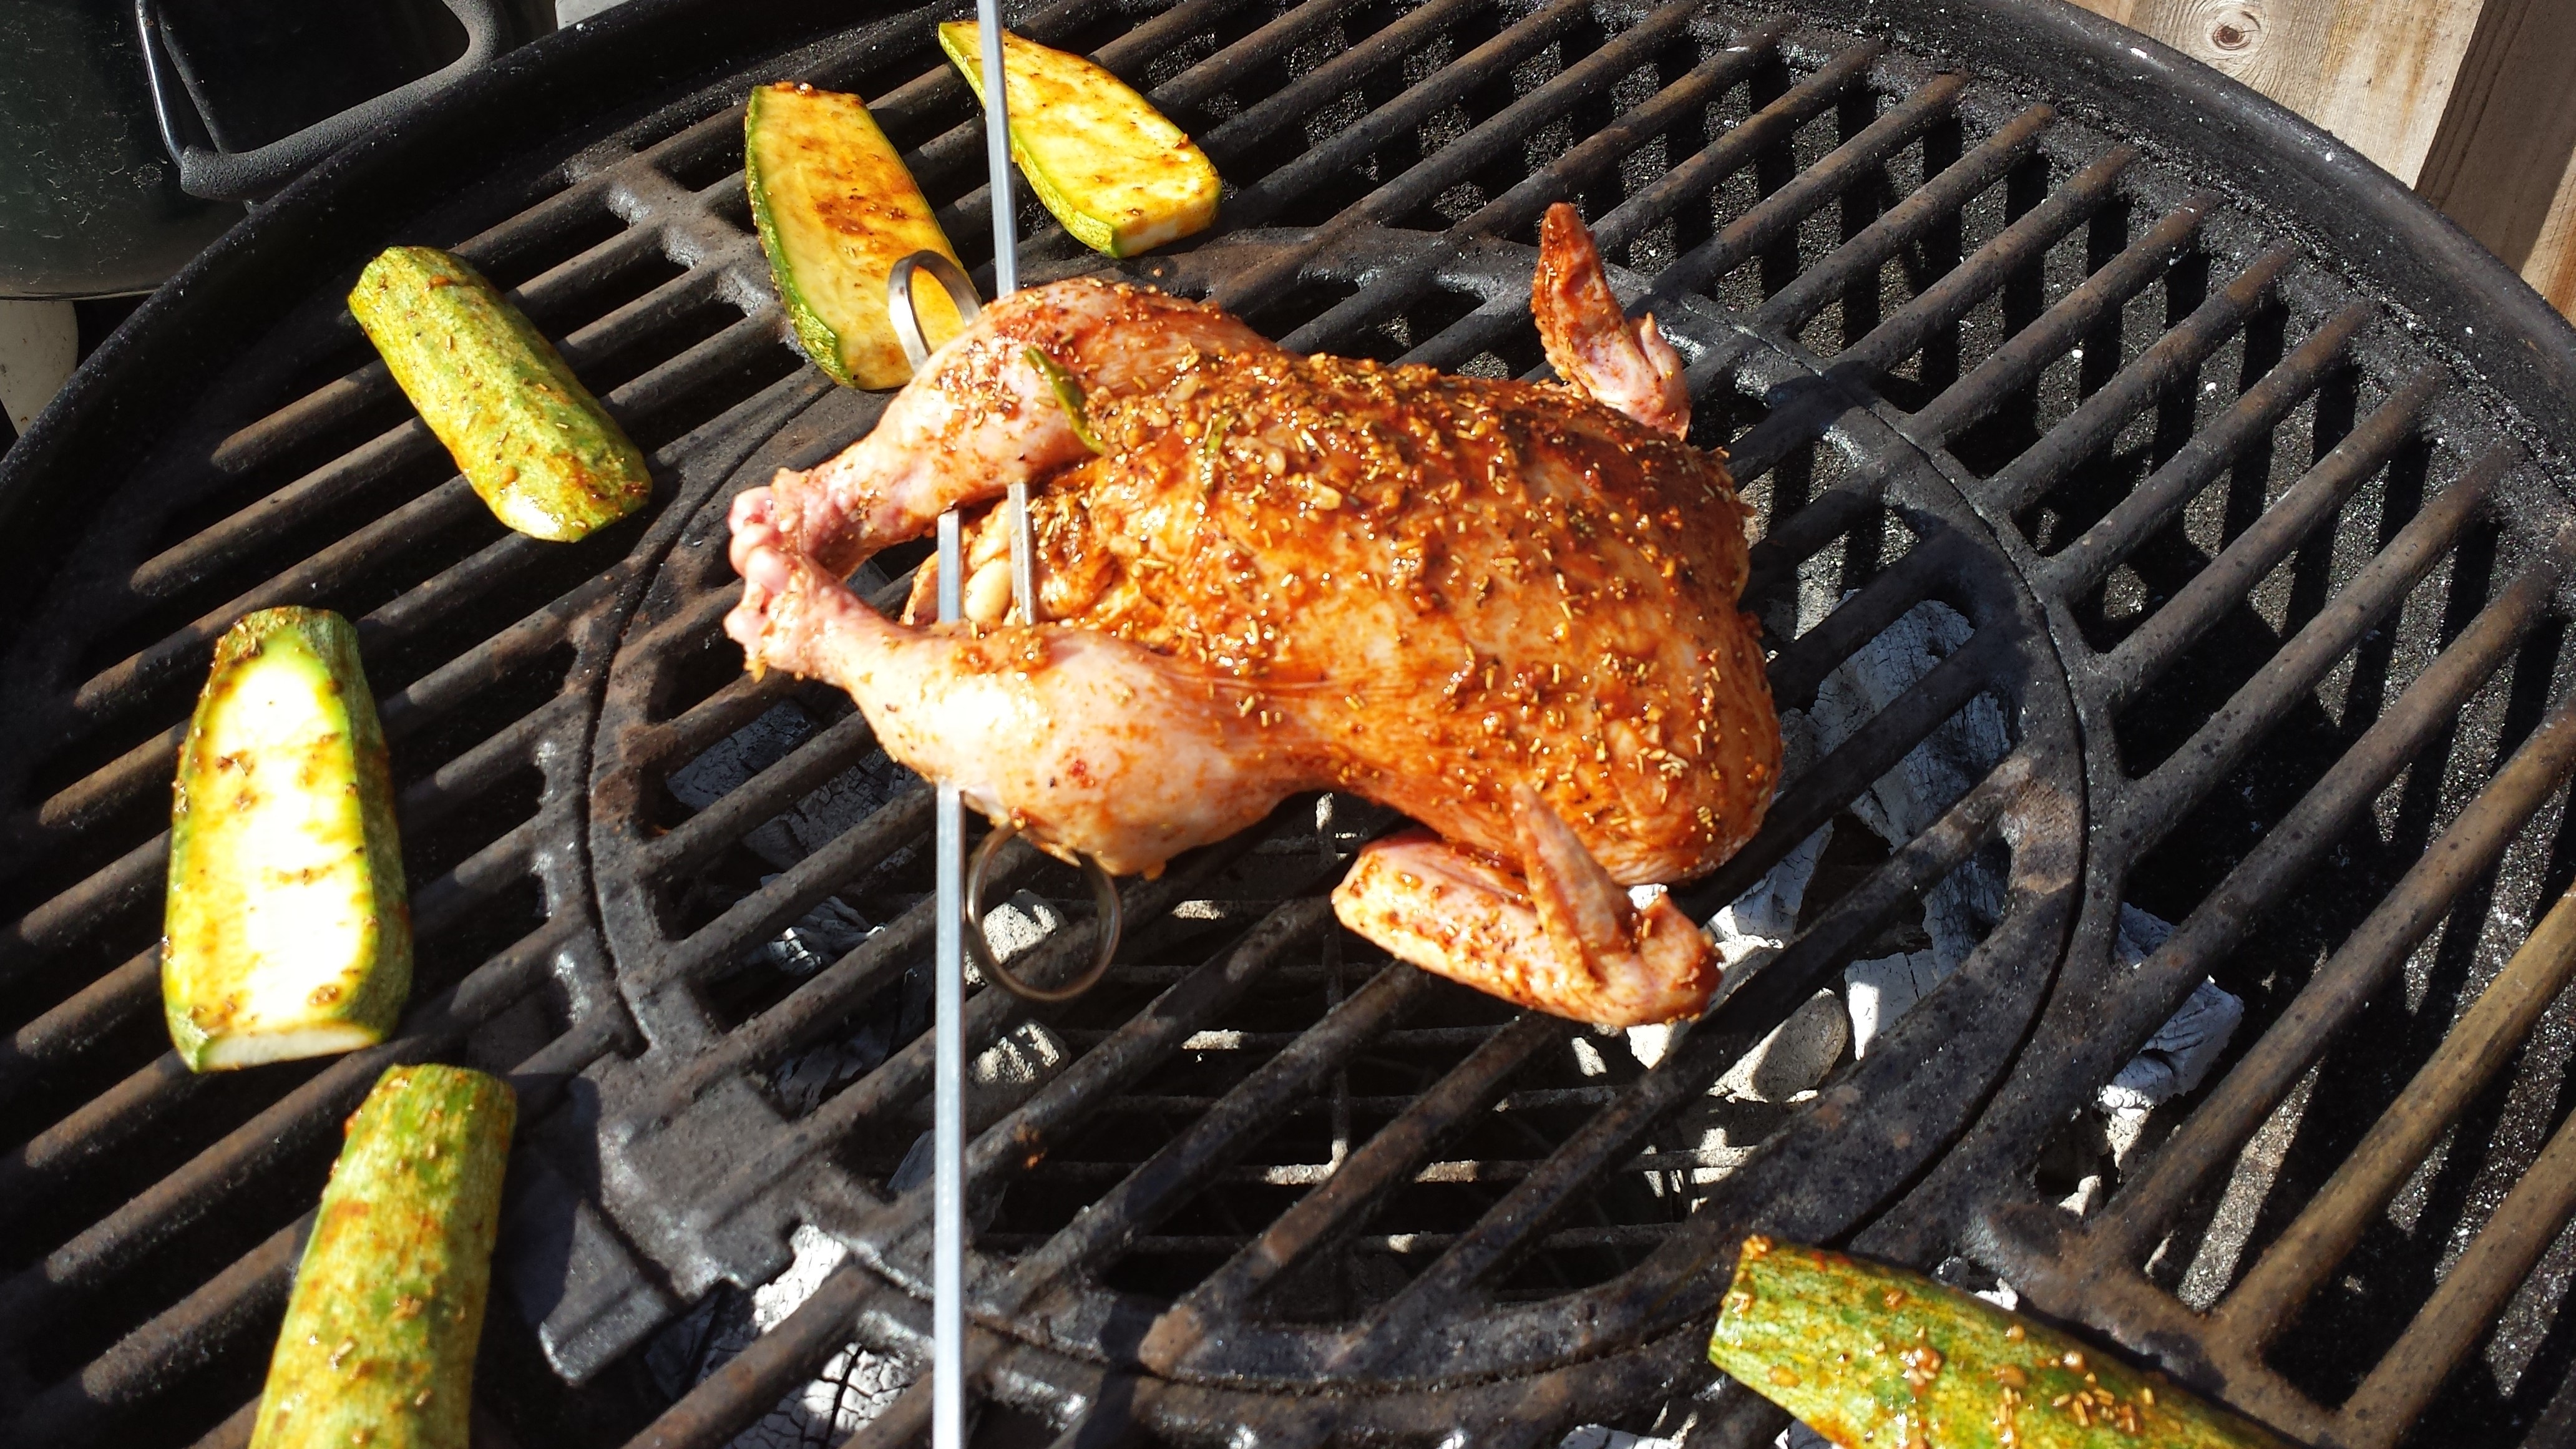
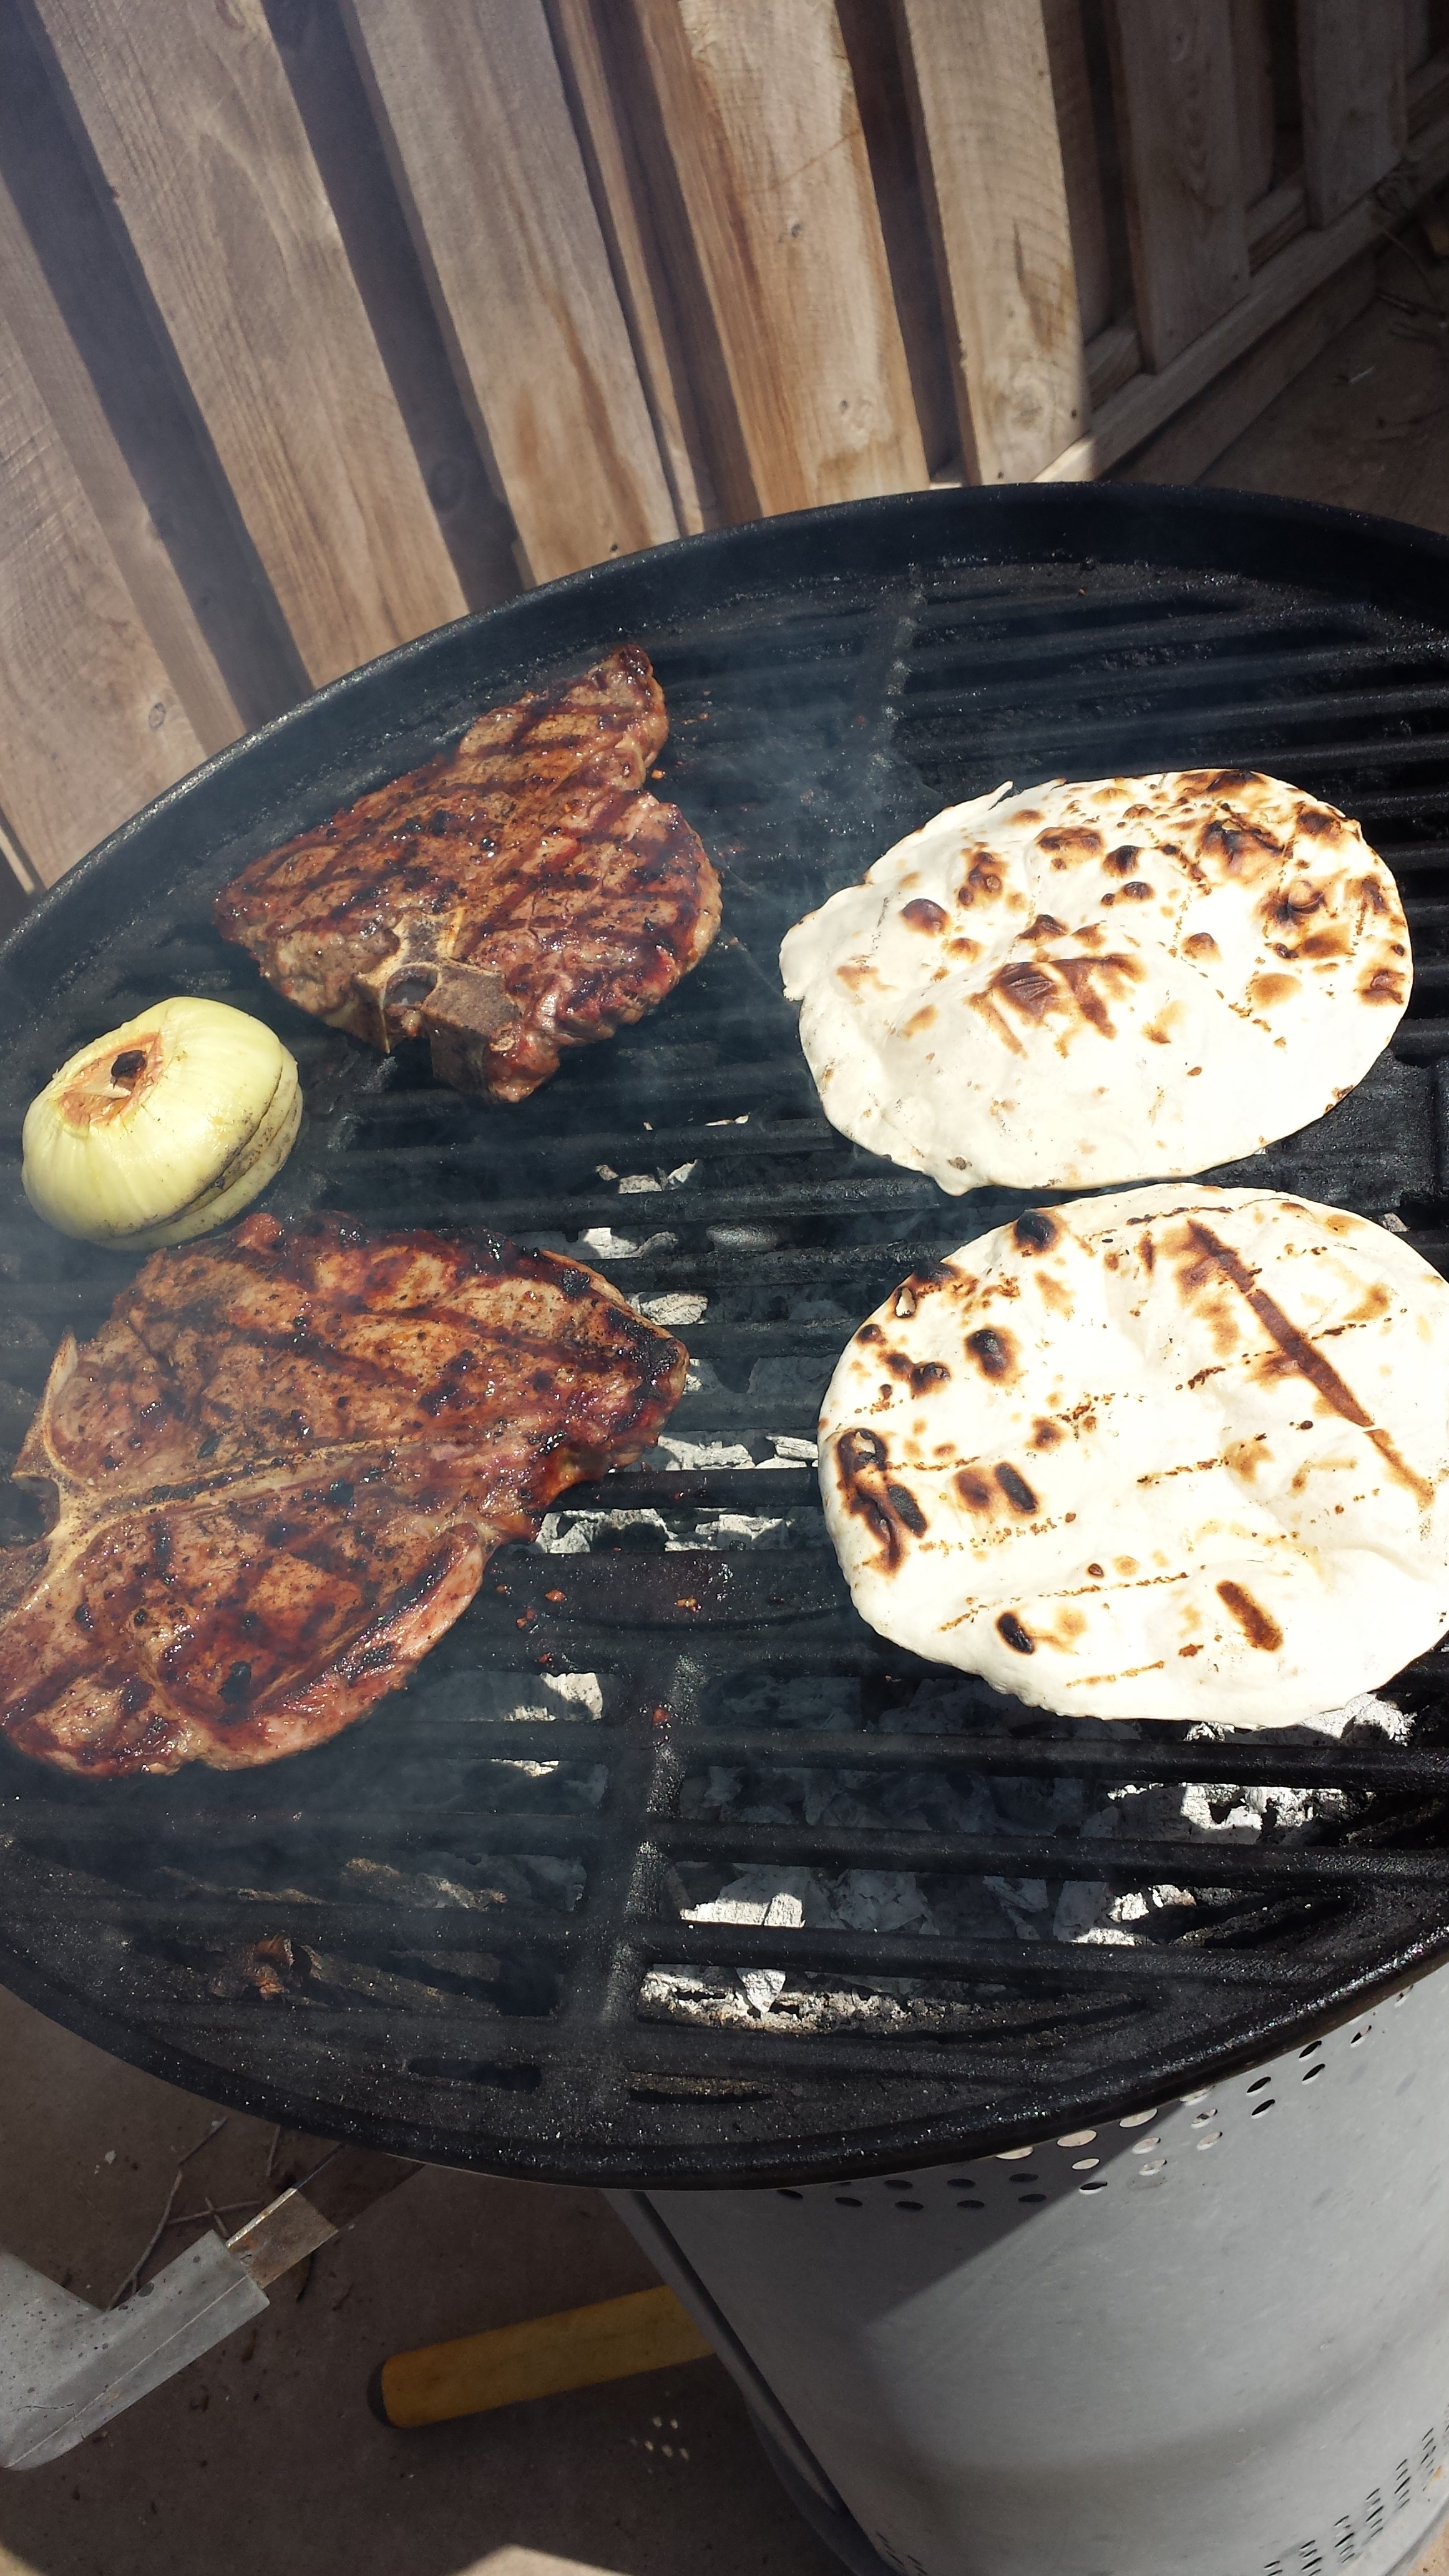
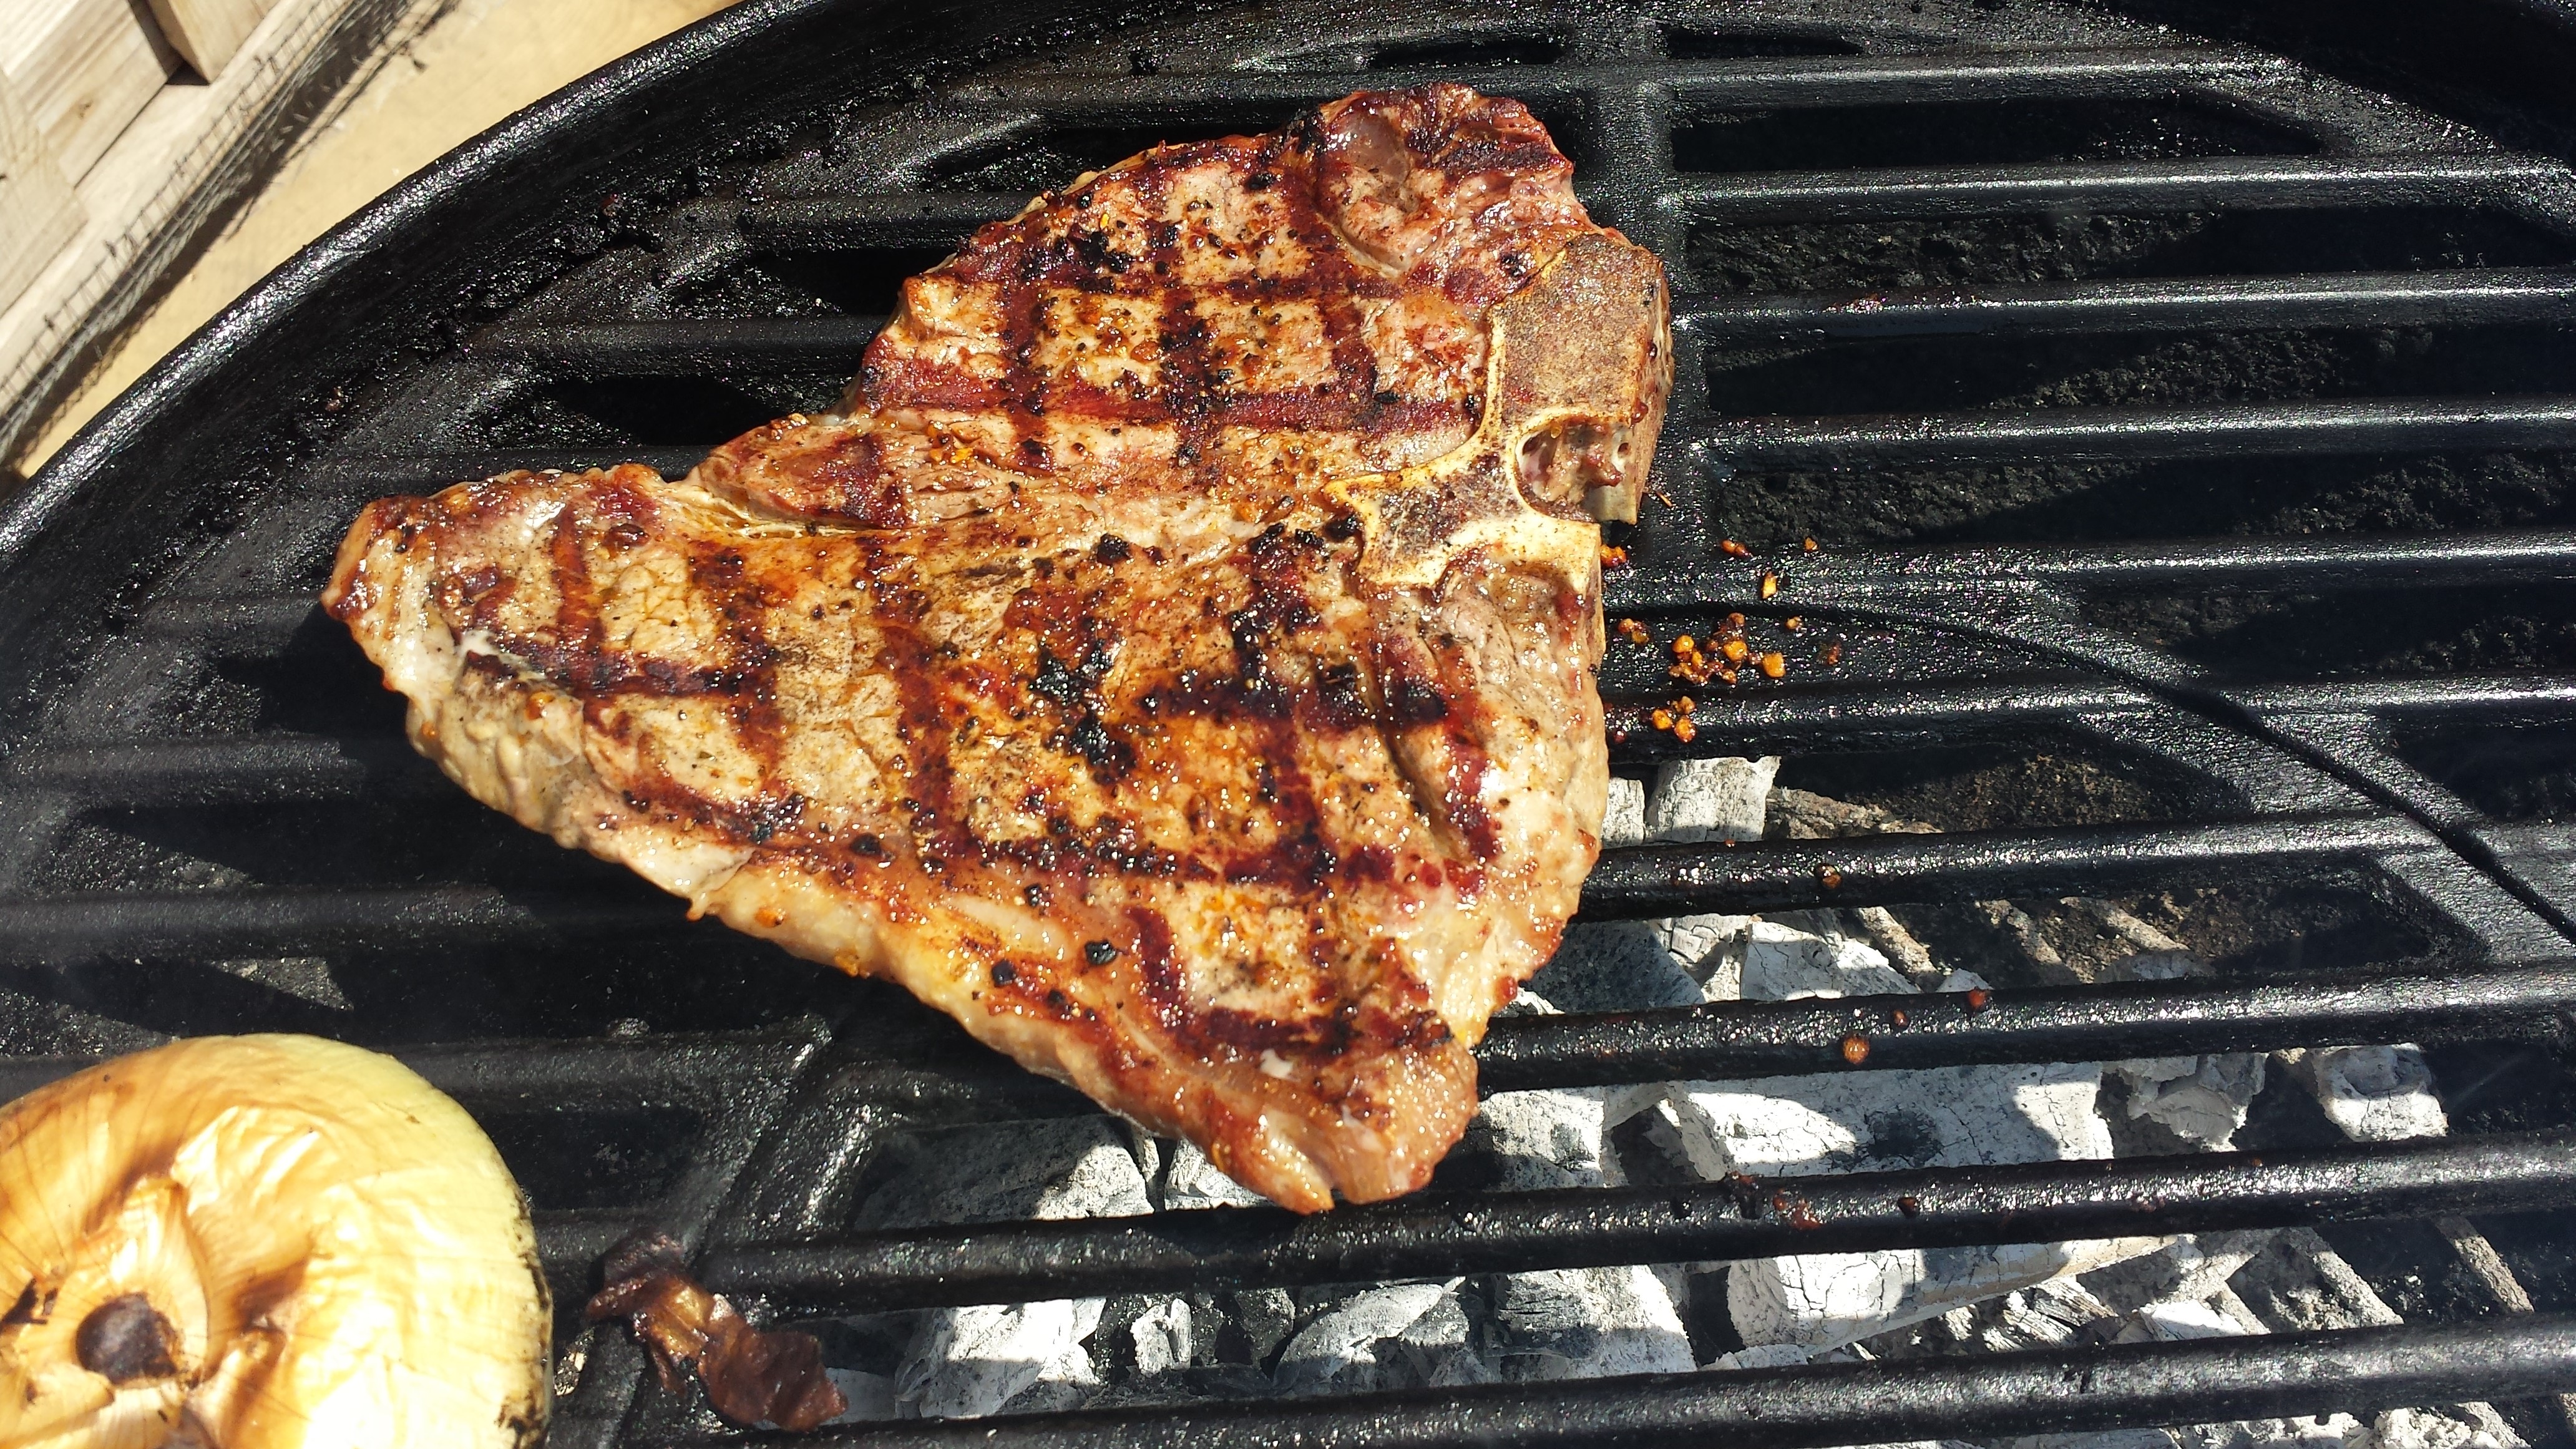
I started the fire and let the coals ash over , added the Oak chunks, waited for the smoke, and grilled one side of the fajitas for 7 minutes and flipped over and grilled an additional 7-9 minutes. This is after 14 minutes of grilling. I sliced them against the grain and returned some of them back to the grill.
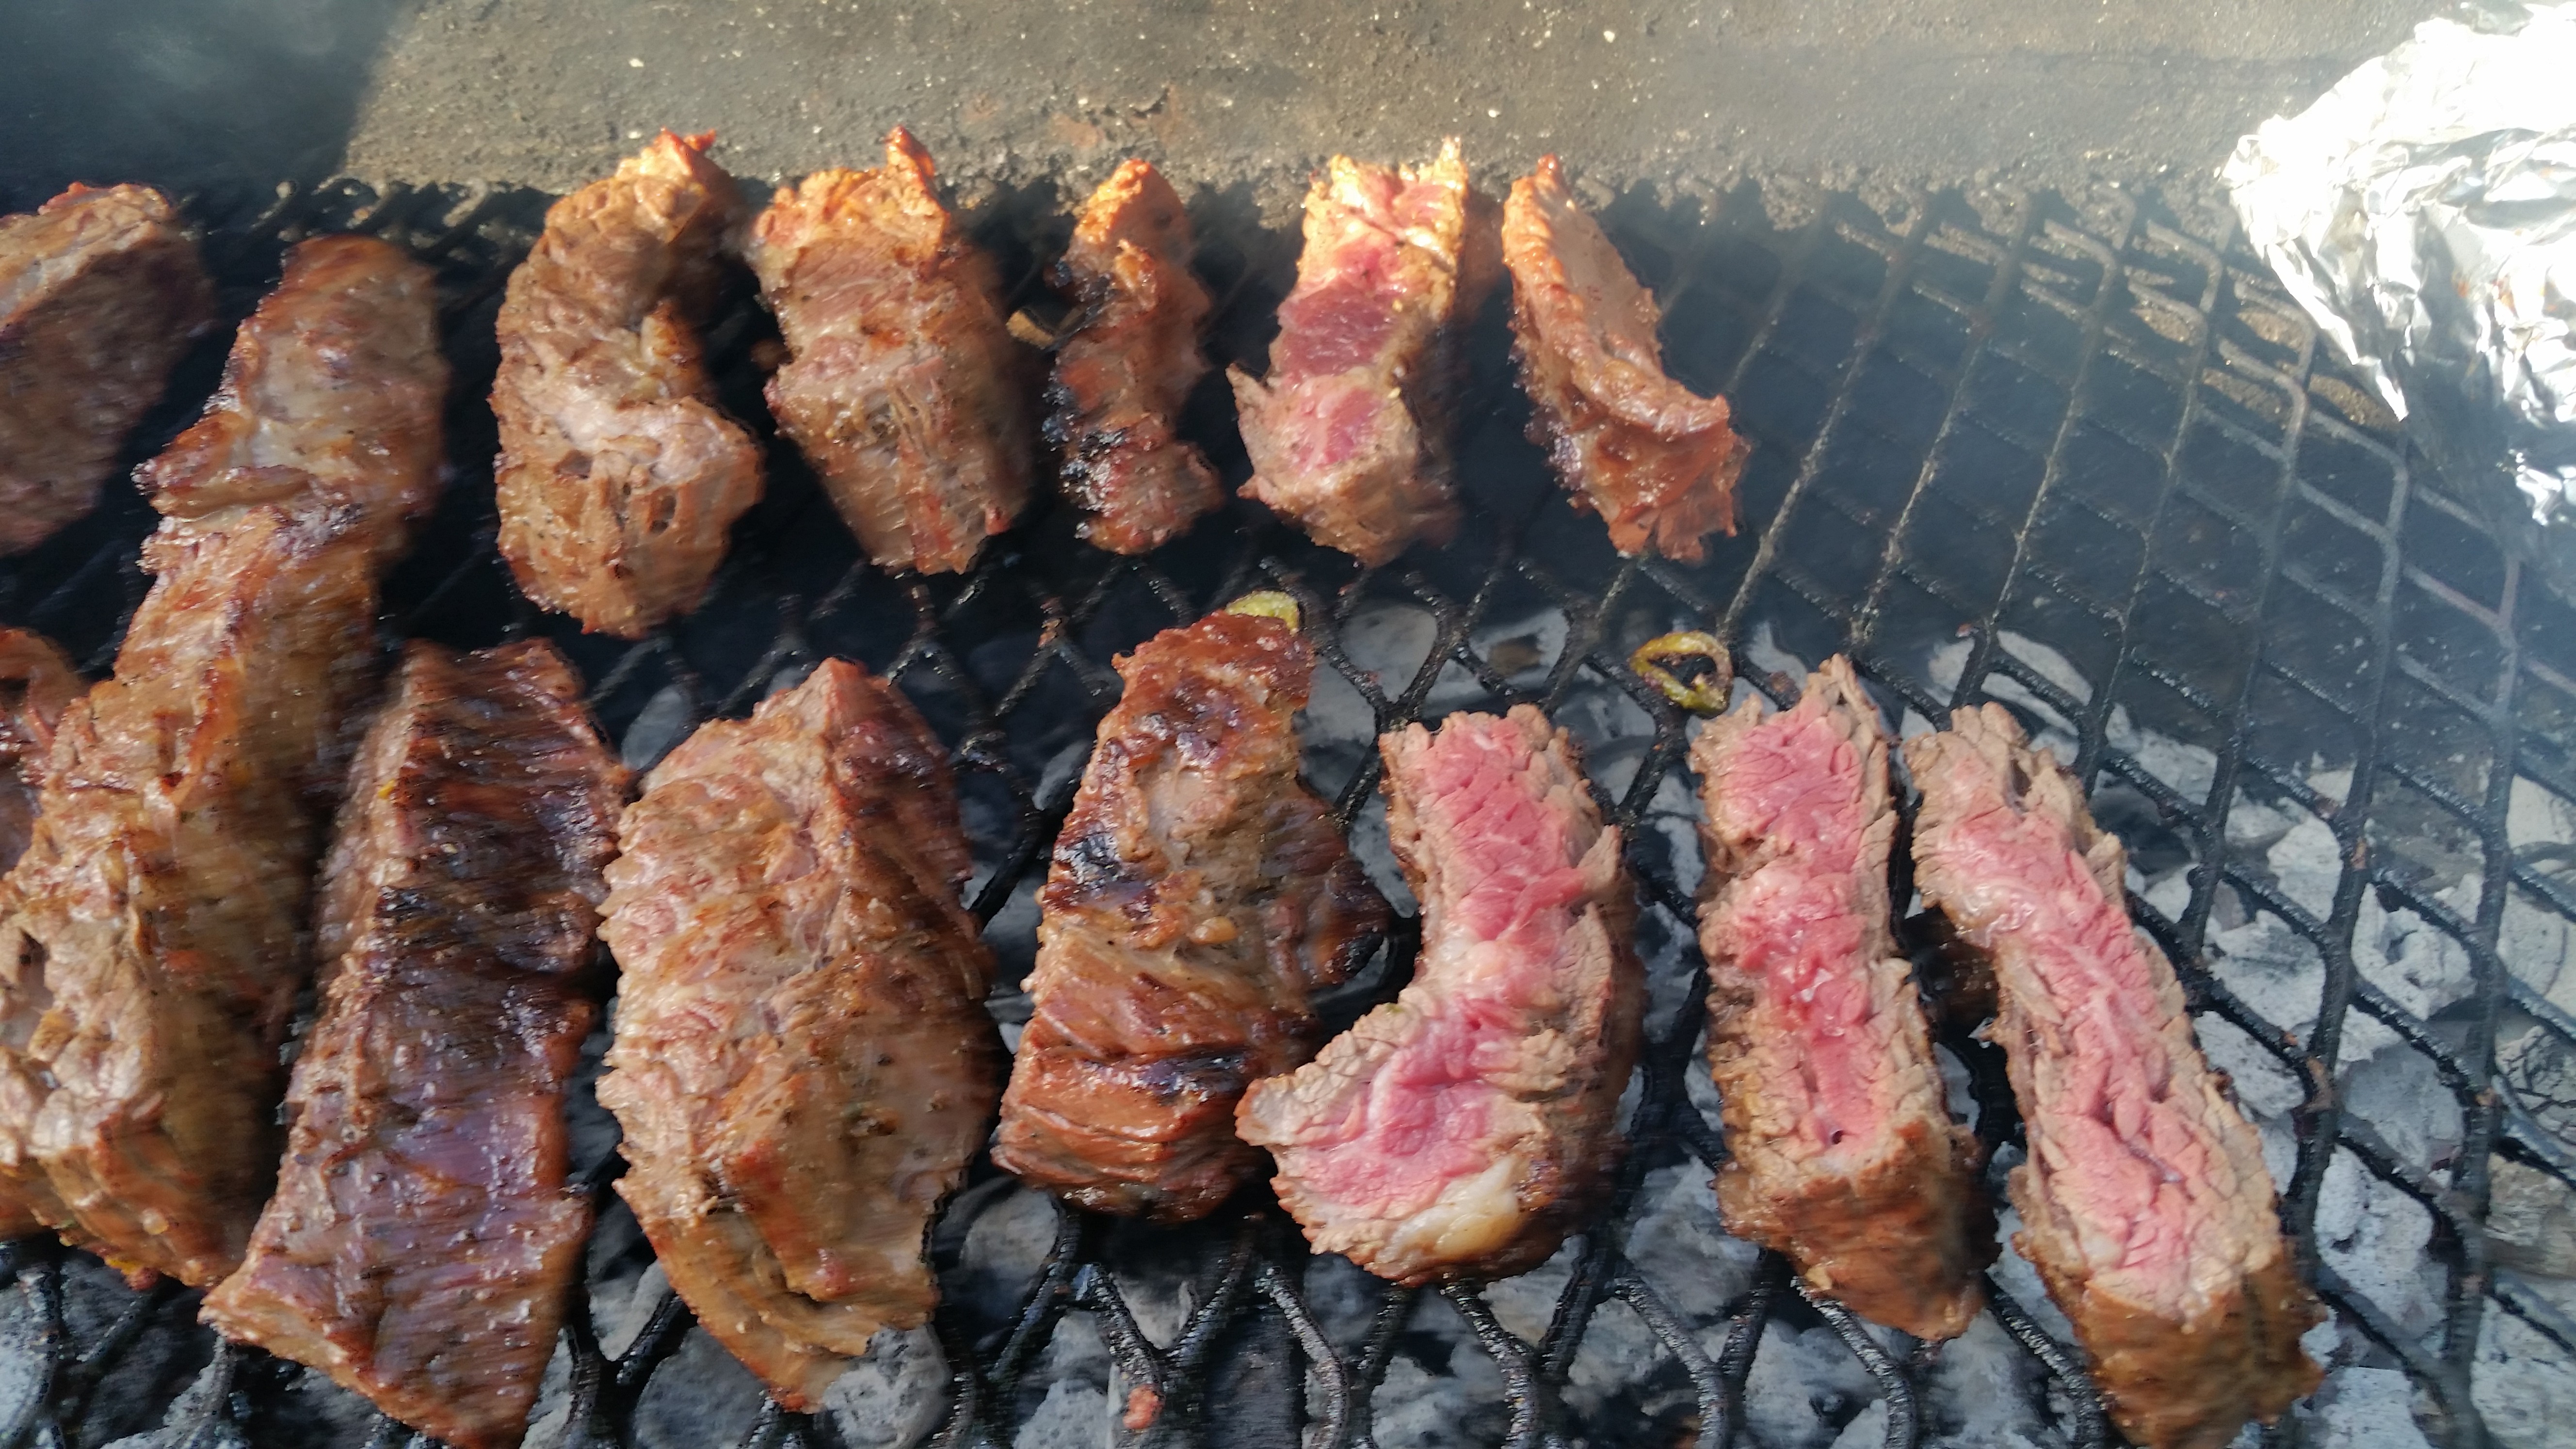
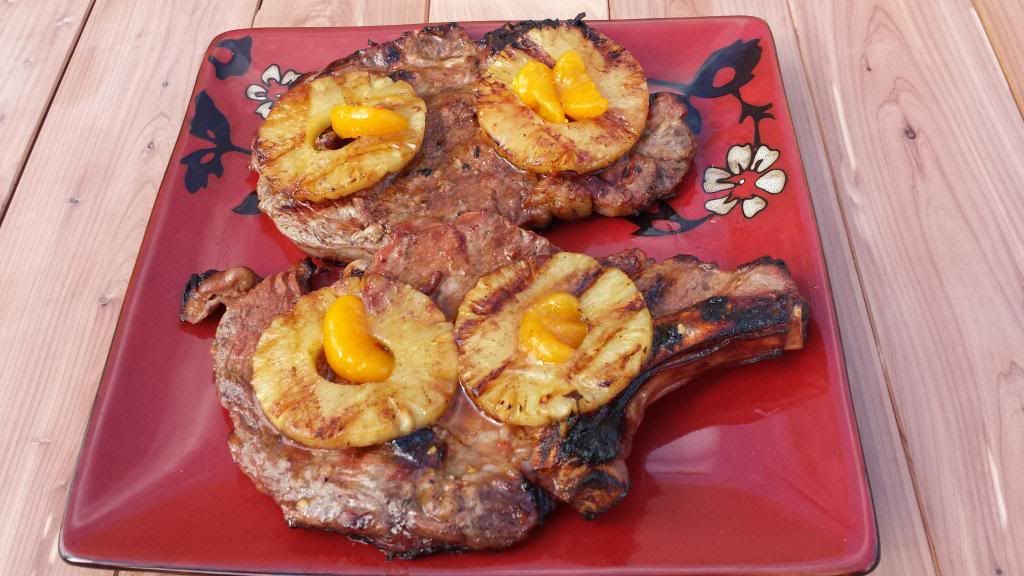
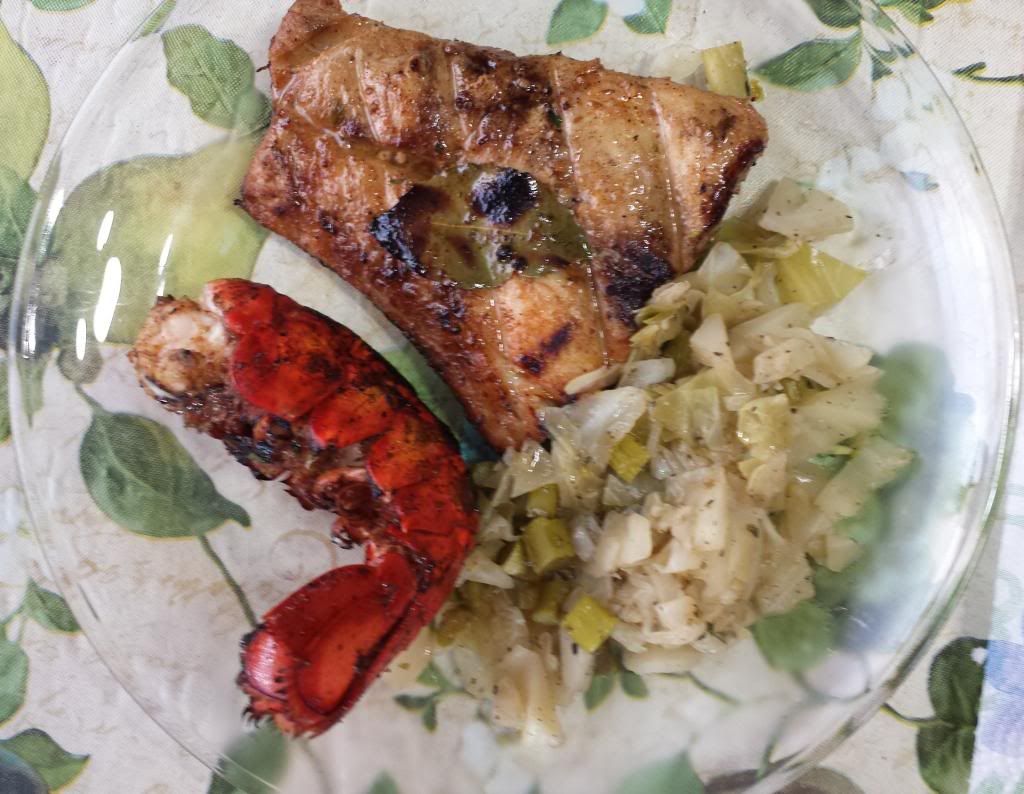
Here the added spicy fajitas are grilled to the person’s preferences. Some like them like this and others like them fully cooked. It really boils down to who is eating them. Same goes for the spicy flavor, the smokiness flavor, and any other spice you might have added to them to get them the way you like it. While they might be perfect for you; some one else might not like them. So…if you don’t like Chile; I would advise you not to add them to the marinade.
Grilling and cooking to one;s taste is one of the main benefits of been the “Chief of the House!” Gotta love that! Til next time partners. “Giddi up !” Or something like that…